Tags: madeof:atoms, sewing, victorian, edwardian
A few years ago a friend told me that her usual fabric shop was closing down and had a sale on all remaining stock.
While being sad for yet another brick and mortar shop that was going to be missed (at least it was because the owners were retiring, not because it wasn’t sustainable anymore), of course I couldn’t miss the opportunity.
So we drove a few hundred km, had some nice time with a friend that (because of said few hundred km) we rarely see, and spent a few hours looting the corps… er… helping the shop owner getting rid of stock before their retirement.
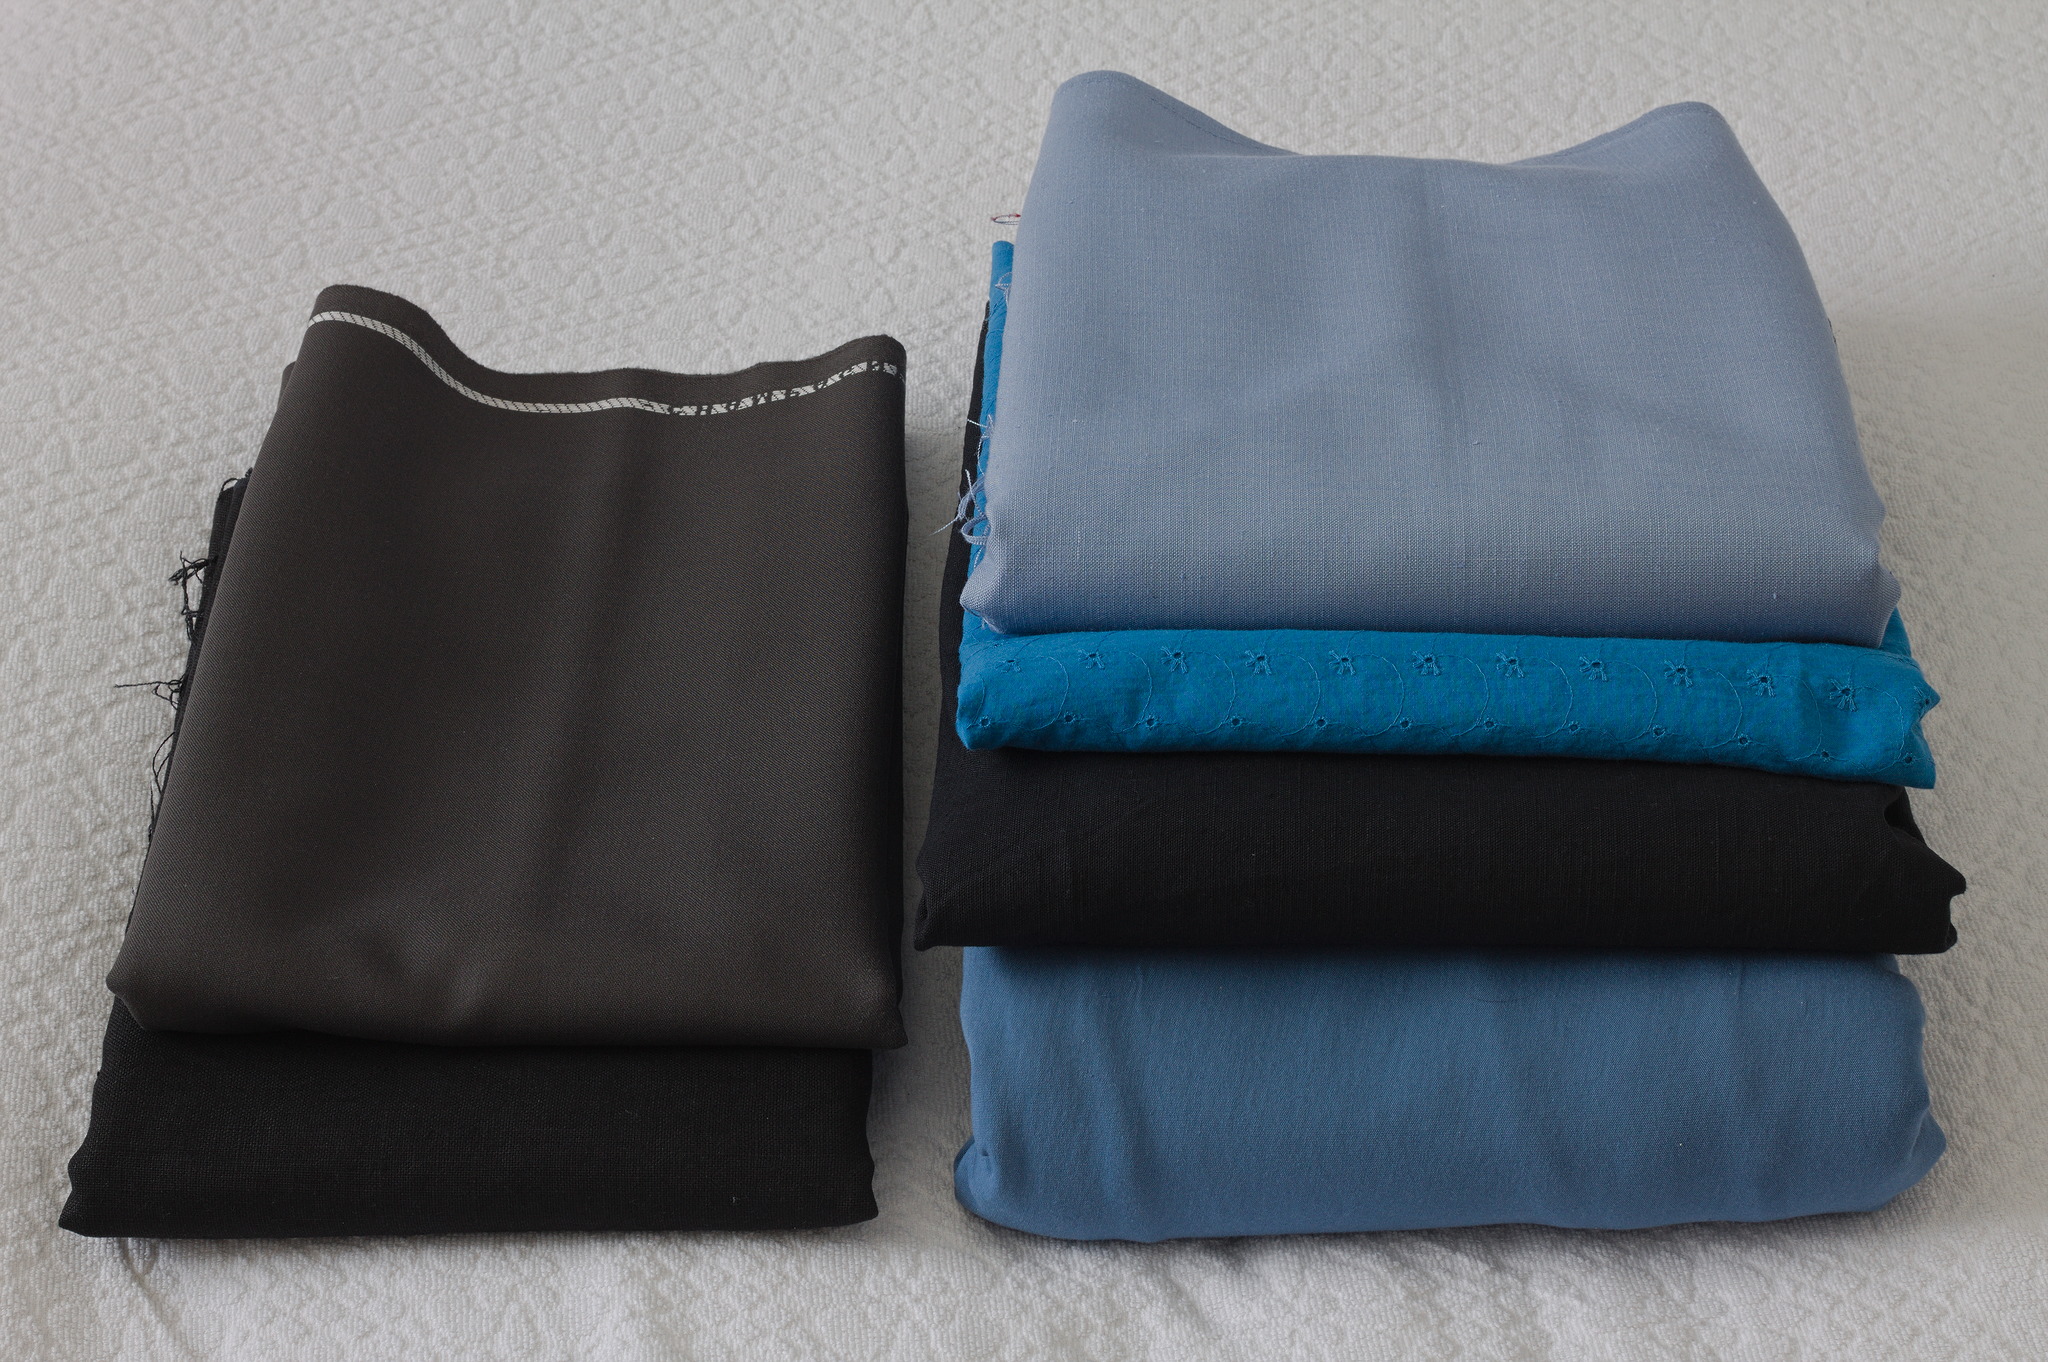
Among other things there was a cut of lightweight swiss embroidery cotton in blue which may or may not have been enthusiastically grabbed with plans of victorian underwear.
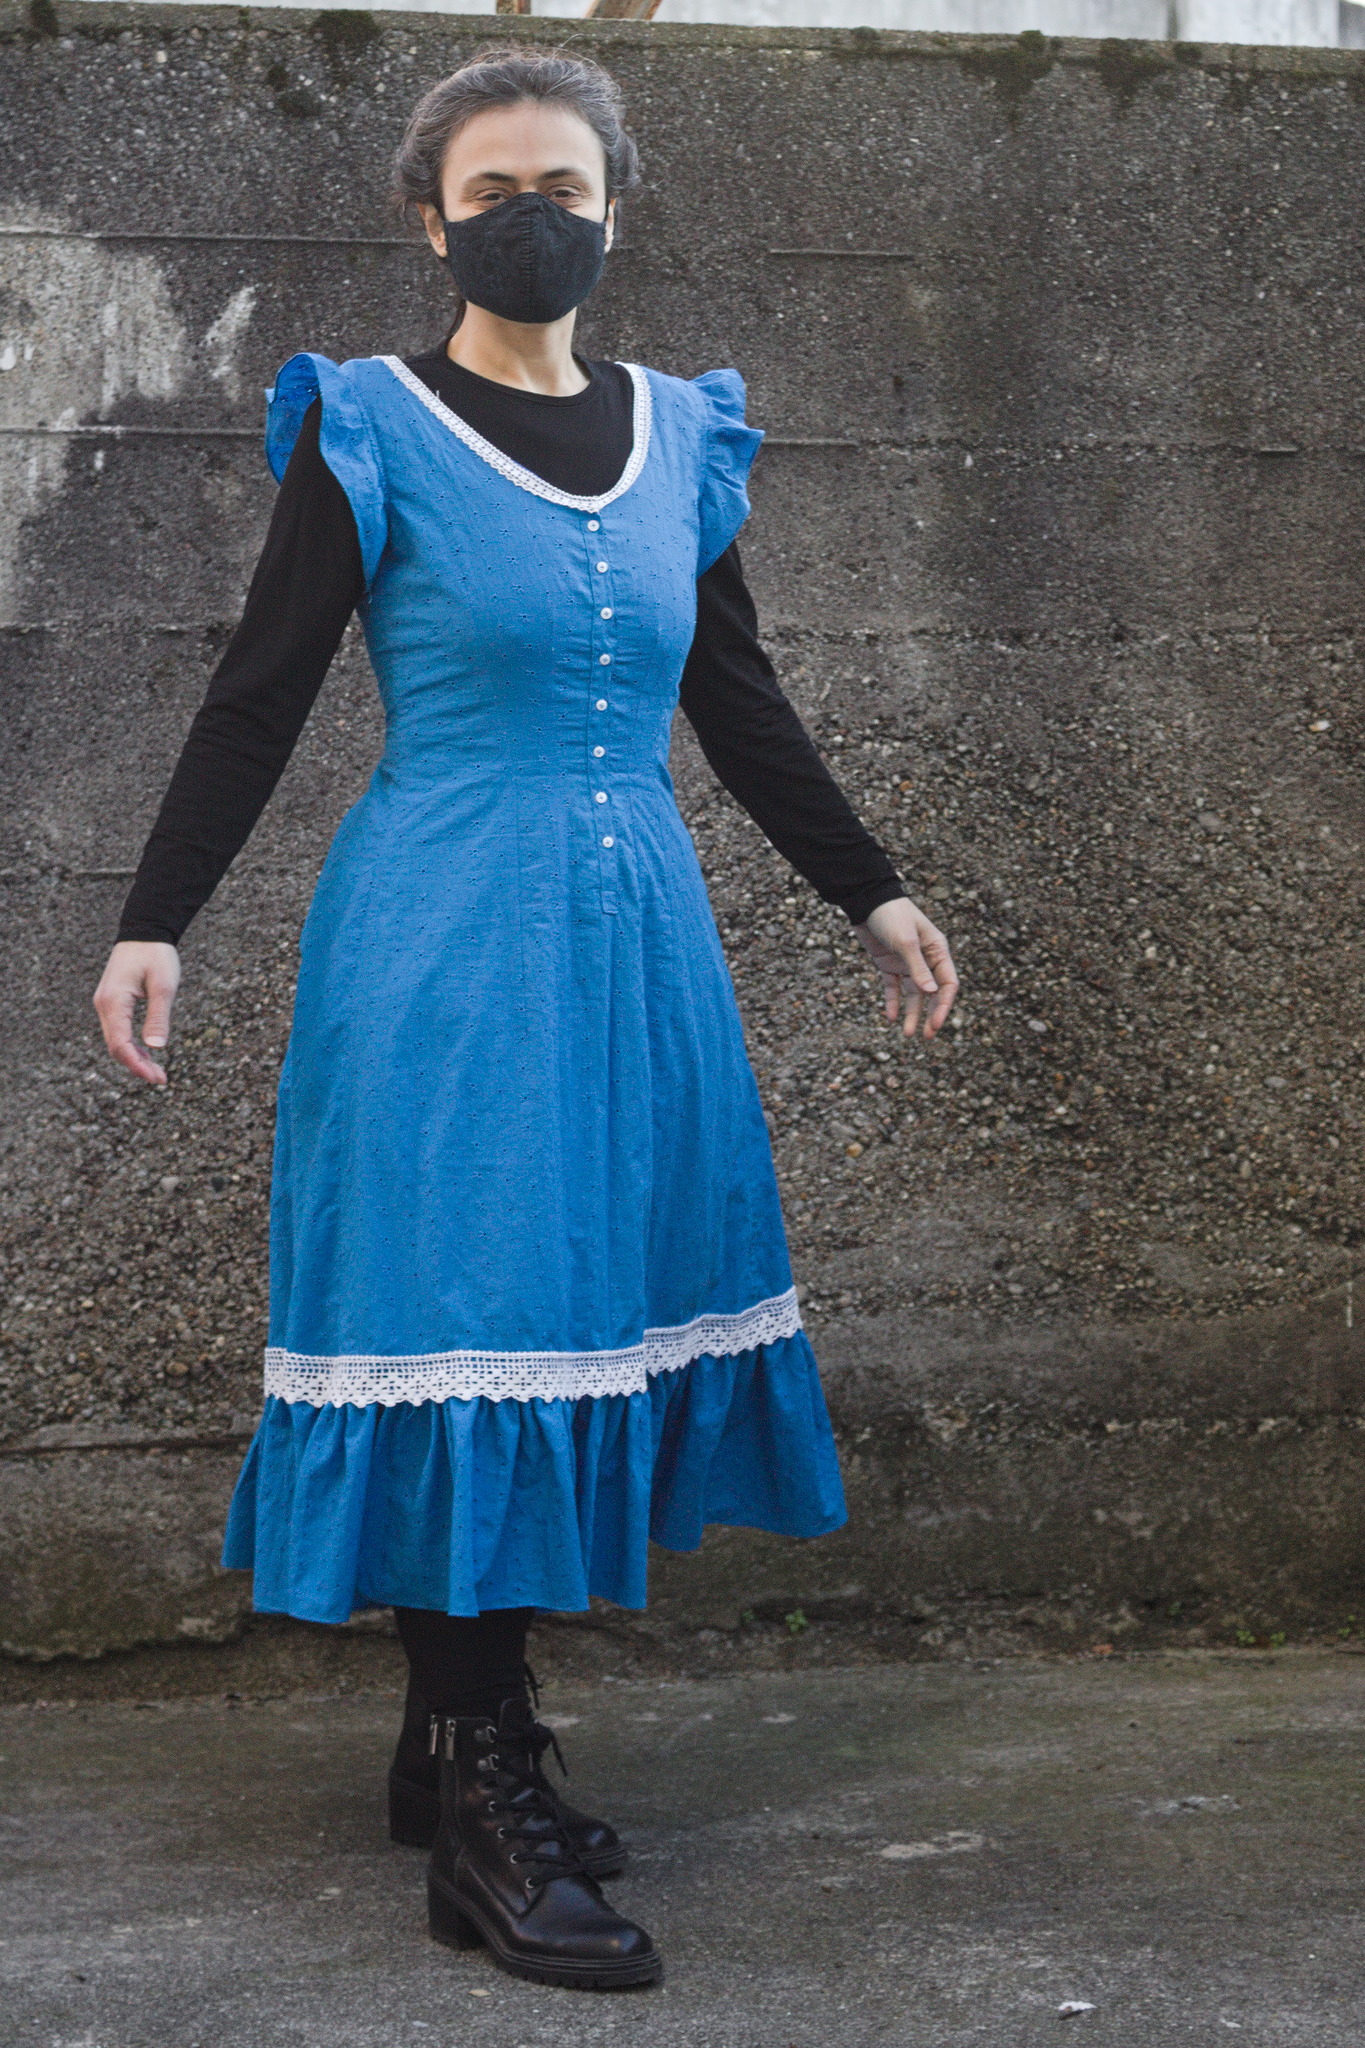
It was too nice to be buried under layers and layers of fabric (and I suspect that the embroidery wouldn’t feel great directly on the skin under a corset), so the natural fit was something at the corset cover layer, and the fabric was enough for a combination garment of the kind often worn in the later Victorian age to prevent the accumulation of bulk at the waist.
It also has the nice advantage that in this time of corrupted morals it is perfectly suitable as outerwear as a nice summer dress.
Then life happened, the fabric remained in my stash for a long while, but finally this year I have a good late victorian block that I can adapt, and with spring coming it was a good time to start working on the summer wardrobe.
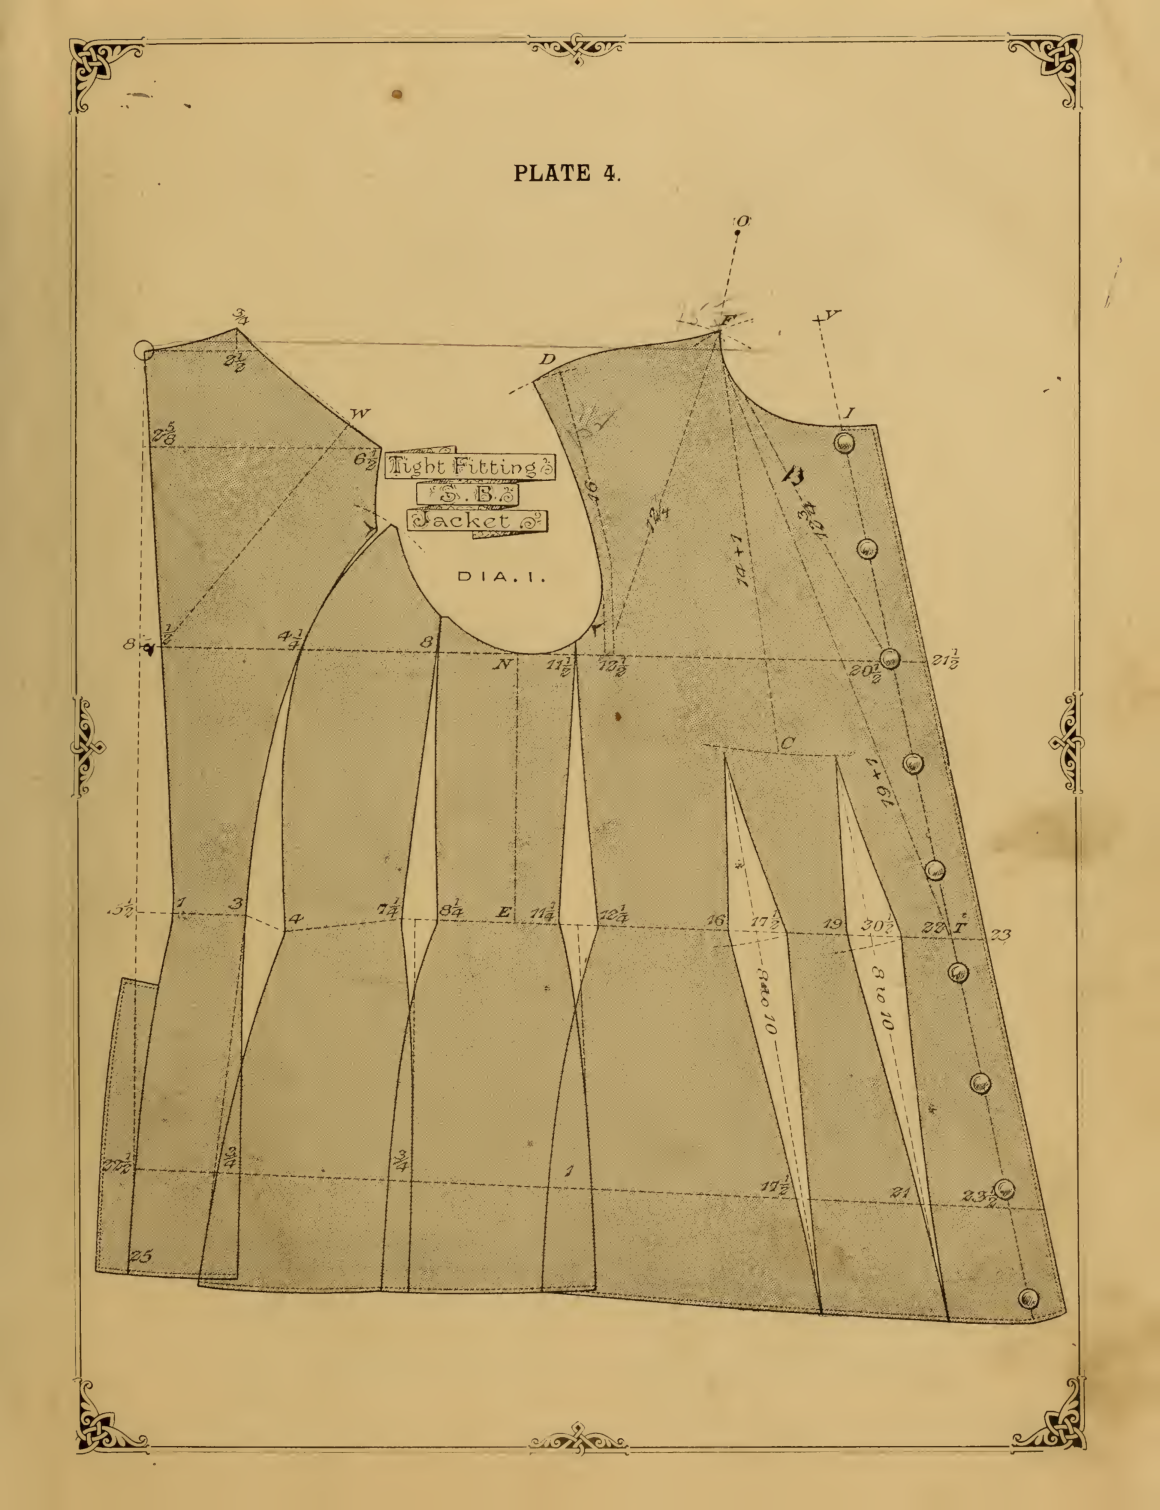
The block I’ve used comes from The Cutters’ Practical Guide to the Cutting of Ladies Garments and is for a jacket, rather than a bodice, but the bodice block from the same book had a 4 part back, which was too much for this garment. I reduced the ease around the bust a bit, which I believe worked just fine.
The main pattern was easy enough to prepare, I just had to add skirt panels with a straight side towards the front and flaring out towards the back, and I did a quick mockup from an old sheet to check the fit (good) and the swish and volume of the skirt (just right at the first attempt!).
The mockup was also used to get an idea of a few possible necklines, and I opted for a relatively deep V, and a front opening with a partial placket down to halfway between the waist and the hips. I also opted for a self-fabric ruffle at the hem and armscyes.
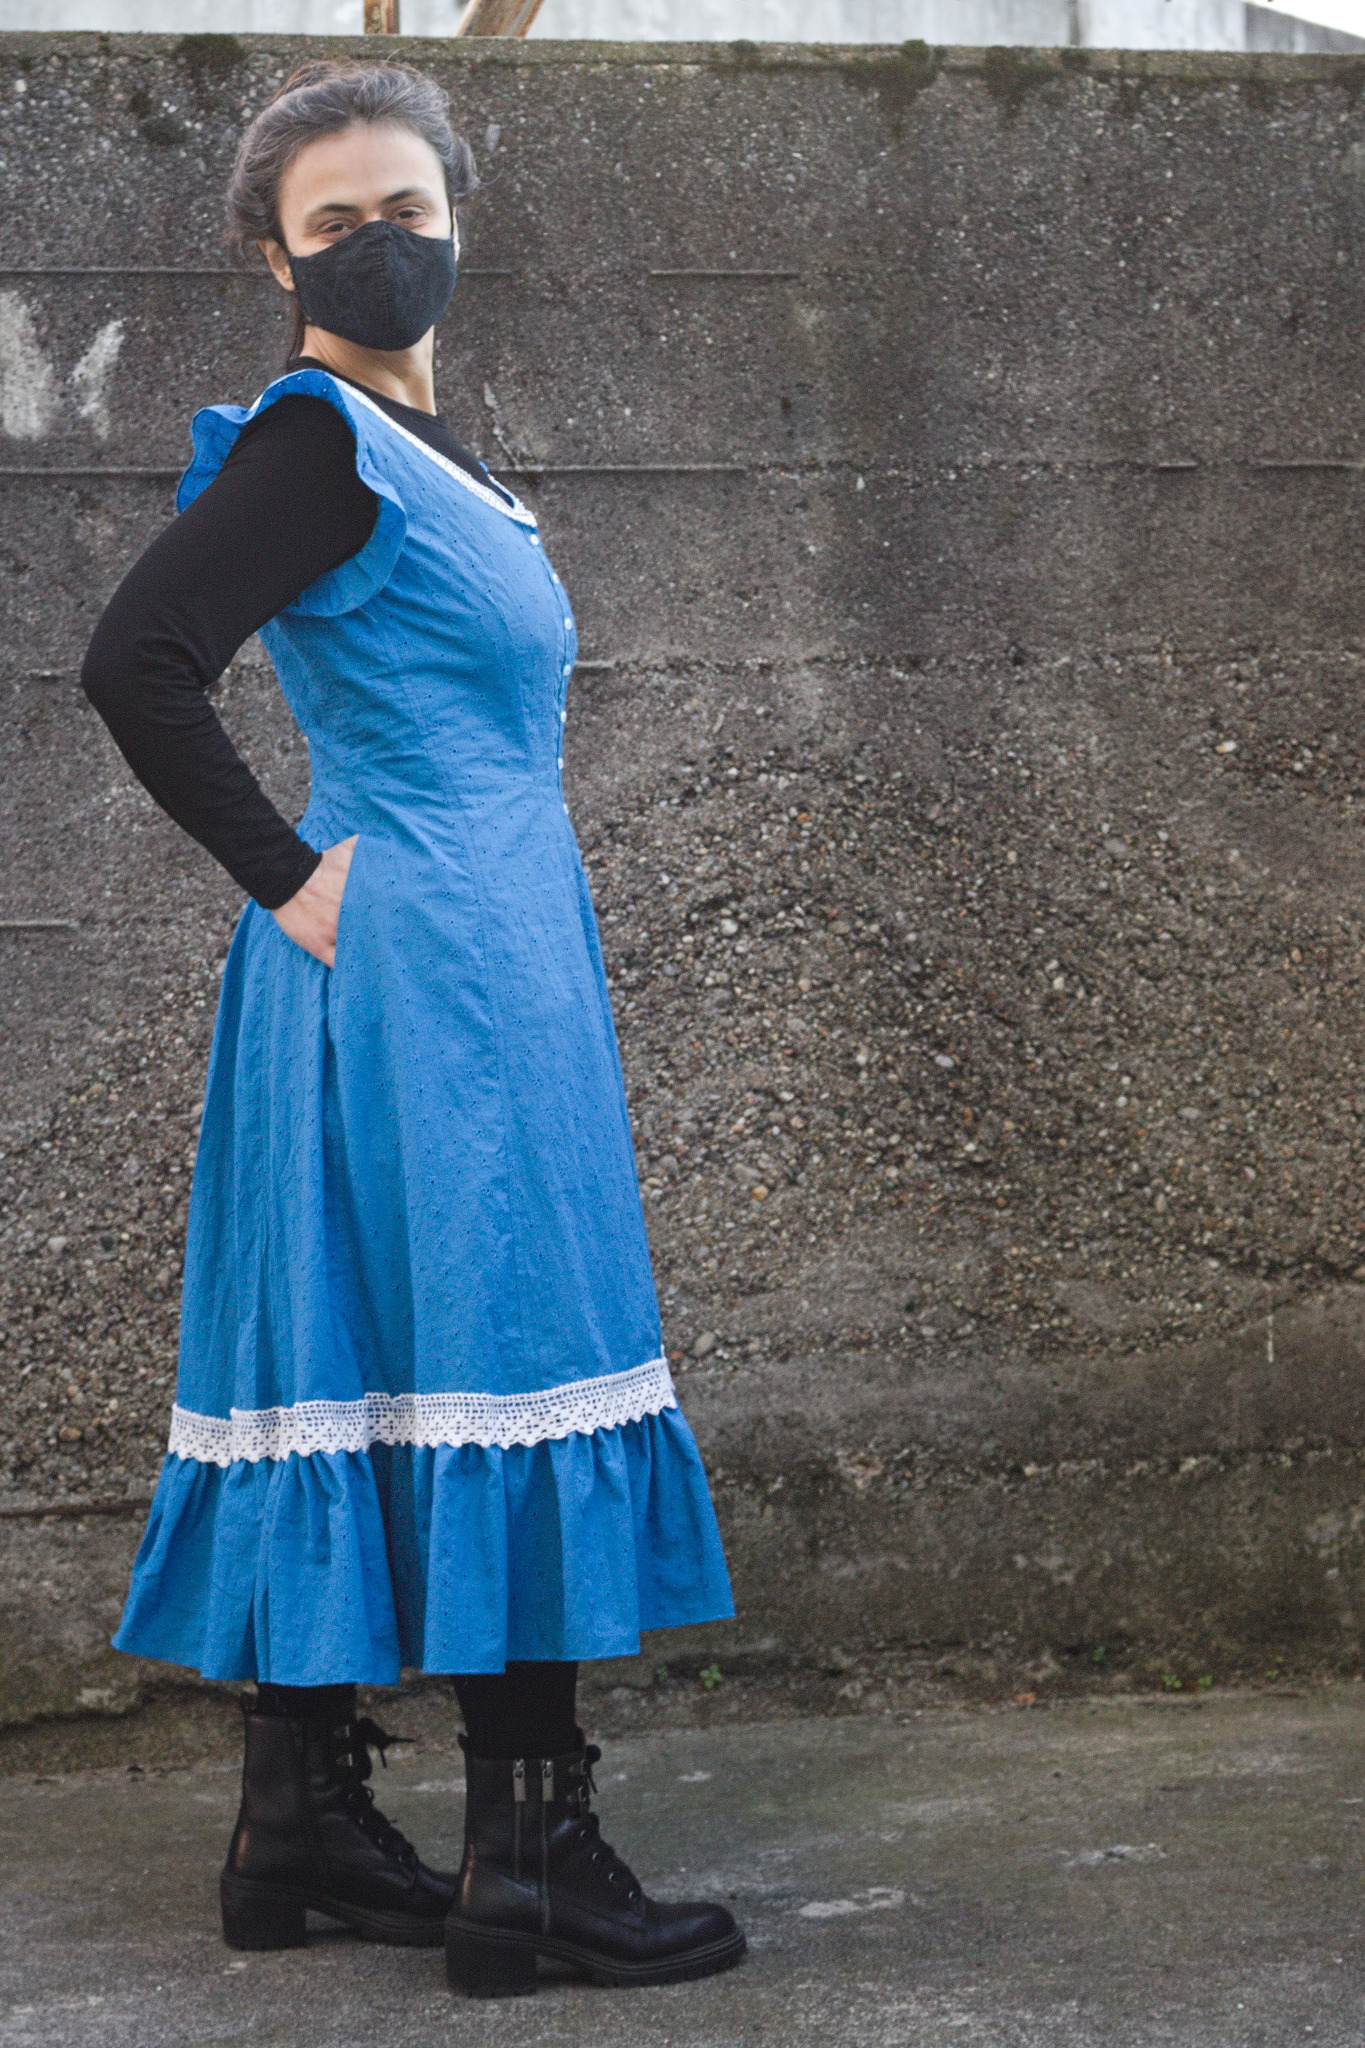
The only design choice left was the pocket situation: I wanted to wear this garment both as underwear (where pockets aren’t needed, and add unwanted bulk) and outerwear (where no pockets is not an option), and the fabric felt too thin to support the weight of the contents of a full pocket. So I decided to add slits into the seams, with just a modesty placket, and wear pockets under the dress as needed.
I decided to put the slits between the side and side back panels for two reasons: one is that this way the pockets can sit towards the back, where the fullness of the skirt is supposed to be, rather than under the flat front, and the other one is to keep the seams around the front panel clean, since they are the first ones to be changed when altering a garment for fit.
For the same reason, I didn’t trim the excess allowance from that seam: it means that it is a bit more bulky, but the fabric is thin enought that it’s not really noticeable, and it gives an additional cm for future alterations.
Then, as the garment was getting close to being finished I was measuring and storing some old cotton lace I had received as a gift, and there was a length of relatively small lace, and the finish on the neckline was pretty simple and called for embellishment, and who am I to deny embellishment to victorian inspired clothing?
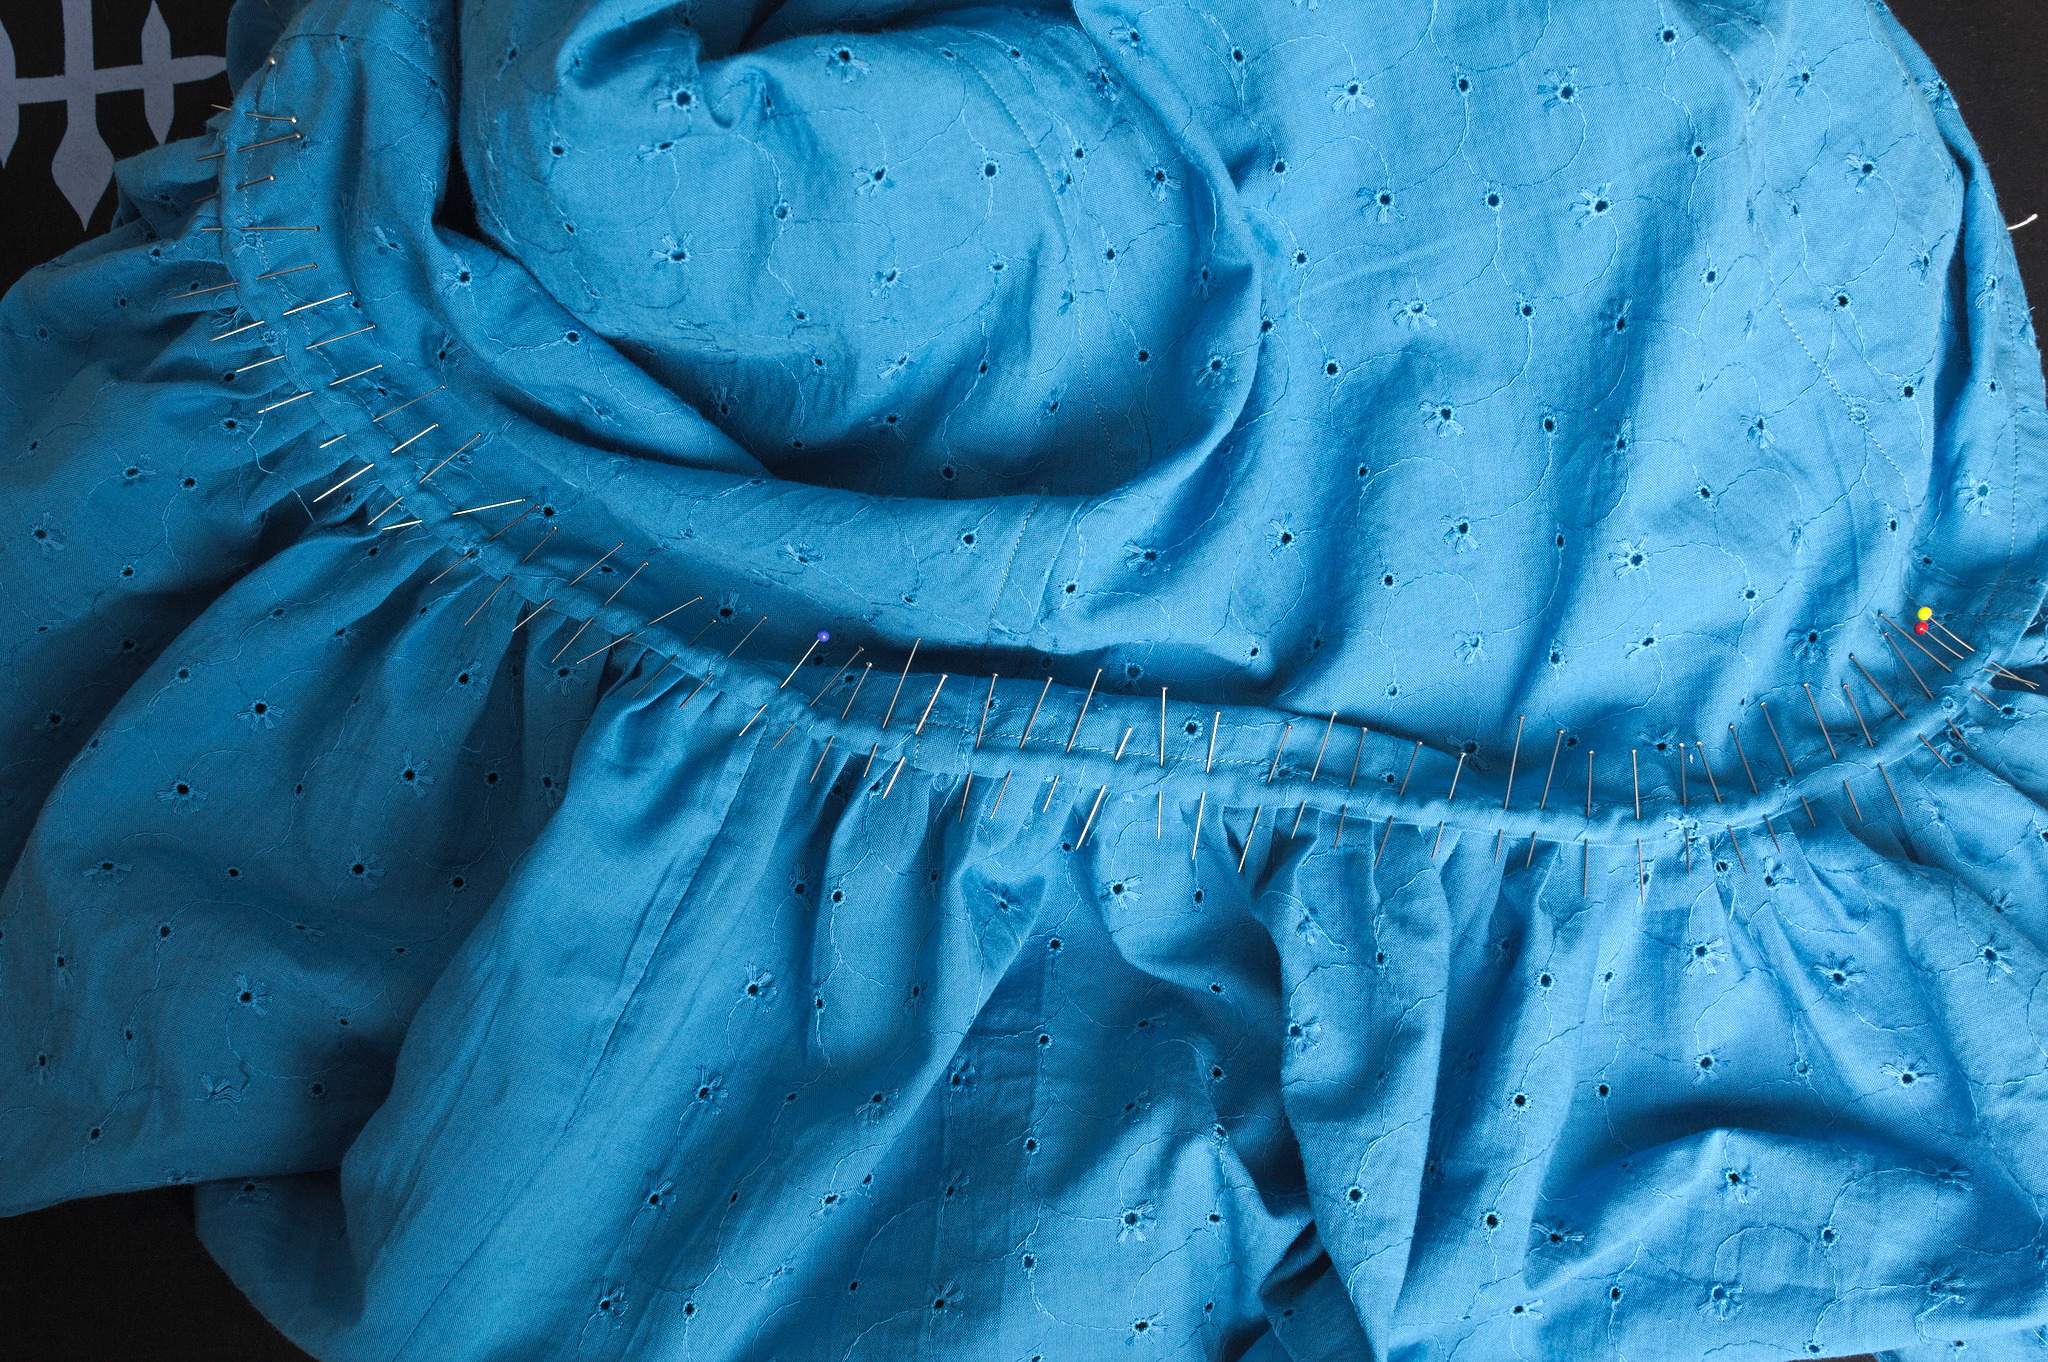
First I had to finish attaching the ruffles, however, and this is when I cursed myself for not using the ruffler foot I have (it would have meant not having selvedges on all seams of the ruffle), and for pleating the ruffle rather than gathering it (I prefer the look of handsewn gathers, but here I’m sewing everything by machine, and that’s faster, right? (it probably wasn’t)).
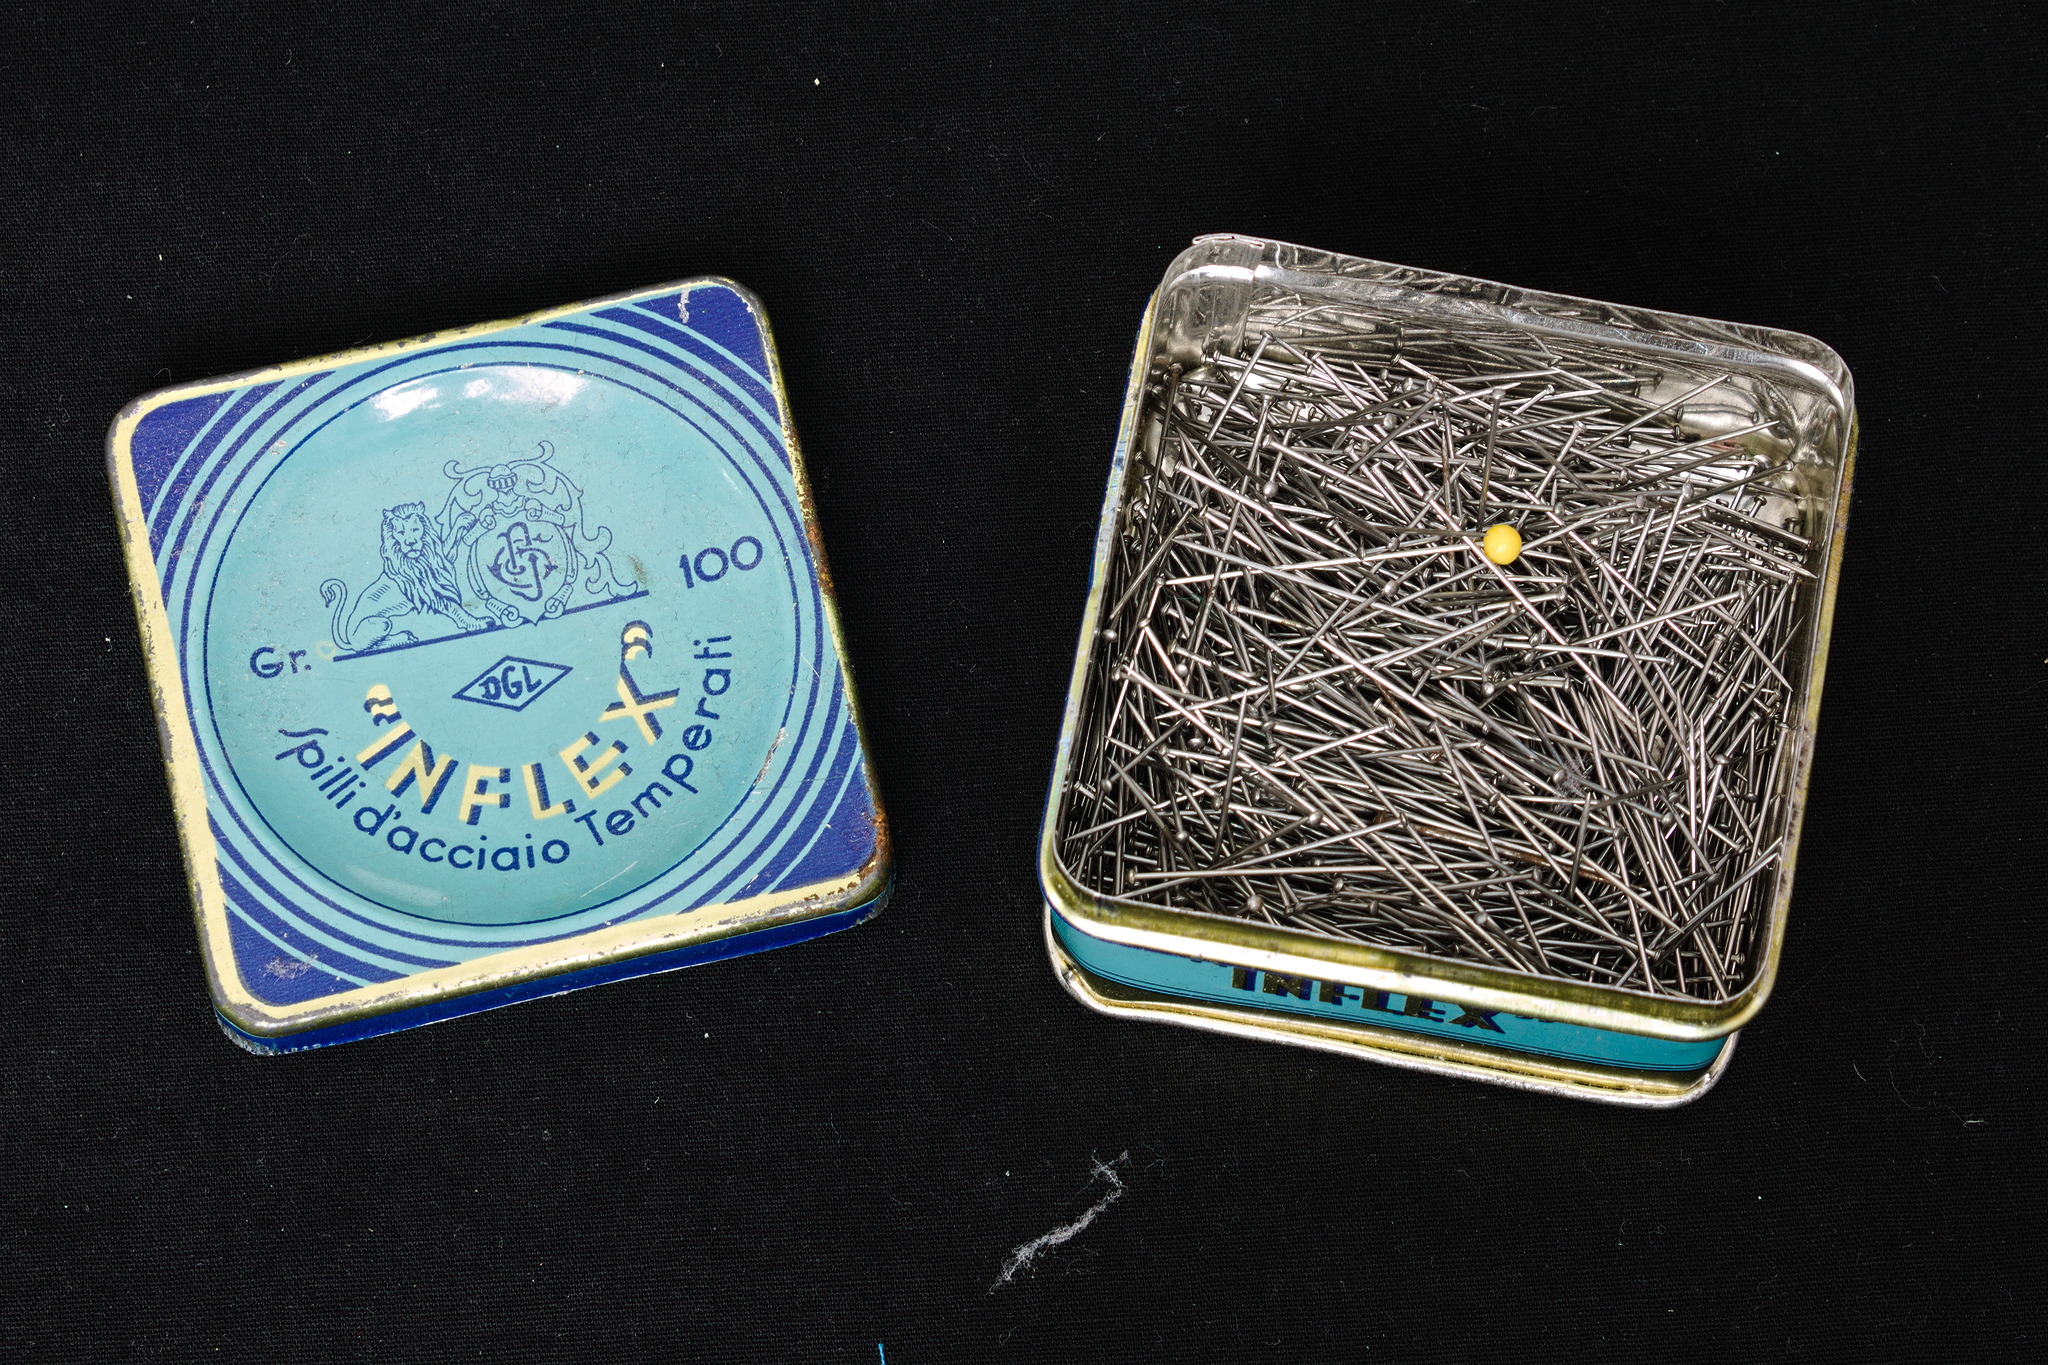
Also, this is where I started to get low on pins, and I had to use the ones from the vintage1 box I’ve been keeping as decoration in the sewing room.
A few long sessions of pinning later, the ruffle was sewn and I could add the lace; I used white thread so that it would be hidden on the right side, but easily visible inside the garment in case I’ll decide to remove or change it later.
A few buttons and buttonholes later, the garment was ready, and the only thing left was to edit the step-by-step pictures and publish the pattern: it’s now available as #FreeSoftWear on my patterns website.
And Of course, I had to do a proper swish test of the finished dress with the ruffle, and I’m happy to announce that it was fully passed.
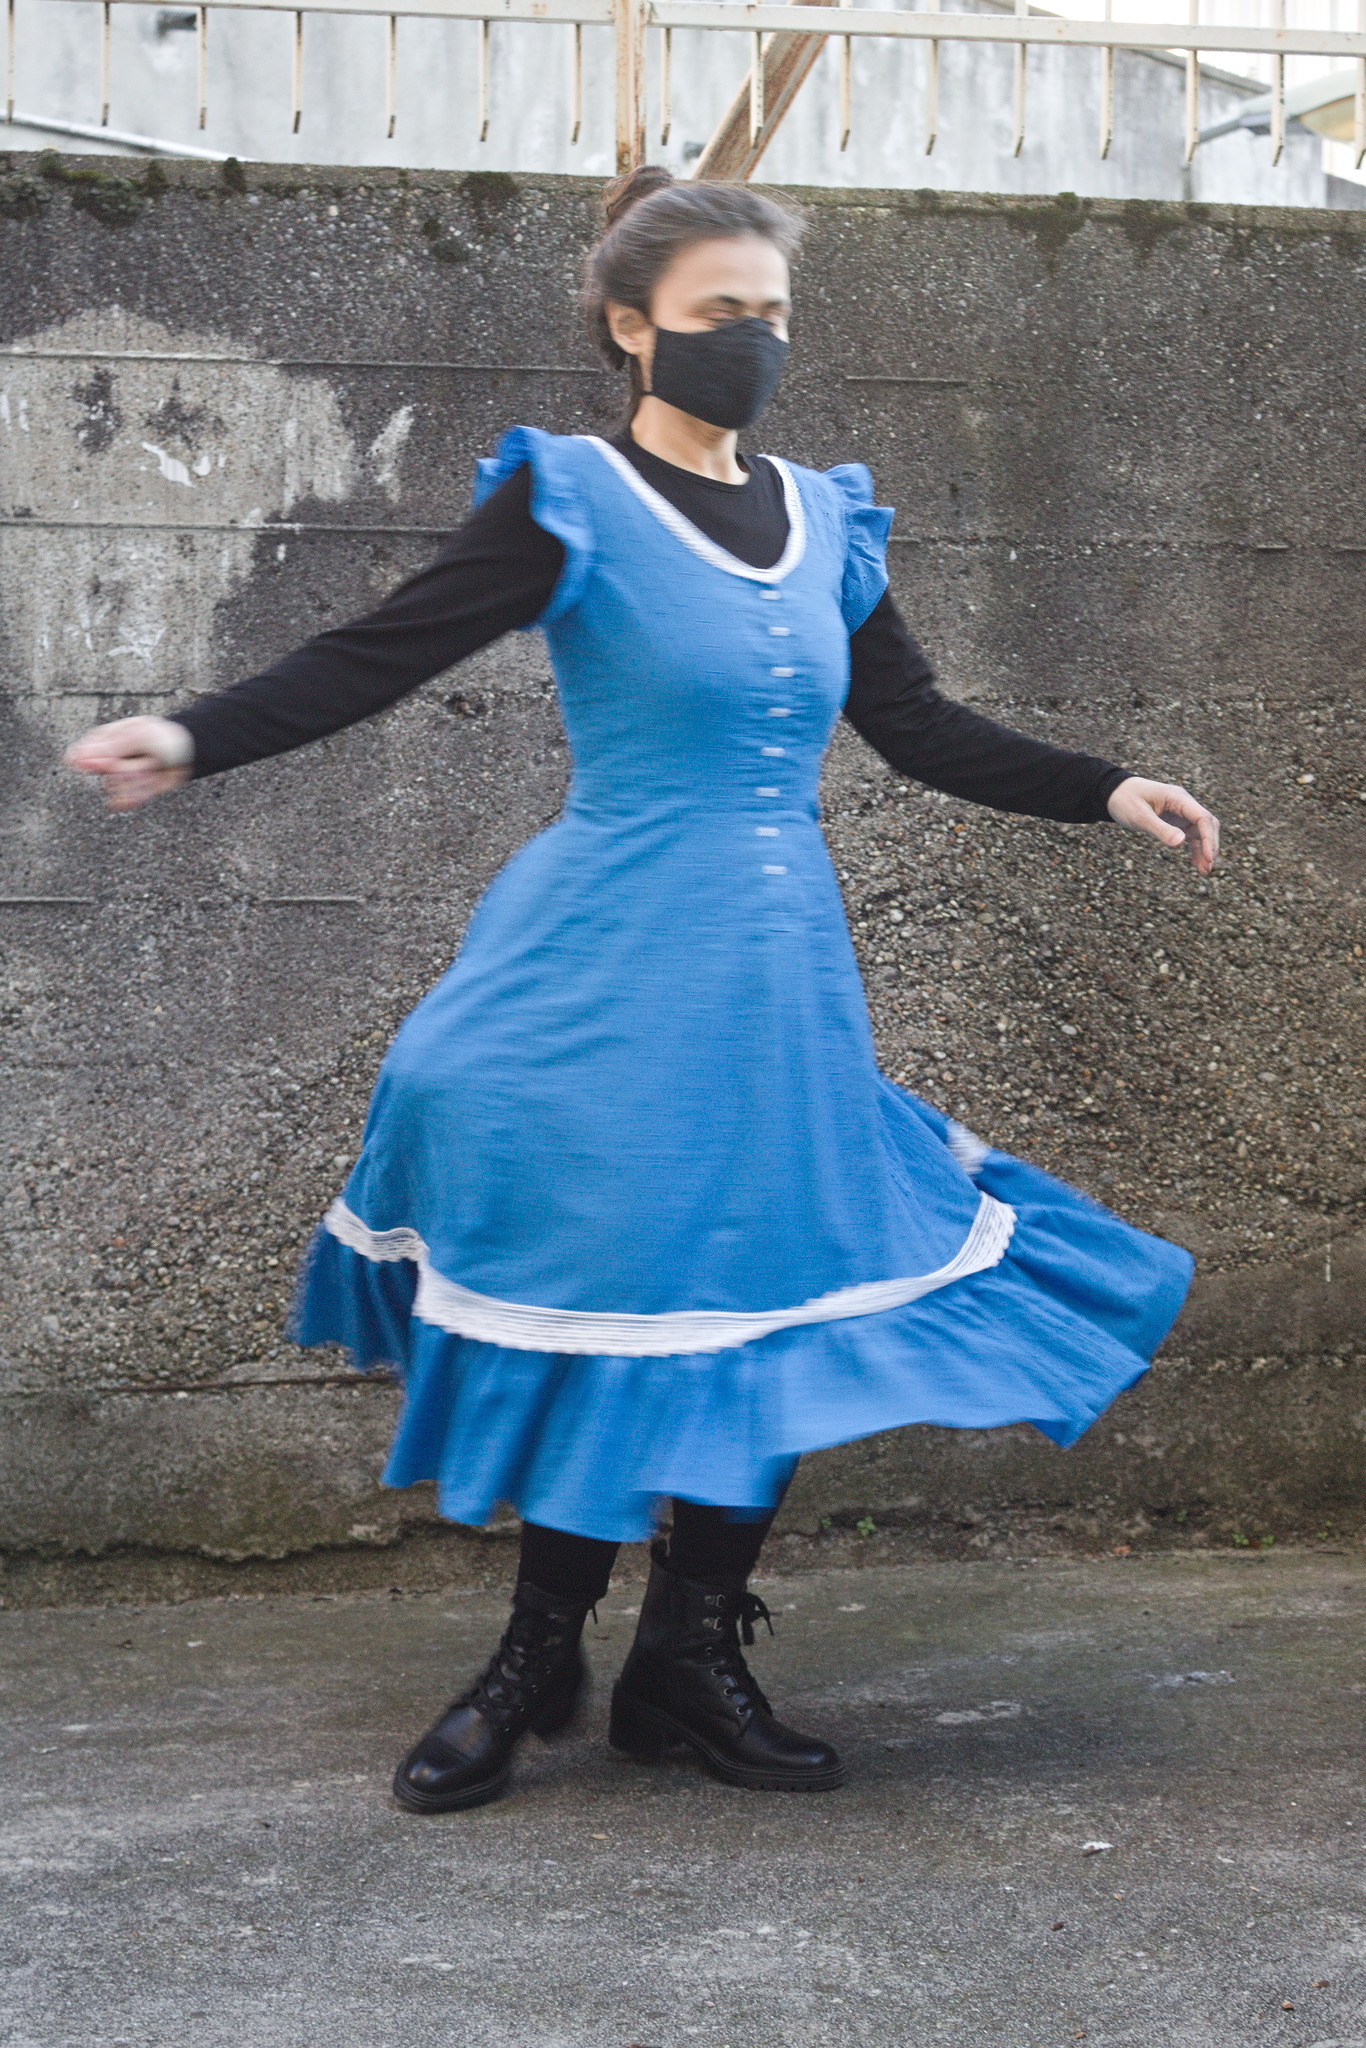
Except, maybe I shouldn’t carry heavy items in my pockets when doing it? Oh, well.
I have other plans for the same pattern, but they involve making some crochet lace, so I expect I can aim at making them wearable in summer 2024.
Now I just have to wait for the weather to be a bit warmer, and then I can start enjoing this one.
ok, even more vintage, since my usual pins come from a plastic box that has been probably bought in the 1980s.↩︎