Tags: madeof:atoms, craft:sewing, period:victorian, FreeSoftWear
CW for body size change mentions
I needed a corset, badly.
Years ago I had a chance to have my measurements taken by a former professional corset maker and then a lesson in how to draft an underbust corset, and that lead to me learning how nice wearing a well-fitted corset feels.
Later I tried to extend that pattern up for a midbust corset, with success.
And then my body changed suddenly, and I was no longer able to wear either of those, and after a while I started missing them.
Since my body was still changing (if no longer drastically so), and I didn’t want to use expensive materials for something that had a risk of not fitting after too little time, I decided to start by making myself a summer lightweight corset in aida cloth and plastic boning (for which I had already bought materials). It fitted, but not as well as the first two ones, and I’ve worn it quite a bit.
I still wanted back the feeling of wearing a comfy, heavy contraption of coutil and steel, however.
After a lot of procrastination I redrafted a new pattern, scrapped everything, tried again, had my measurements taken by a dressmaker [#dressmaker], put them in the draft, cut a first mock-up in cheap cotton, fixed the position of a seam, did a second mock-up in denim [#jeans] from an old pair of jeans, and then cut into the cheap herringbone coutil I was planning to use.
And that’s when I went to see which one of the busks in my stash would work, and realized that I had used a wrong vertical measurement and the front of the corset was way too long for a midbust corset.
Luckily I also had a few longer busks, I basted one to the denim mock up and tried to wear it for a few hours, to see if it was too long to be comfortable. It was just a bit, on the bottom, which could be easily fixed with the Power Tools1.
Except, the more I looked at it the more doing this felt wrong: what I needed most was a midbust corset, not an overbust one, which is what this was starting to be.
I could have trimmed it down, but I knew that I also wanted this corset to be a wearable mockup for the pattern, to refine it and have it available for more corsets. And I still had more than half of the cheap coutil I was using, so I decided to redo the pattern and cut new panels.
And this is where the “or two” comes in: I’m not going to waste the overbust panels: I had been wanting to learn some techniques to make corsets with a fashion fabric layer, rather than just a single layer of coutil, and this looks like an excellent opportunity for that, together with a piece of purple silk that I know I have in the stash. This will happen later, however, first I’m giving priority to the underbust.
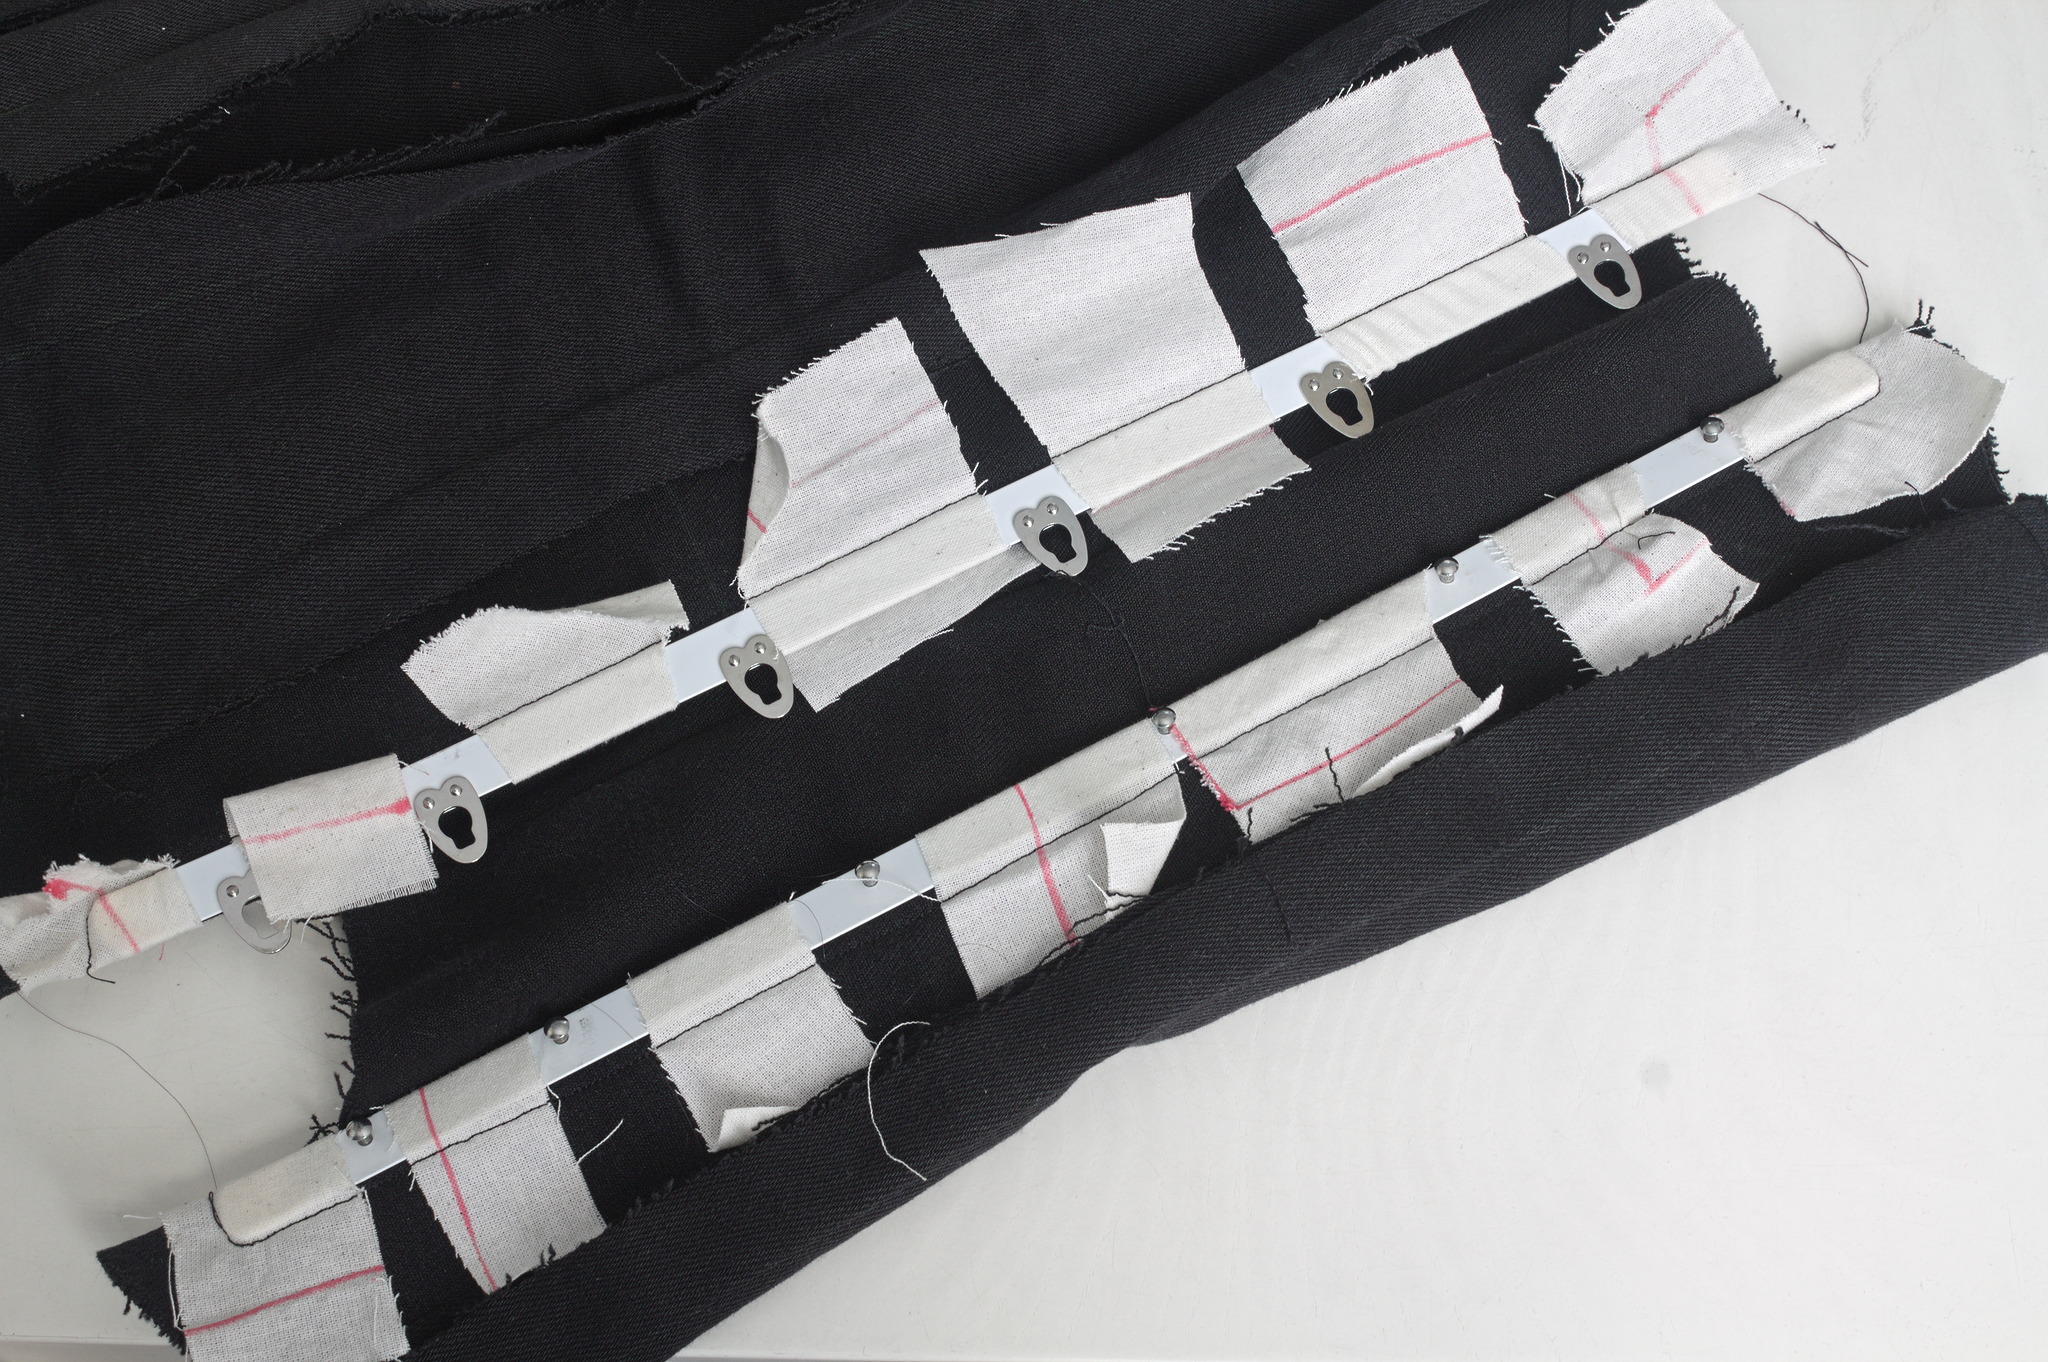
Anyway, a second set of panels was cut, all the seam lines marked with tailor tacks, and I started sewing by inserting the busk.
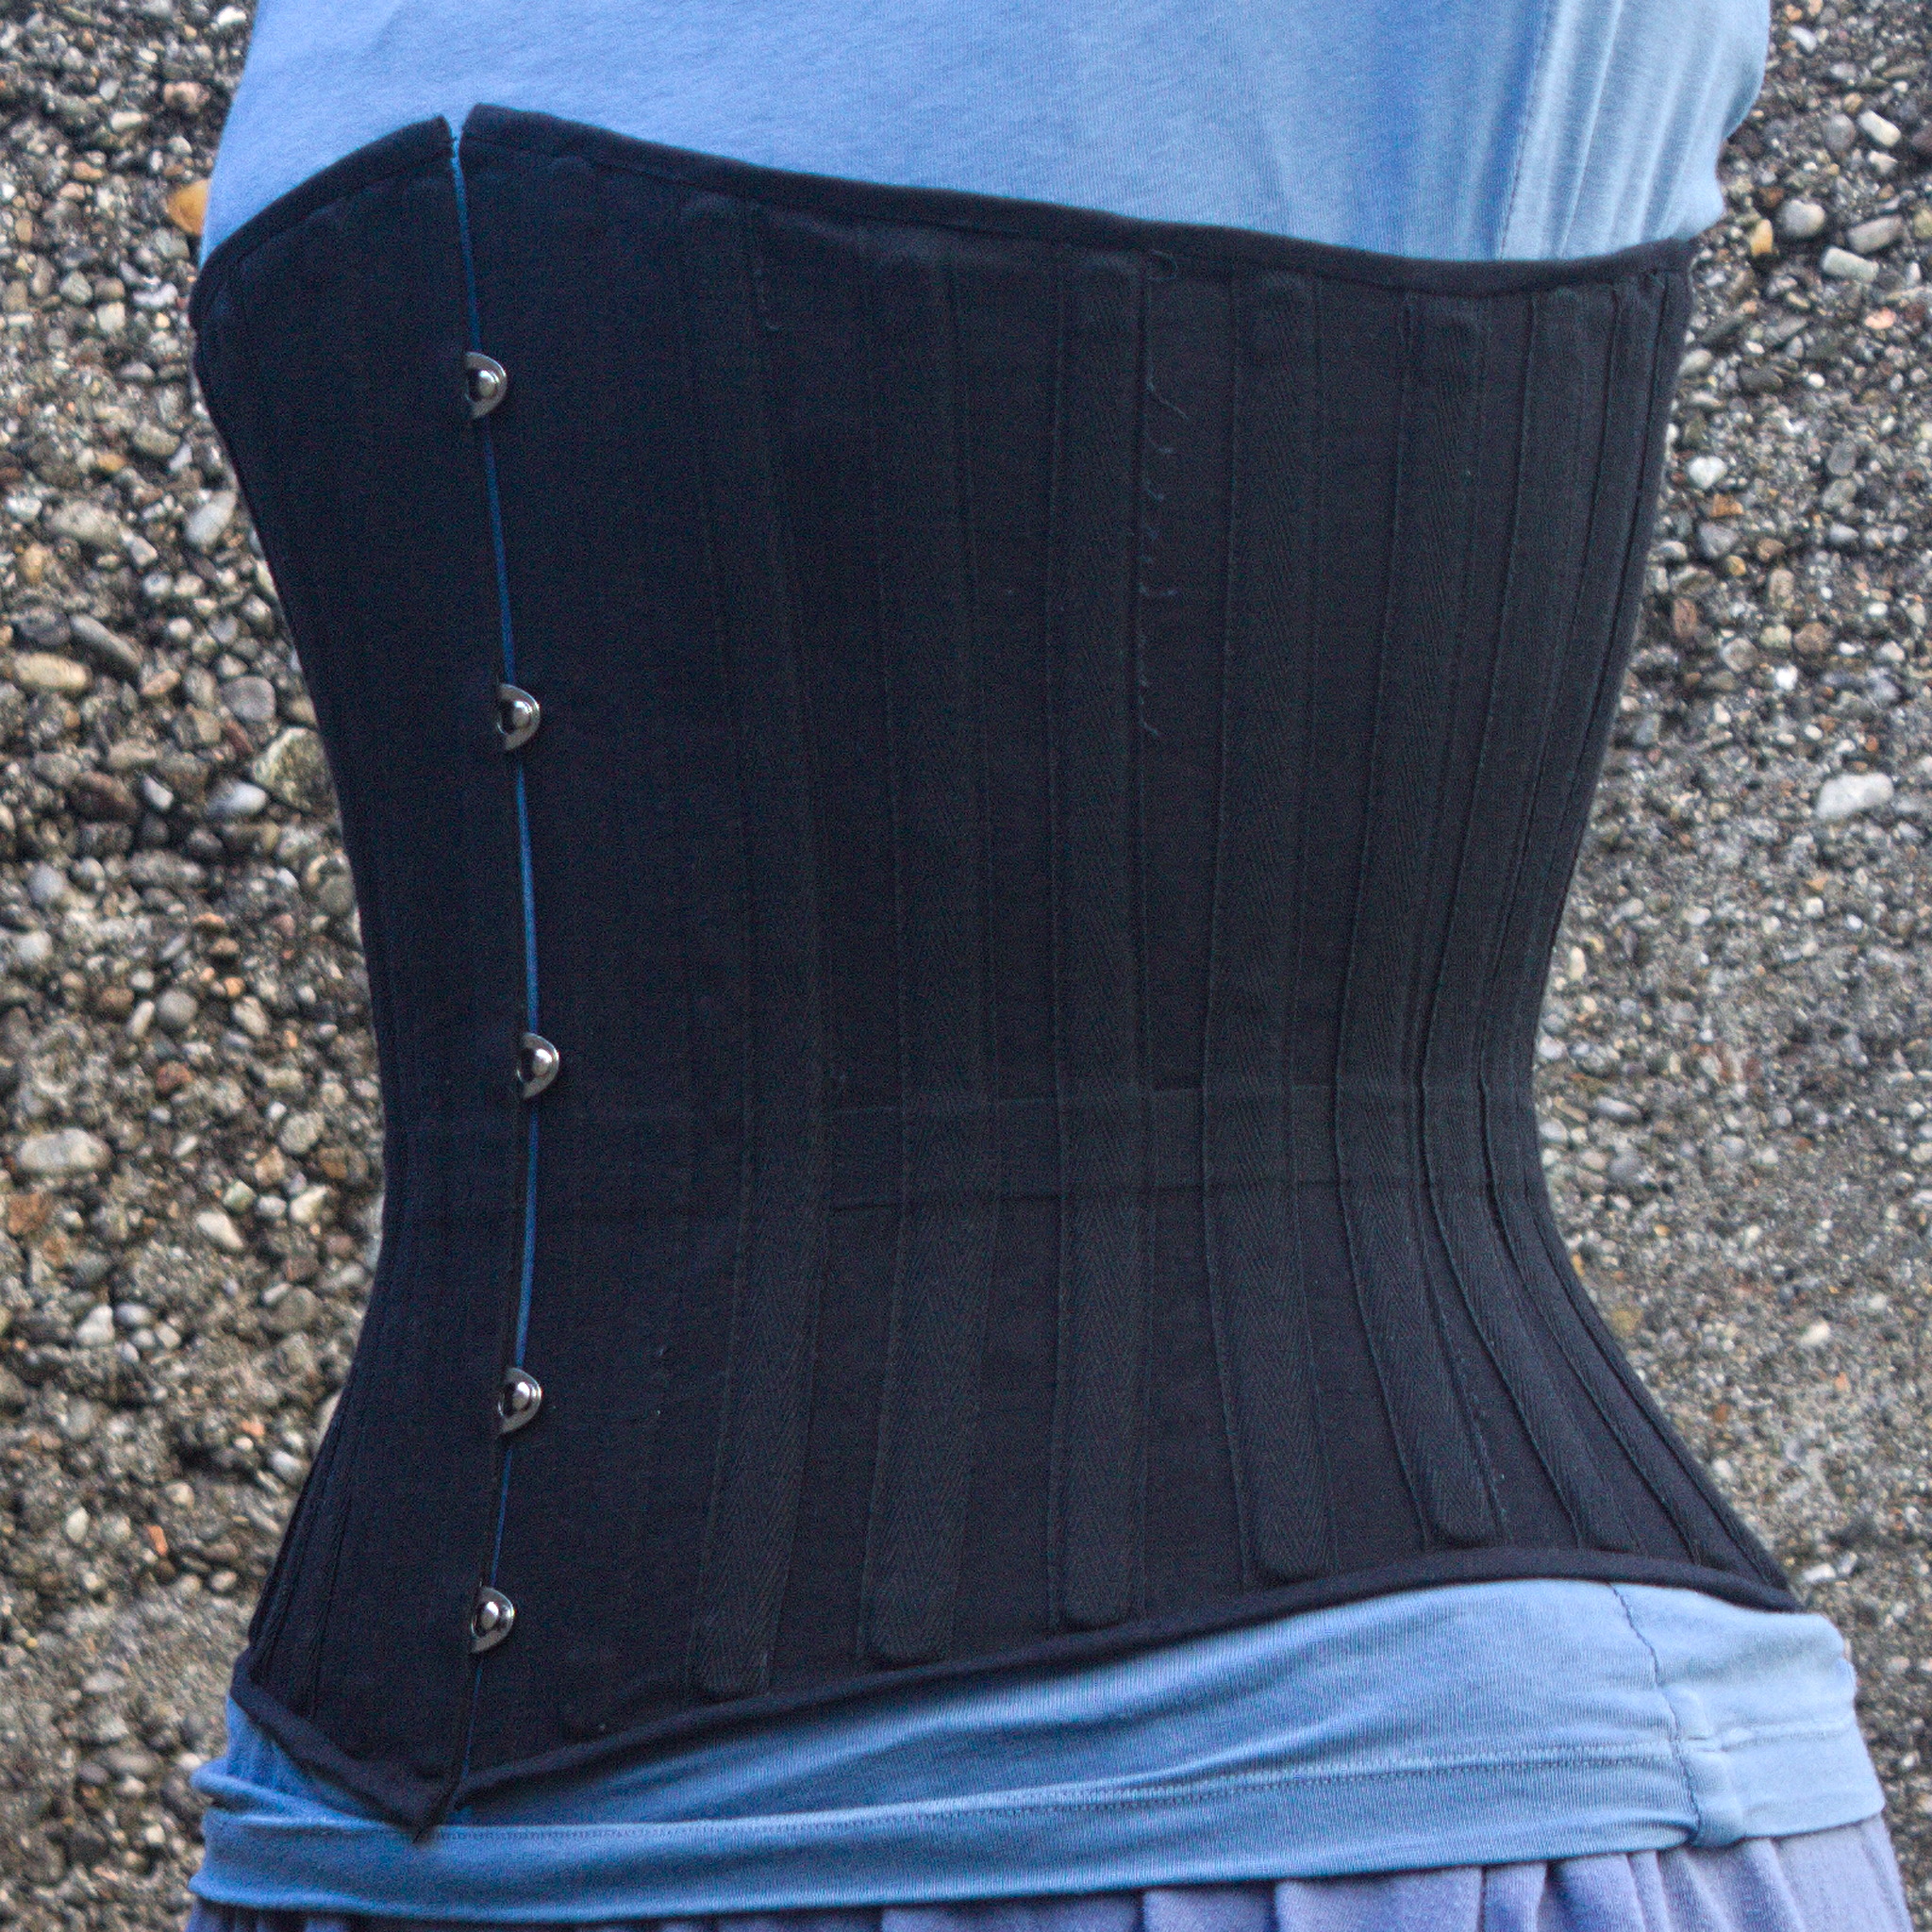
And then realized that the pre-made boning channel tape I had was too narrow for the 10 mm spiral steel I had plenty of. And that the 25 mm twill tape was also too narrow for a double boning channel. On the other hand, the 18 mm twill tape I had used for the waist tape was good for a single channel, so I decided to put a single bone on each seam, and then add another piece of boning in the middle of each panel.
Since I’m making external channels, making them in self fabric would have probably looked better, but I no longer had enough fabric, because of the cutting mishap, and anyway this is going to be a strictly underwear only corset, so it’s not a big deal.
Once the boning channel situation was taken care of, everything else proceeded quite smoothly and I was able to finish the corset during the Christmas break, enlisting again my SO to take care of the flat steel boning while I cut the spiral steels myself with wire cutters.

I could have been a bit more precise with the binding, as it doesn’t align precisely at the front edge, but then again, it’s underwear, nobody other than me and everybody who reads this post is going to see it and I was in a hurry to see it finished. I will be more careful with the next one.
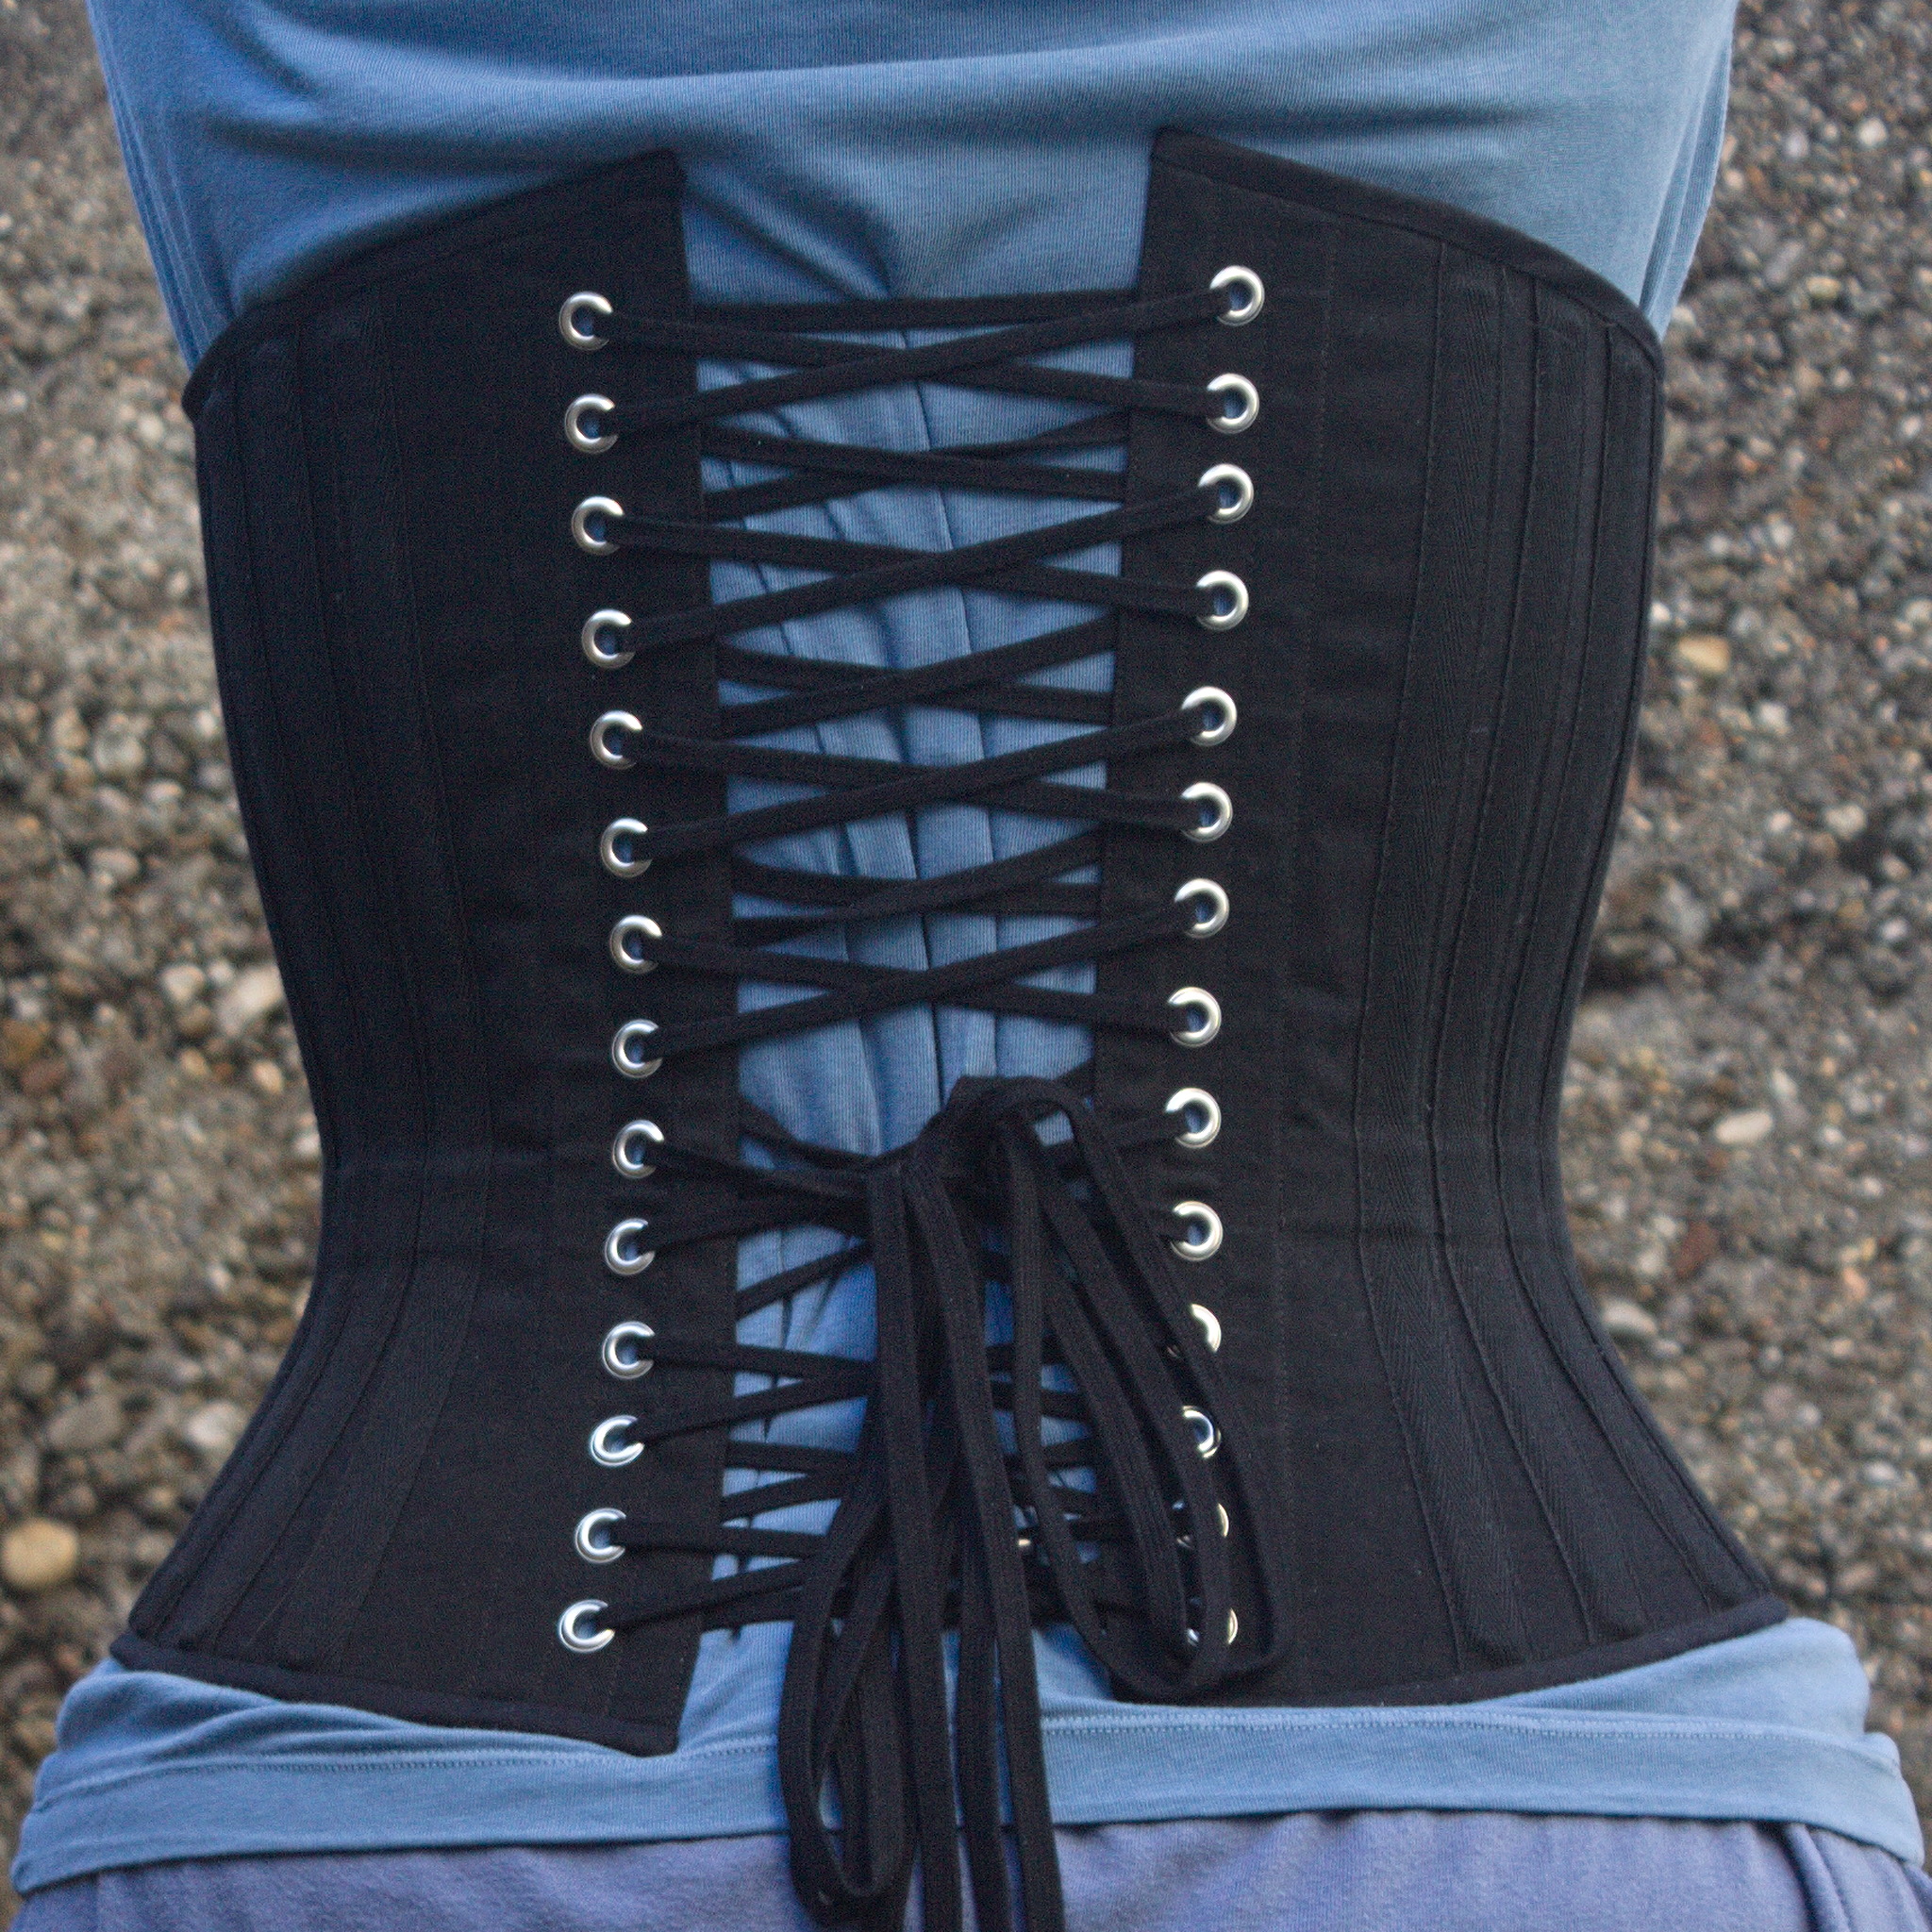
I also think that I haven’t been careful enough when pressing the seams and applying the tape, and I’ve lost about a cm of width per part, so I’m using a lacing gap that is a bit wider than I planned for, but that may change as the corset gets worn, and is still within tolerance.
Also, on the morning after I had finished the corset I woke up and realized that I had forgotten to add garter tabs at the bottom edge. I don’t know whether I will ever use them, but I wanted the option, so maybe I’ll try to add them later on, especially if I can do it without undoing the binding.
The next step would have been flossing, which I proceeded to postpone until I’ve worn the corset for a while: not because there is any reason for it, but because I still don’t know how I want to do it :)
What was left was finishing and uploading the pattern and instructions, that are now on my sewing pattern website as #FreeSoftWear, and finally I could post this on the blog.
i.e. by asking my SO to cut and sand it, because I’m lazy and I hate doing that part :D↩︎