Tags: madeof:atoms, craft:sewing, FreeSoftWear, GNU Terry Pratchett
After cartridge pleating, the next fabric manipulation technique I wanted to try was smocking, of the honeycombing variety, on a shirt.
My current go-to pattern for shirts is the 1880 menswear one I have on my website: I love the fact that most of the fabric is still cut as big rectangles, but the shaped yoke and armscyes make it significantly more comfortable than the earlier style where most of the shaping at the neck was done with gathers into a straight collar.
In my stash I had a cut of purple-blue hopefully cotton [#cotton] I had bought for a cheap price and used for my first attempt at an historically accurate pirate / vampire shirt that has now become by official summer vaccine jab / blood test shirt (because it has the long sleeves I need, but they are pretty easy to roll up to give access to my arm.
That shirt tends to get out of the washing machine pretty wearable even without ironing, which made me think it could be a good fabric for something that may be somewhat hard to iron (but also made me suspicious about the actual composition of the fabric, even if it feels nice enough even when worn in the summer).
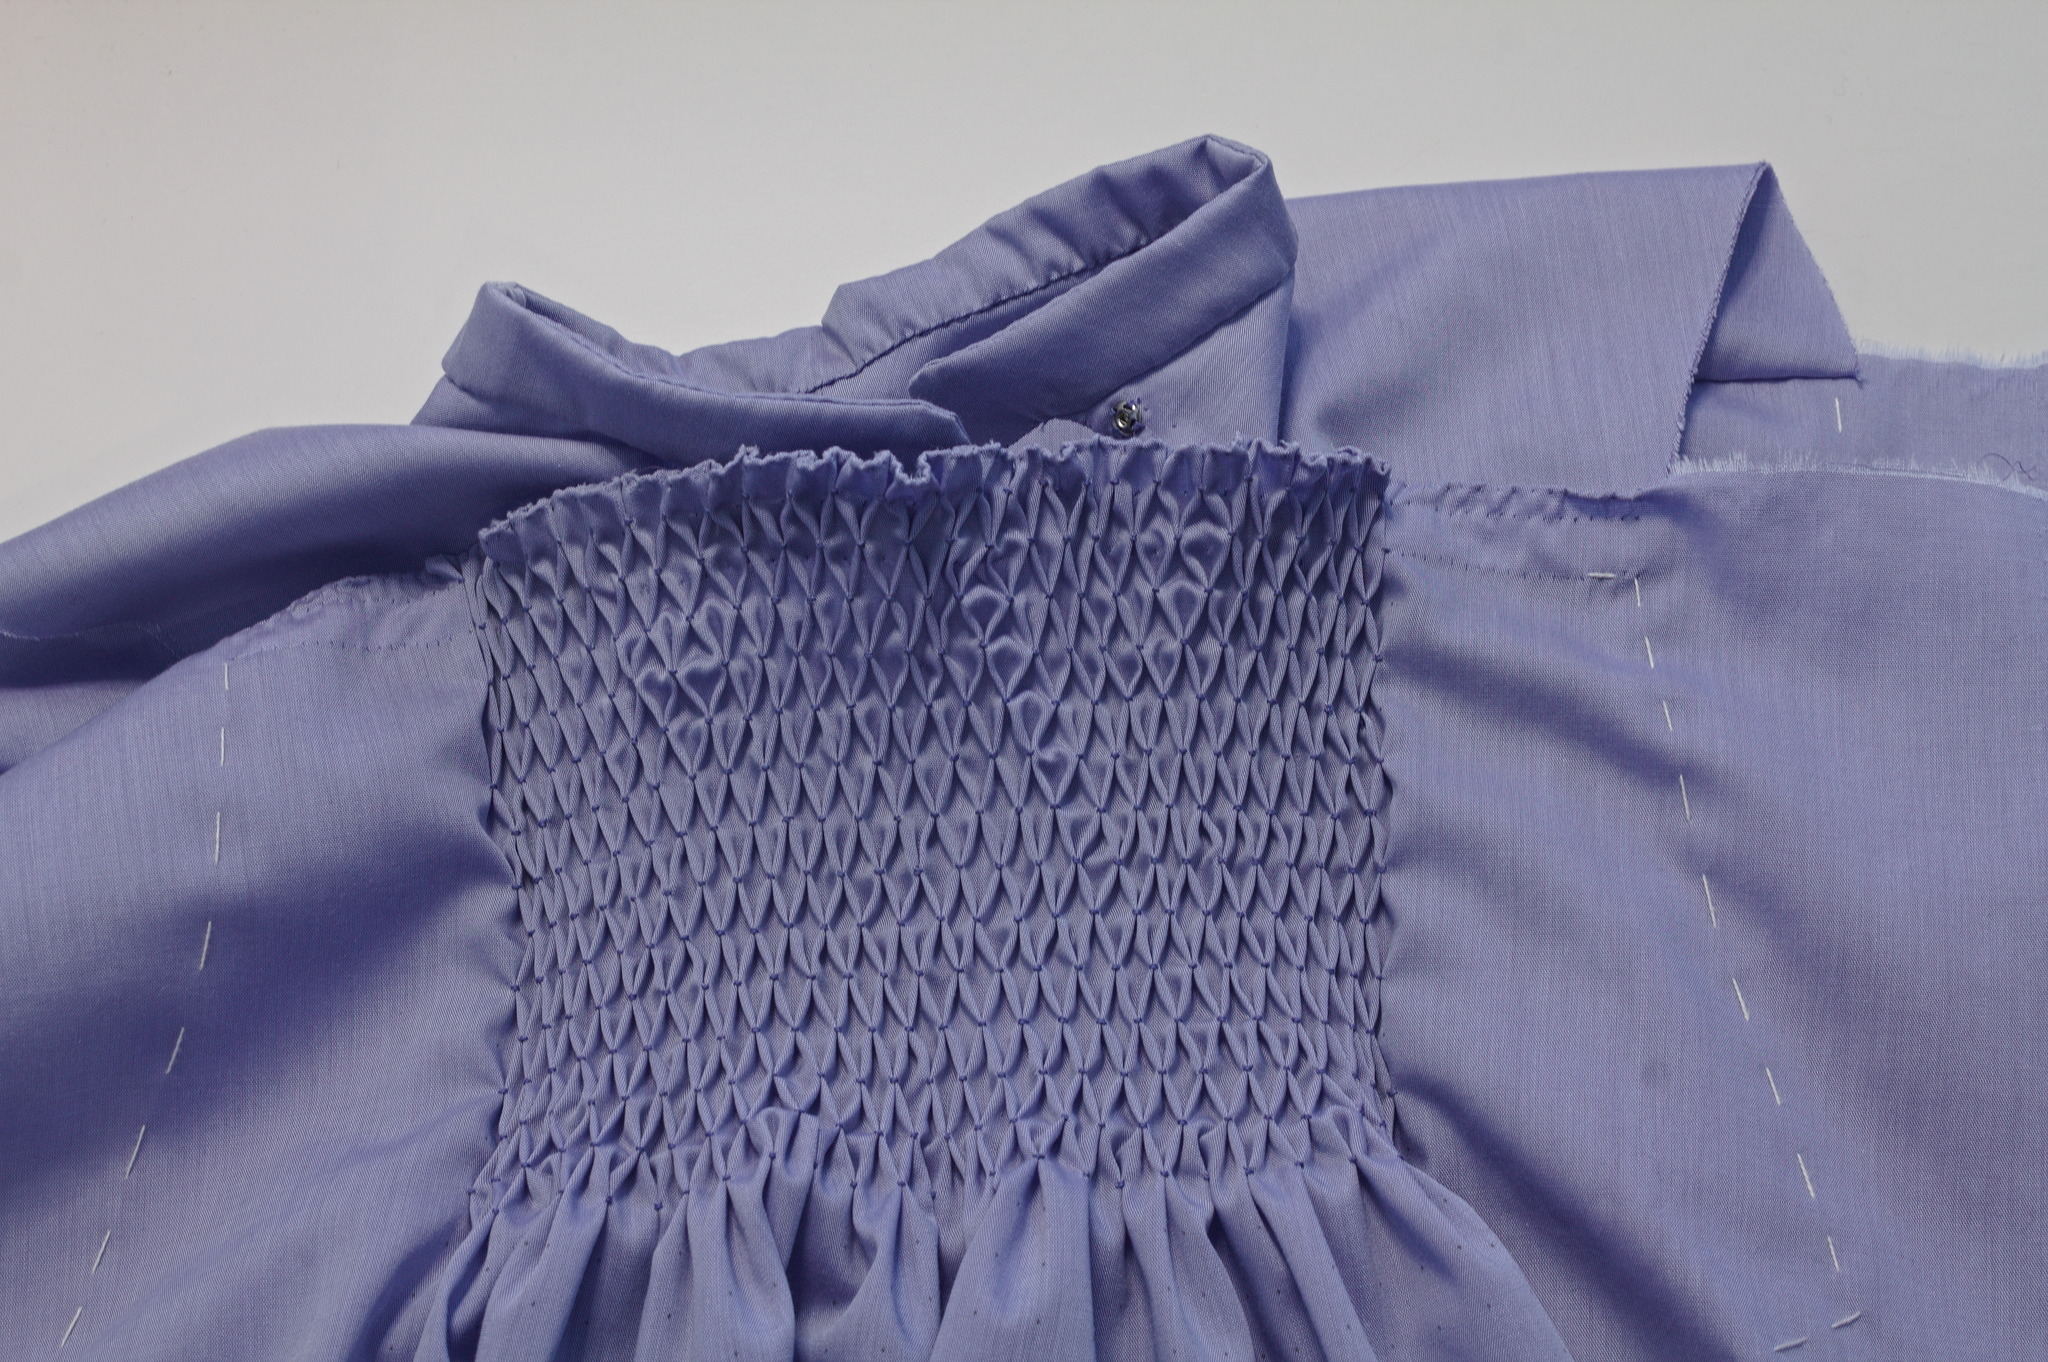
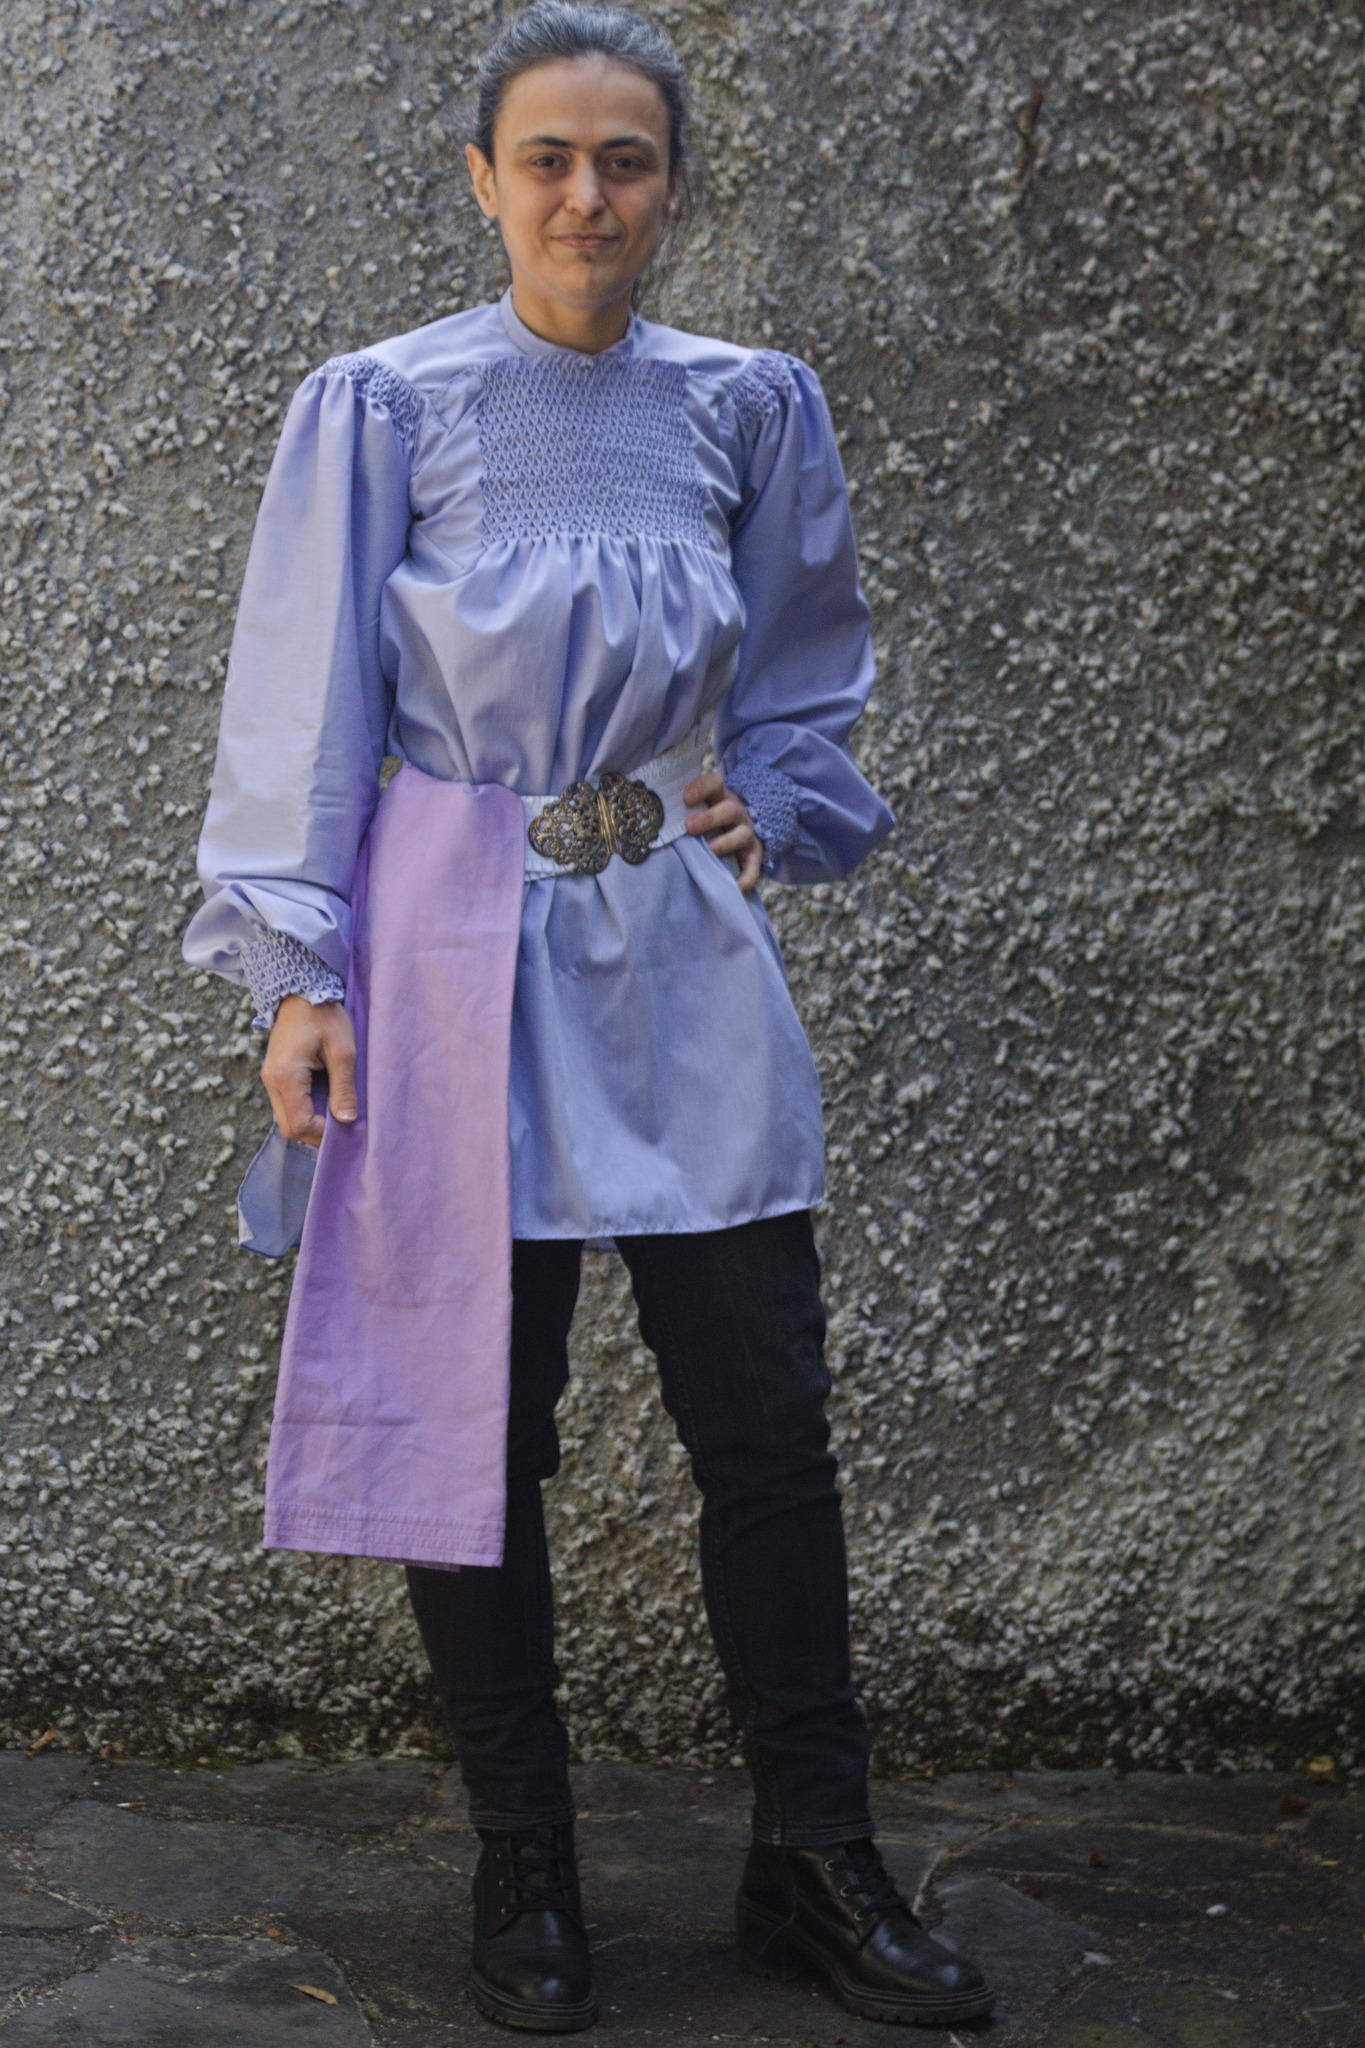
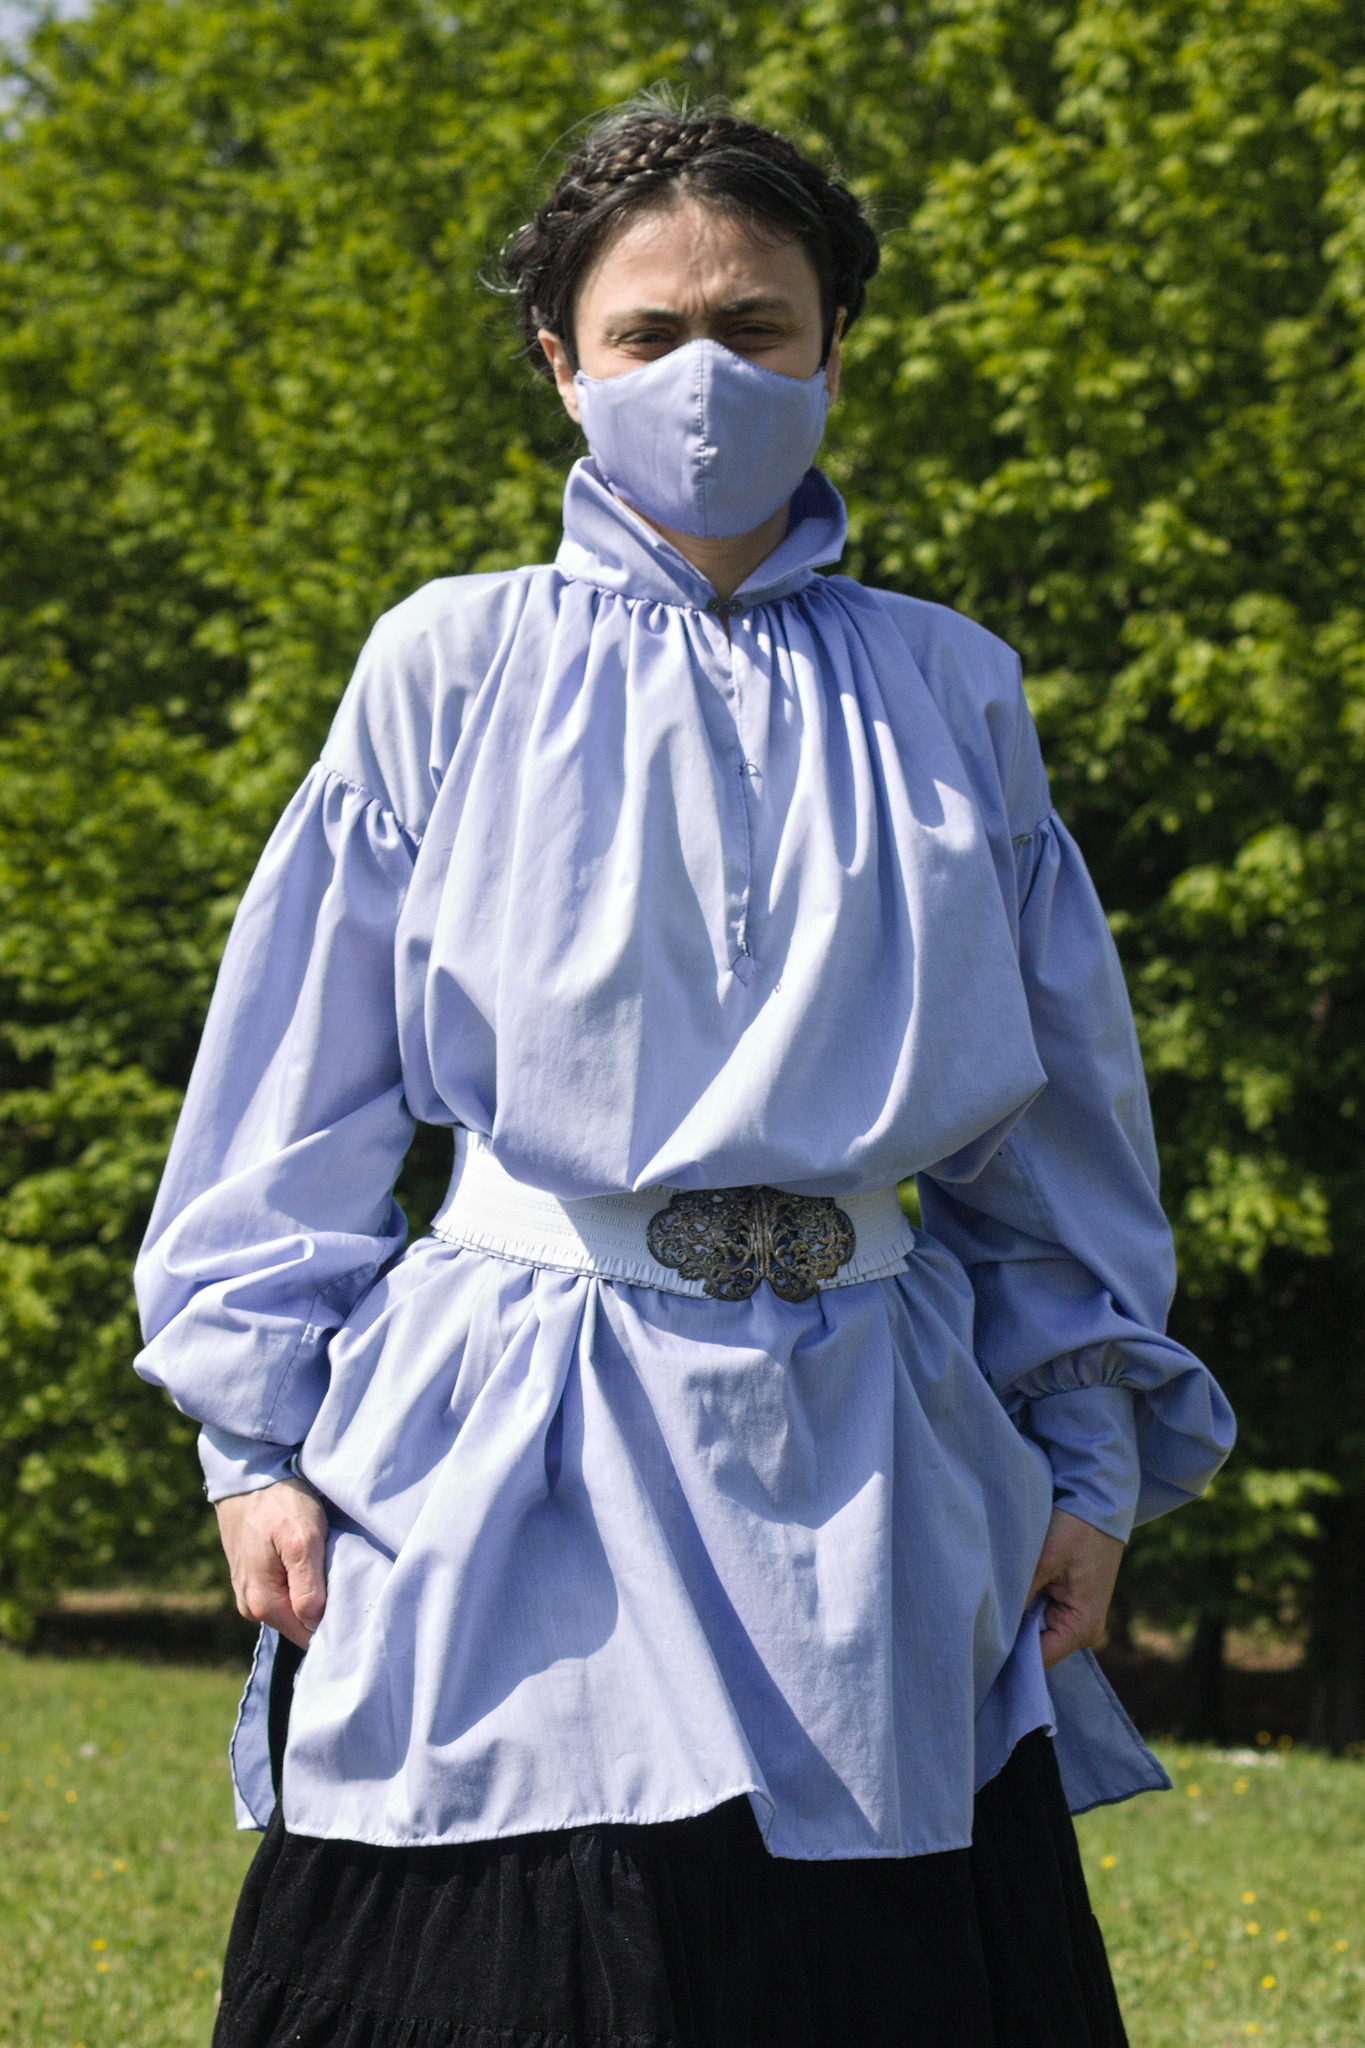
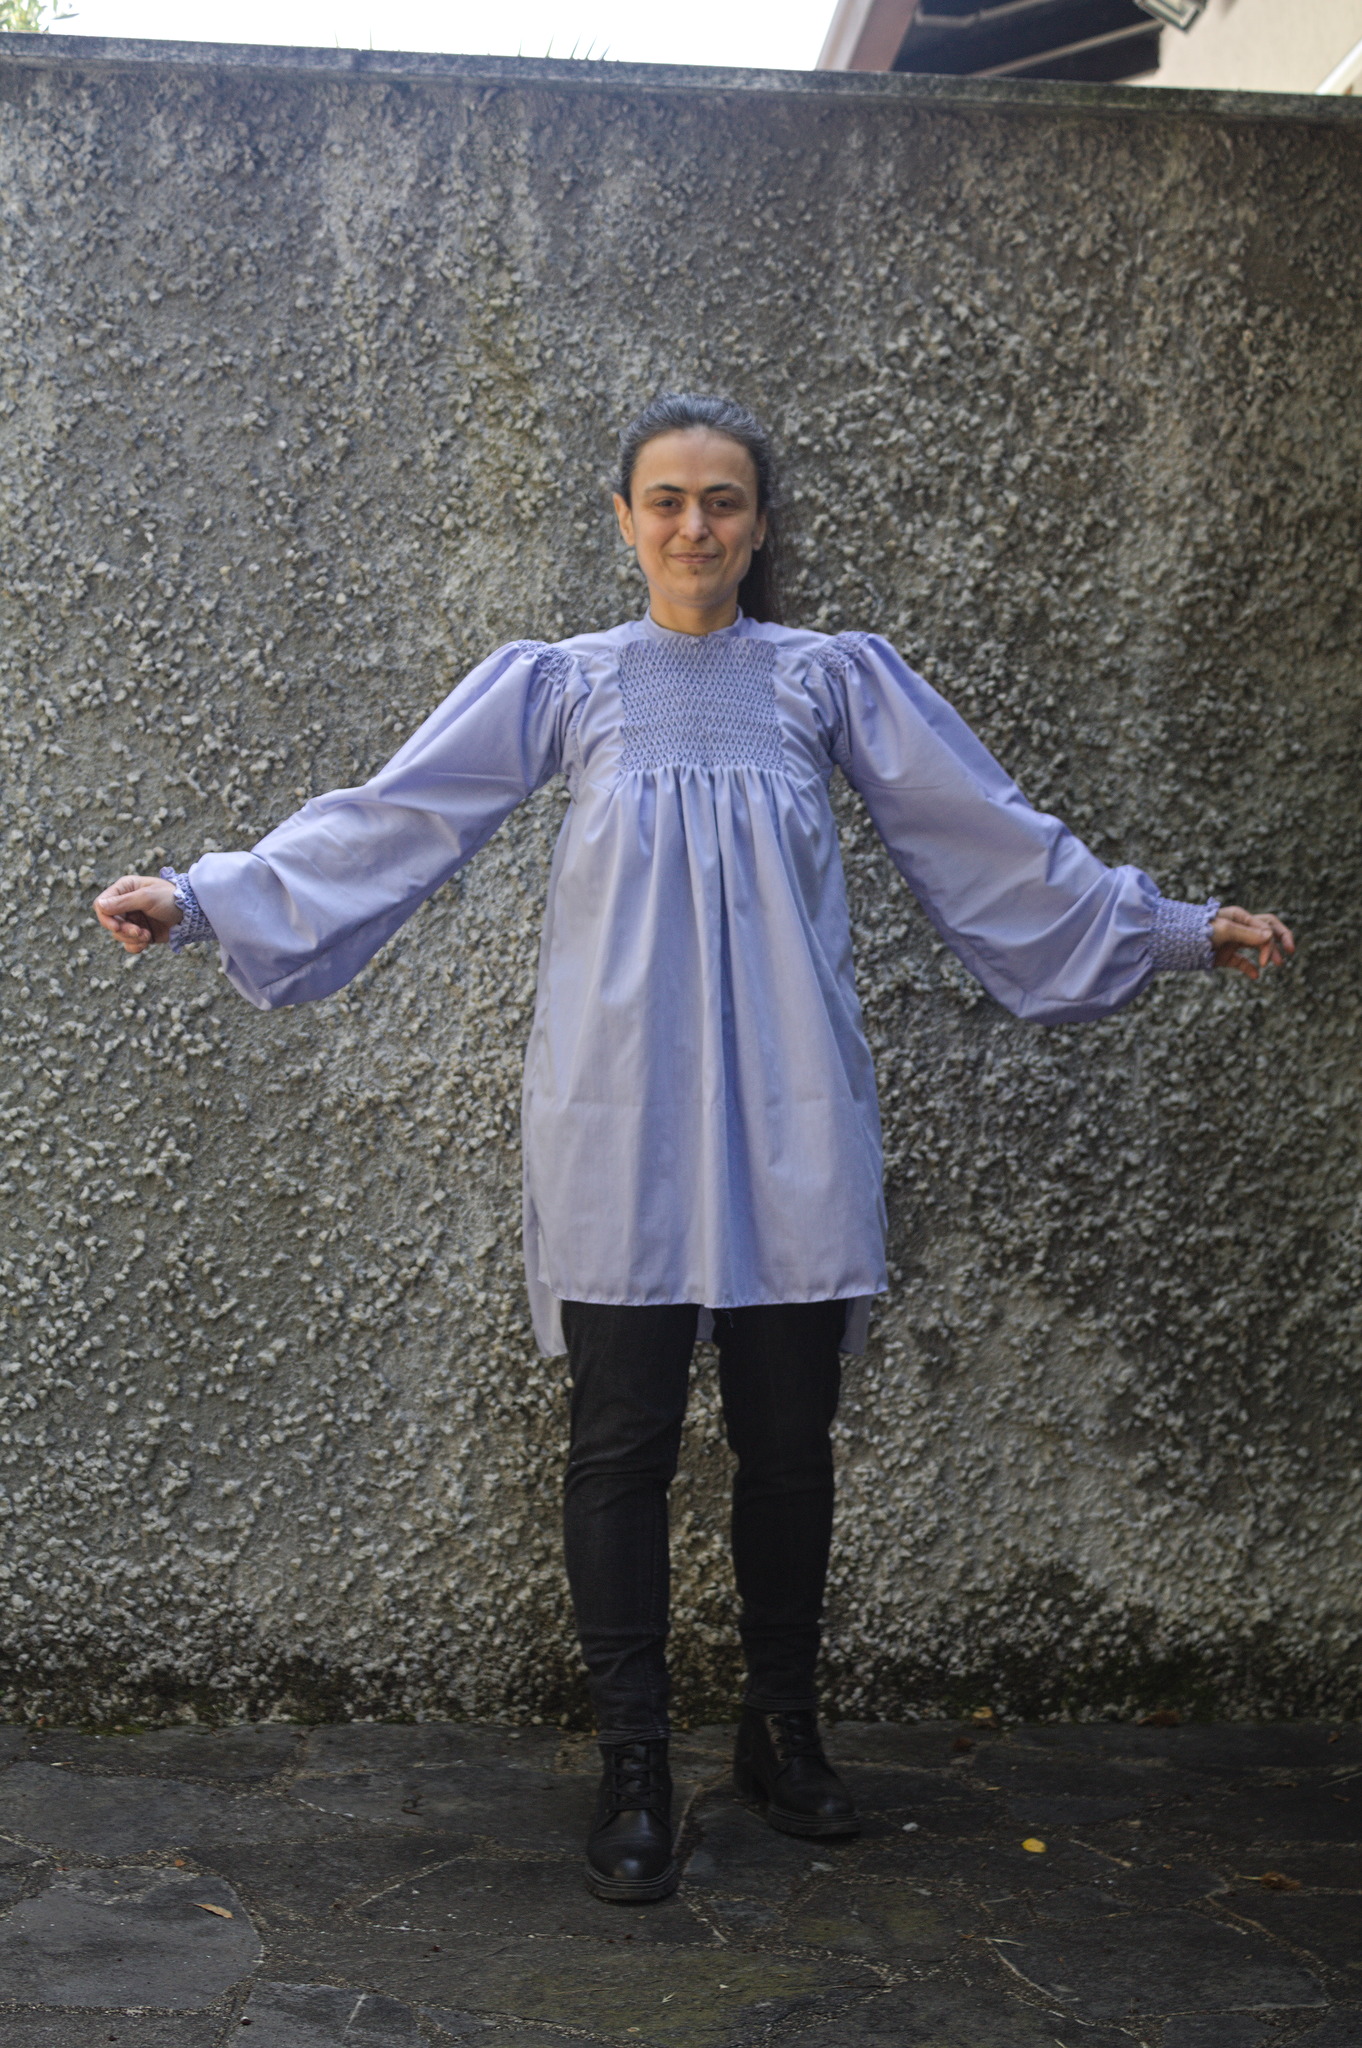
Of course I wanted some honeycombing on the front, but I was afraid that the slit in the middle of it would interfere with the honeycombing and gape, so I decided to have the shirt open in an horizontal line at the yoke.
I added instructions to the pattern page for how I changed the opening in the front, basically it involved finishing the front edge of the yoke, and sewing the honeycombed yoke to a piece of tape with snaps.
Another change from the pattern is that I used plain rectangles for the sleeves, and a square gusset, rather than the new style tapered sleeve , because I wanted to have more fabric to gather at the wrist. I did the side and sleeve seams with a hem + whipstitch method rather than a felled seam, which may have helped, but the sleeves went into the fitted armscyes with no issue.
I think that if (yeah, right. when) I’ll make another sleeve in this style I’ll sew it into the side seam starting 2-3 cm lower than the place I’ve marked on the pattern for the original sleeve.
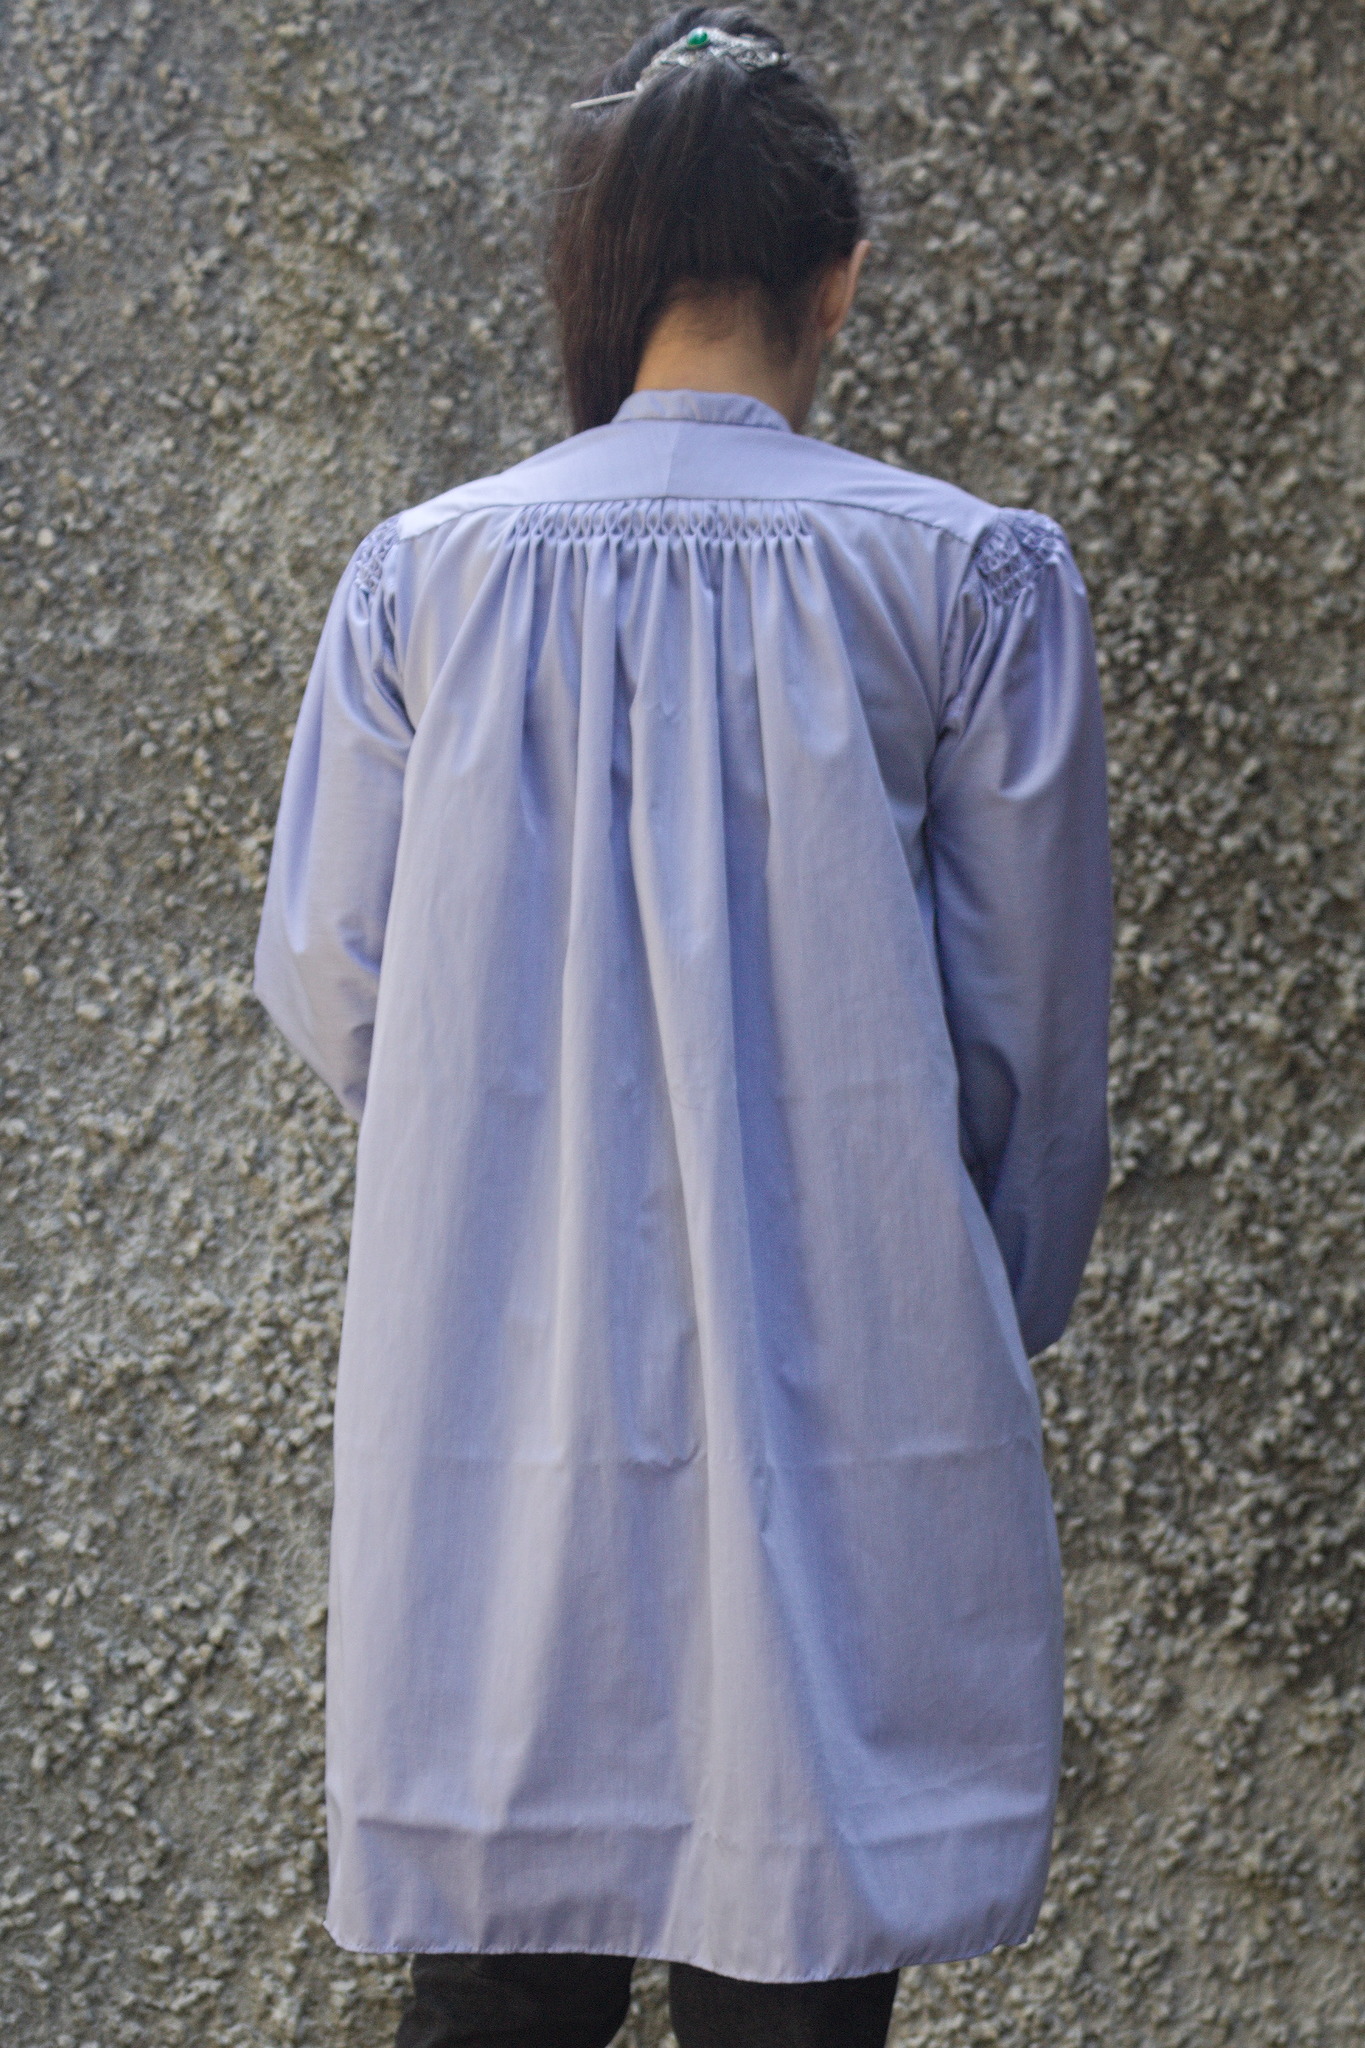
I also used a row of honeycombing on the back and two on the upper part of the sleeves, instead of the gathering, and of course some rows to gather the cuffs.
The honeycombing on the back was a bit too far away from the edge, so it’s a bit of an odd combination of honeycombing and pleating that I don’t hate, but don’t love either. It’s on the back, so I don’t mind. On the sleeves I’ve done the honeycombing closer to the edge and I’ve decided to sew the sleeve as if it was a cartridge pleated sleeve, and that worked better.
Because circumstances are still making access to my sewing machine more of a hassle than I’d want it to be, this was completely sewn by hand, and at a bit more than a month I have to admit that near the end it felt like it had been taken forever. I’m not sure whether it was the actual sewing being slow, some interruptions that happened when I had little time to work on it, or the fact that I’ve just gone through a time when my brain kept throwing new projects at me, and I kept thinking of how to make those. Thanks brain.
Even when on a hurry to finish it, however, it was still enjoyable sewing, and I think I’ll want to do more honeycombing in the future.
Anyway, it’s done! And it’s going straight into my daily garment rotation, because the weather is getting hot, and that means it’s definitely shirt time.