Tags: madeof:atoms, craft:sewing, period:edwardian, FreeSoftWear
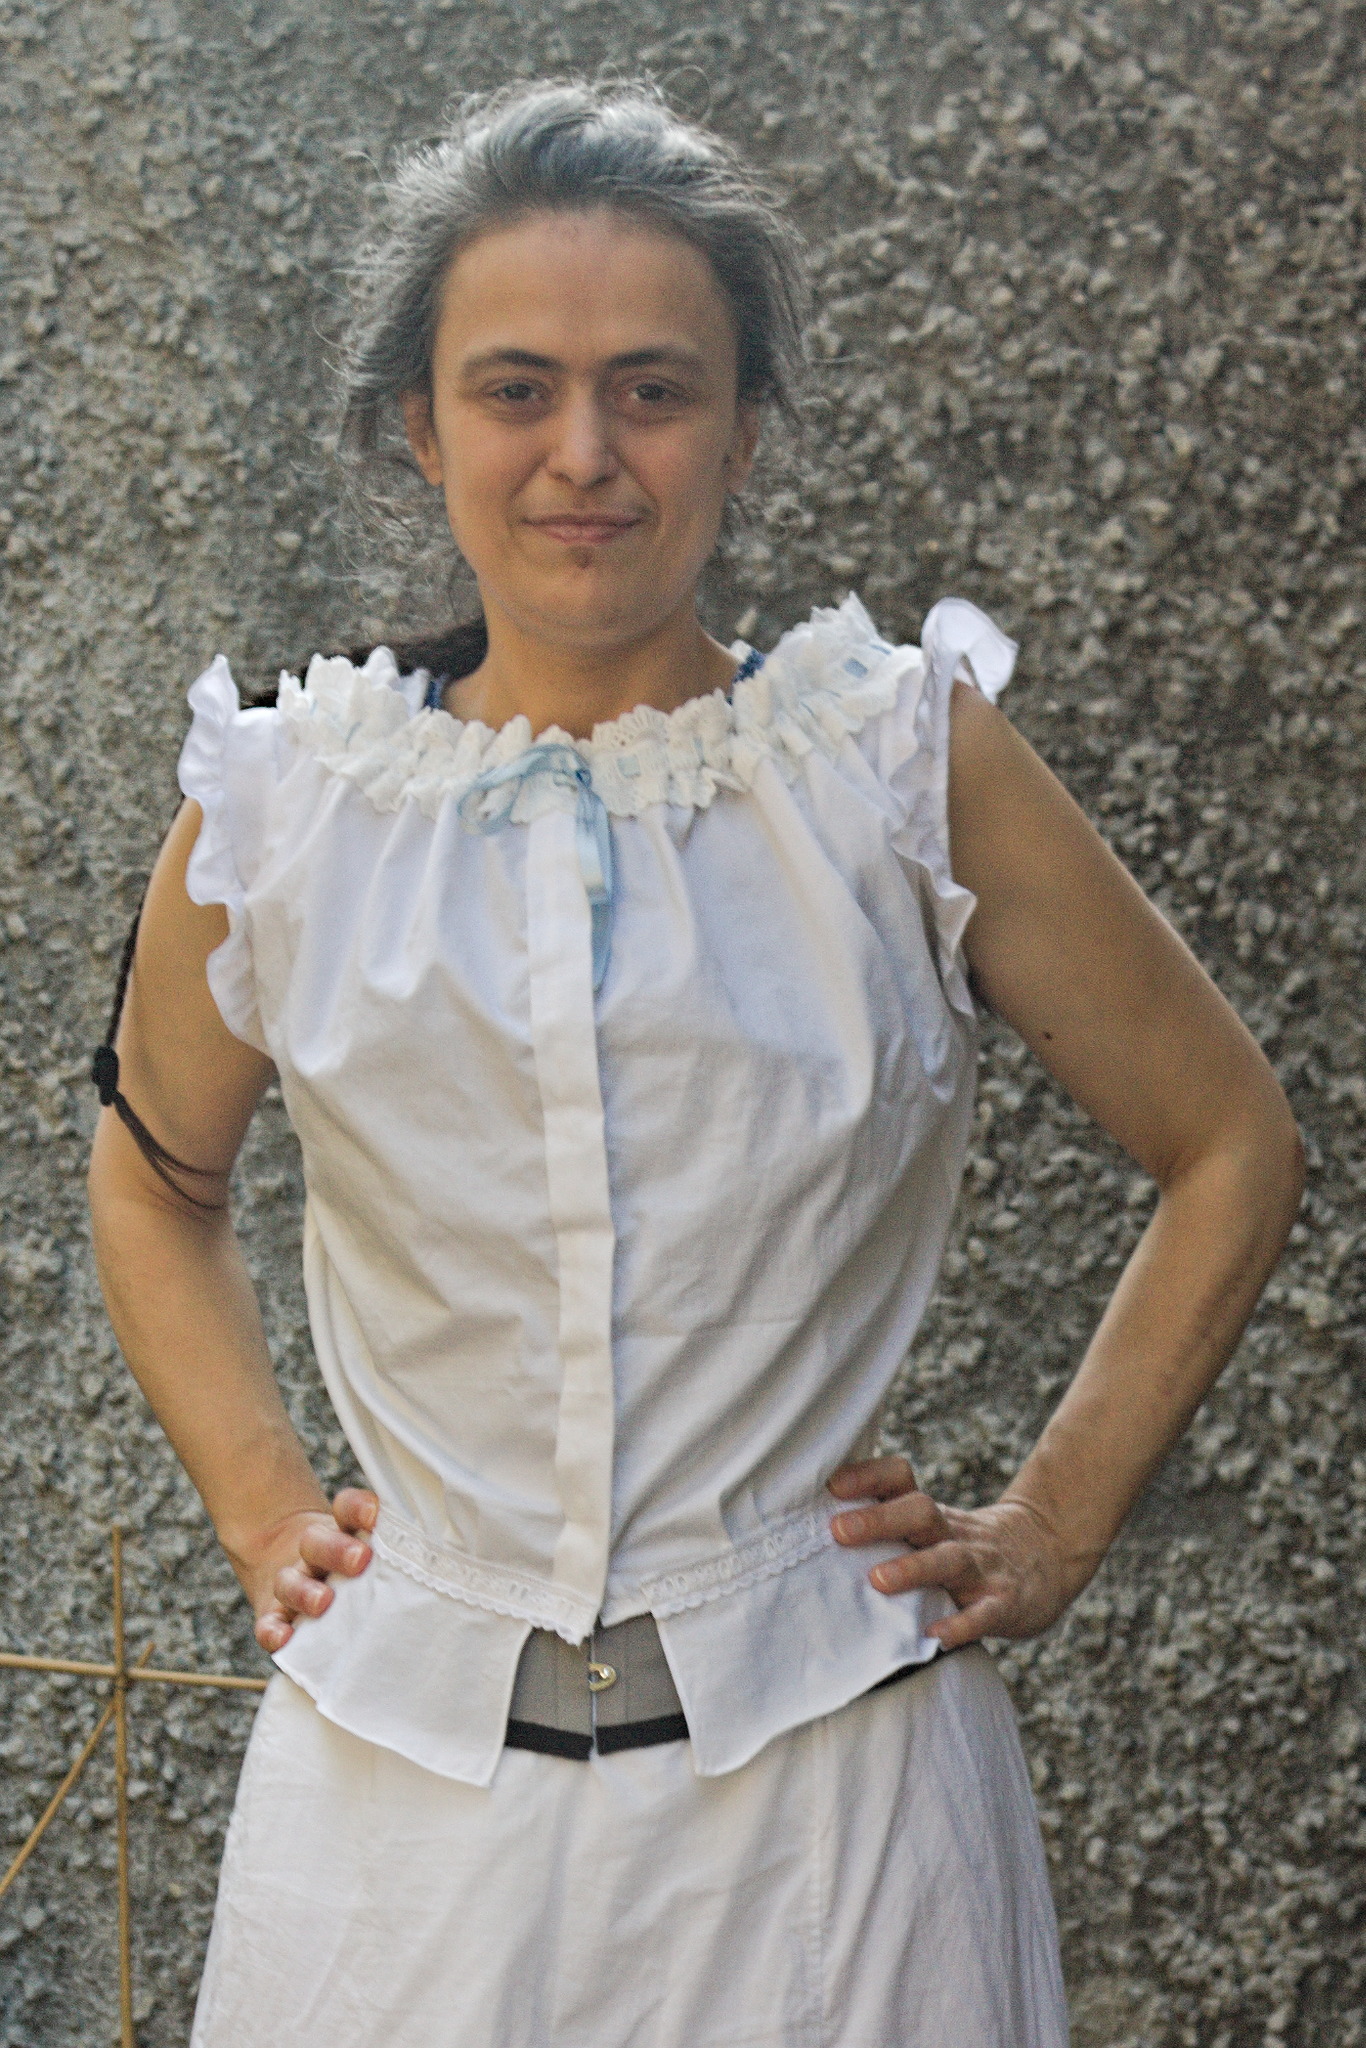
Many years ago, before I had my sewing pattern website, I made myself a simple corset cover according to the instructions on an Edwardian pattern drafting manual.
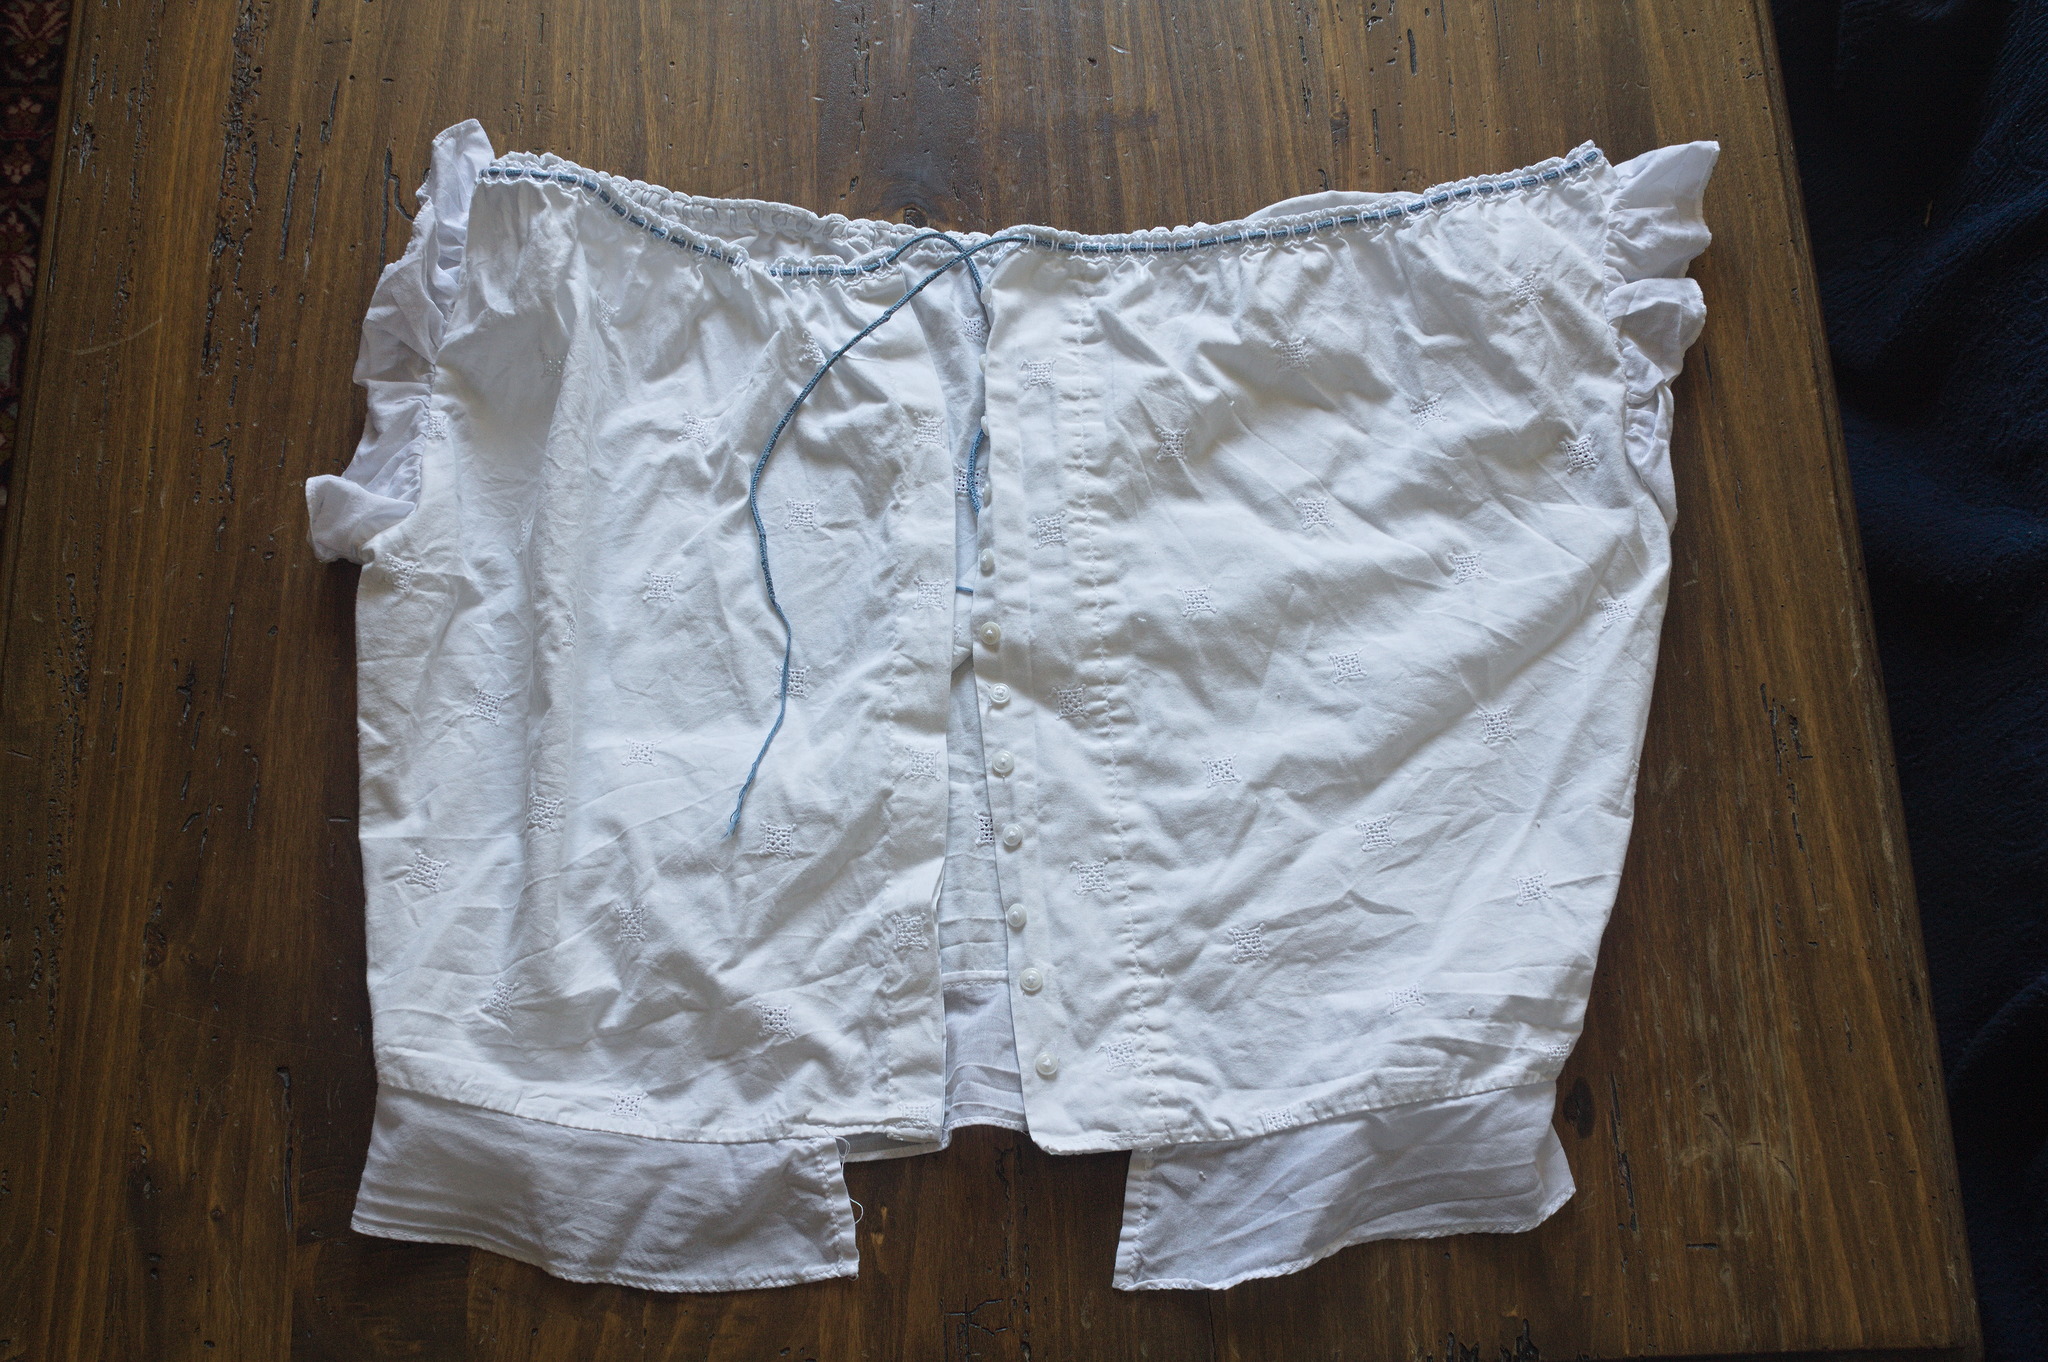
It worked, I wore it. Years later I saw a blog post on Pour La Victoire on making a corset cover based on the same book, but with completely different results, and thought that it would have been nice to make another one to publish instructions for my take on it.
However, I didn’t have any embroidery flouncing on hand, nor did I have a need for a new corset cover, and the project remained on the list, on low priority (although I did buy some beading lace for it, when I stumbled on it).
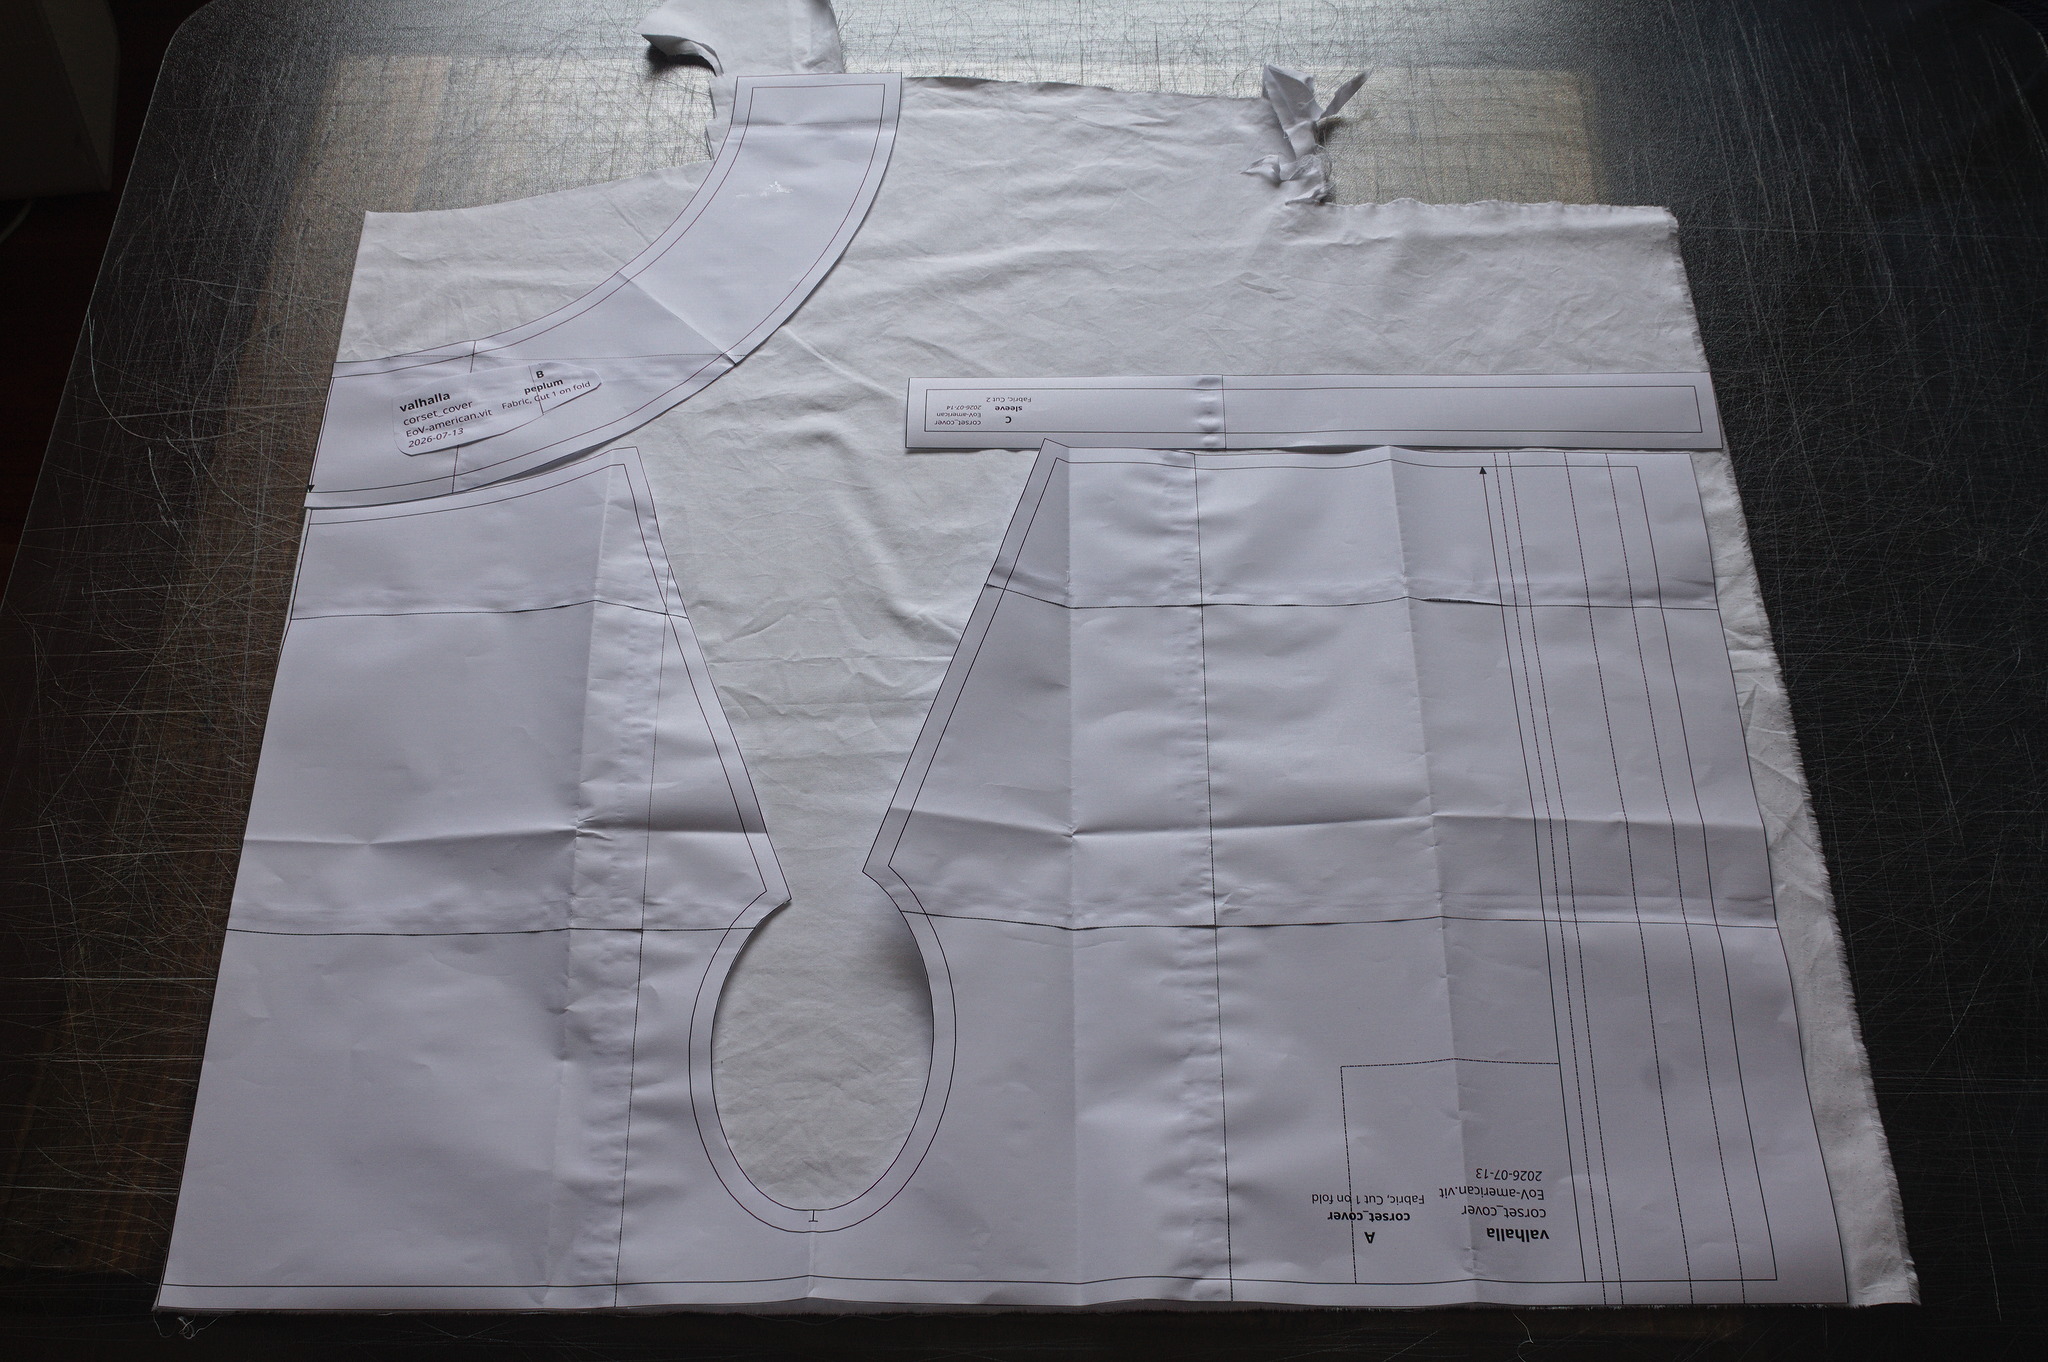
Then, after finishing my vampire shirt, I noticed that I had just enough fabric left for a corset cover, and by just enough I really mean just enough, as I discovered when laying the pattern on the fabric.
So I dug in my files to get the original pattern I used, brought it up to date, and added the missing details such as the pleating guides that I had skipped when making the pattern just for myself. Doing so I realized that on my old cover I had done the fake pleat in the front wrong, making just a single pleat instead of a box pleat. Also, I originally directly gathered the sleeves in the armscyes, but watching the book again I realized that the sleeves were made up of a gathered ruffle plus a straight band.
Both issues were fixed and I could cut the fabric and start sewing. By machine, including using a narrow hem foot instead of sewing rolled hems by hand as my instinct kept reminding me would have looked neater.
But this is a garment from a sewing machine time, and probably one that in many cases would have been bought from a mass producer, and it’s underwear, so there is no real need for the hems to be perfect, as it’s going to be hidden anyway. But most importantly, I wanted to write instructions for machine sewing, for a change, and so I had to machine sew all steps that I had to take pictures of.
I did do the buttonholes by hand, because I hate the buttonhole attachment on my machine, and the buttonhole attachment hates me.
I used a lighter weight fabric for the sleeve ruffles, both because I didn’t have a big enough piece of main fabric not to have to piece them, and because I felt that it looks better, as it’s the same voile I used for the ruffles on the vampire shirt.
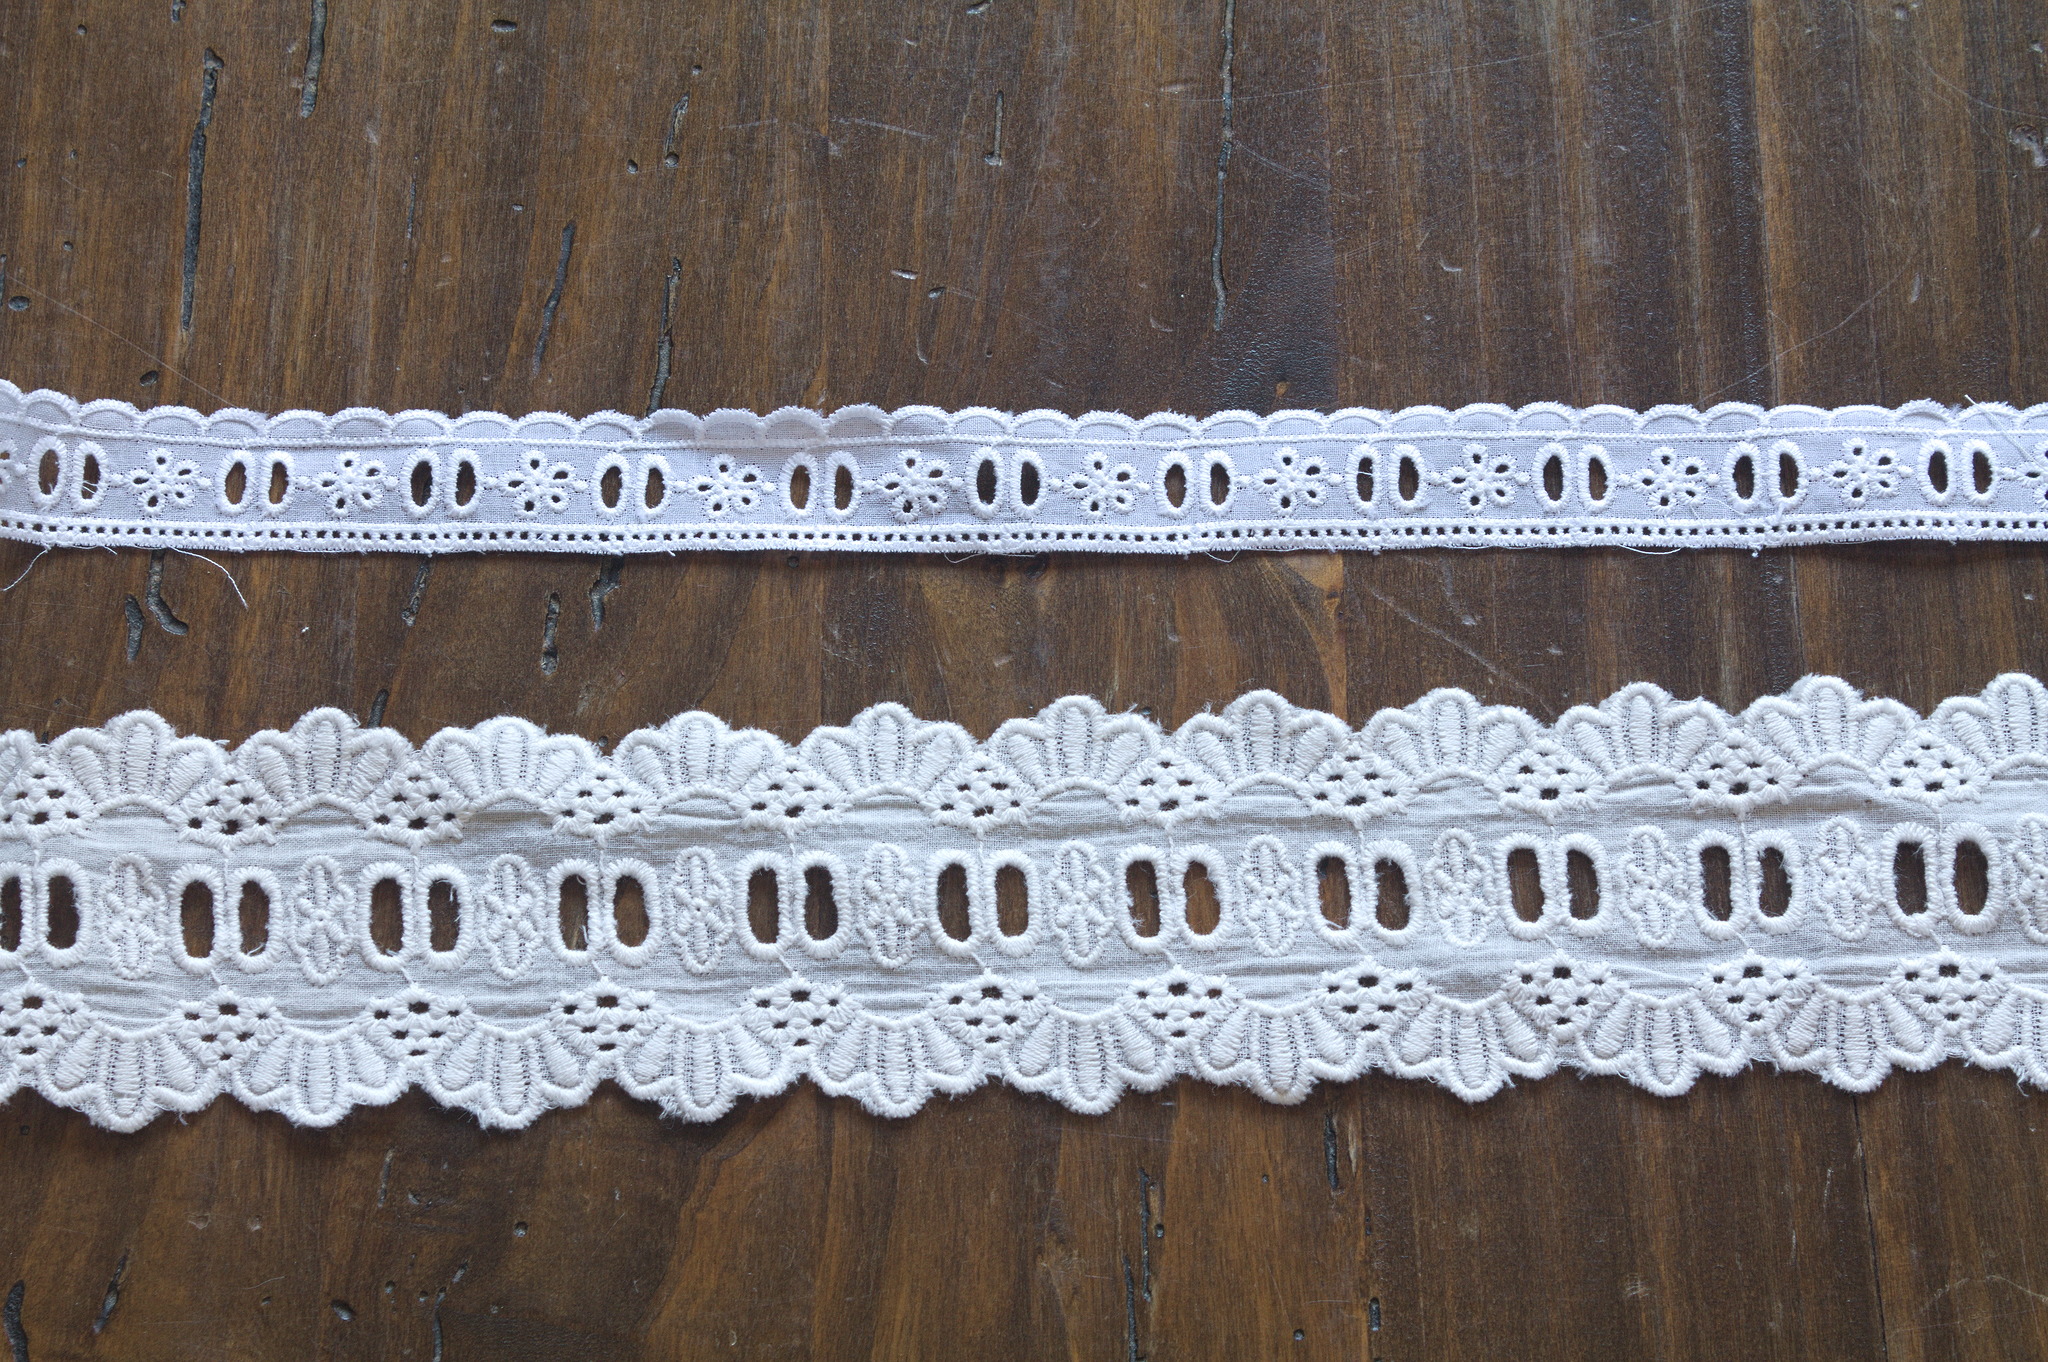
When it came to the beading lace, I had two that I had bought more or less thinking about this project: the earlier one was narrow and suitable to do its job, but the one I had bought more recently was taller, with an edge that made it suitable to give more fullness to the bust when gathered up.
I contemplated for a short while, and then decided to go for fullness and use the taller border for the top edge, but the smaller one at the waist, where fullness is not wanted.
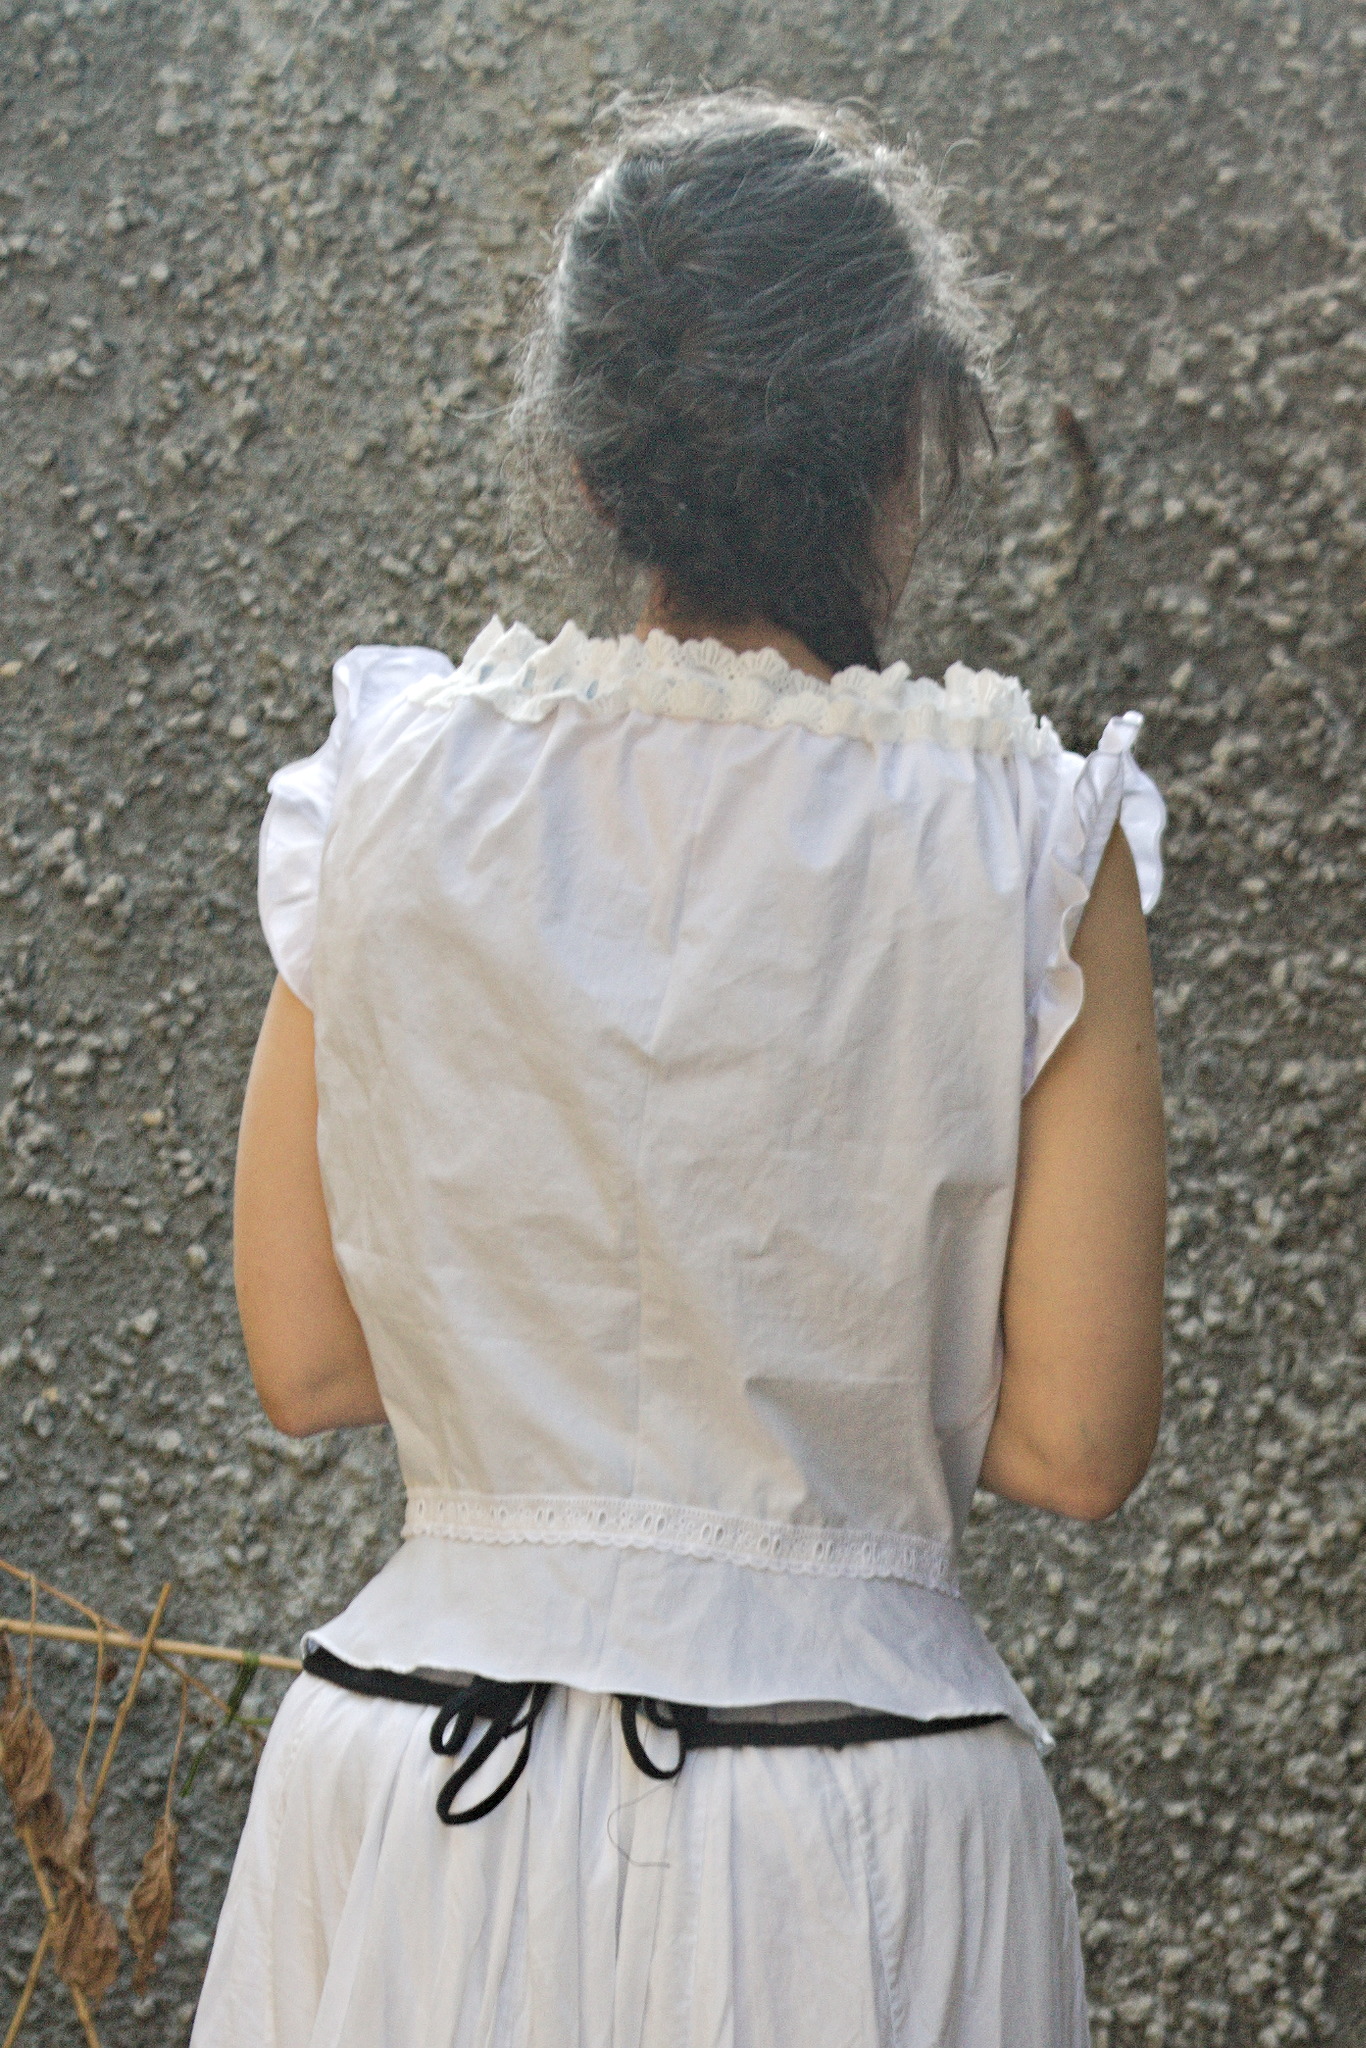
The book claimed that this pattern required little labour, and indeed it did: even when taking step by step pictures it only took a few hours spread over a week, plus the time to make buttonholes by hand over the next week.
And then the reason for the whole project: I published my pattern and instructions under a free license.
I still haven’t worn the corset cover, except for these pictures, but I hope to do so later in the year when the weather becomes more reasonable.