Tags: topic:walking
Warning
mention of bodies being bodies and minds being minds, and not in the perfectly working sense.
A lot of the youtube channels I follow tend to involve somebody making things, so of course one of the videos my SO and I watched a few days ago was about walking around San Francisco Bay, and that recalled my desire to go to places by foot. Now, for health-related reasons doing it properly would be problematic, and thus I’ve never trained for that, but during this Christmas holiday-heavy time I suggested my very patient SO the next best thing: instead of our usual 1.5 hours uphill walk in the woods, a 2 hours and a bit mostly flat walk on paved streets, plus some train, to a nearby town: Porto Ceresio, on the Italian side of Lake Lugano.
I started to prepare for it on the day before, by deciding it was a good time to upgrade my PinePhone, and wait, I’m still on Trixie? I could try Forky, what could possibly go wrong? And well, the phone was no longer able to boot, and reinstalling from the latest weekly had a system where the on-screen keyboard didn’t appear, and I didn’t want to bother finding out why, so re-installed another time from the 13.0 image, and between that, and distracting myself with widelands while waiting for the downloads and uploads and reboots etc., well, all of the afternoon and the best part of the evening disappeared.
So, in a hurry, between the evening and the next morning I prepared a nice healthy lunch, full of all the important nutrients such as sugar, salt, mercury and arsenic. Tuna (mercury) soboro (sugar and salt) on rice and since I was in a hurry I didn’t prepare any vegetables, but used pickles (more salt) and shio kombu (arsenic and various heavy metals, sugar and salt). Plus a green tea mochi for dessert, in case we felt low on sugar. :D
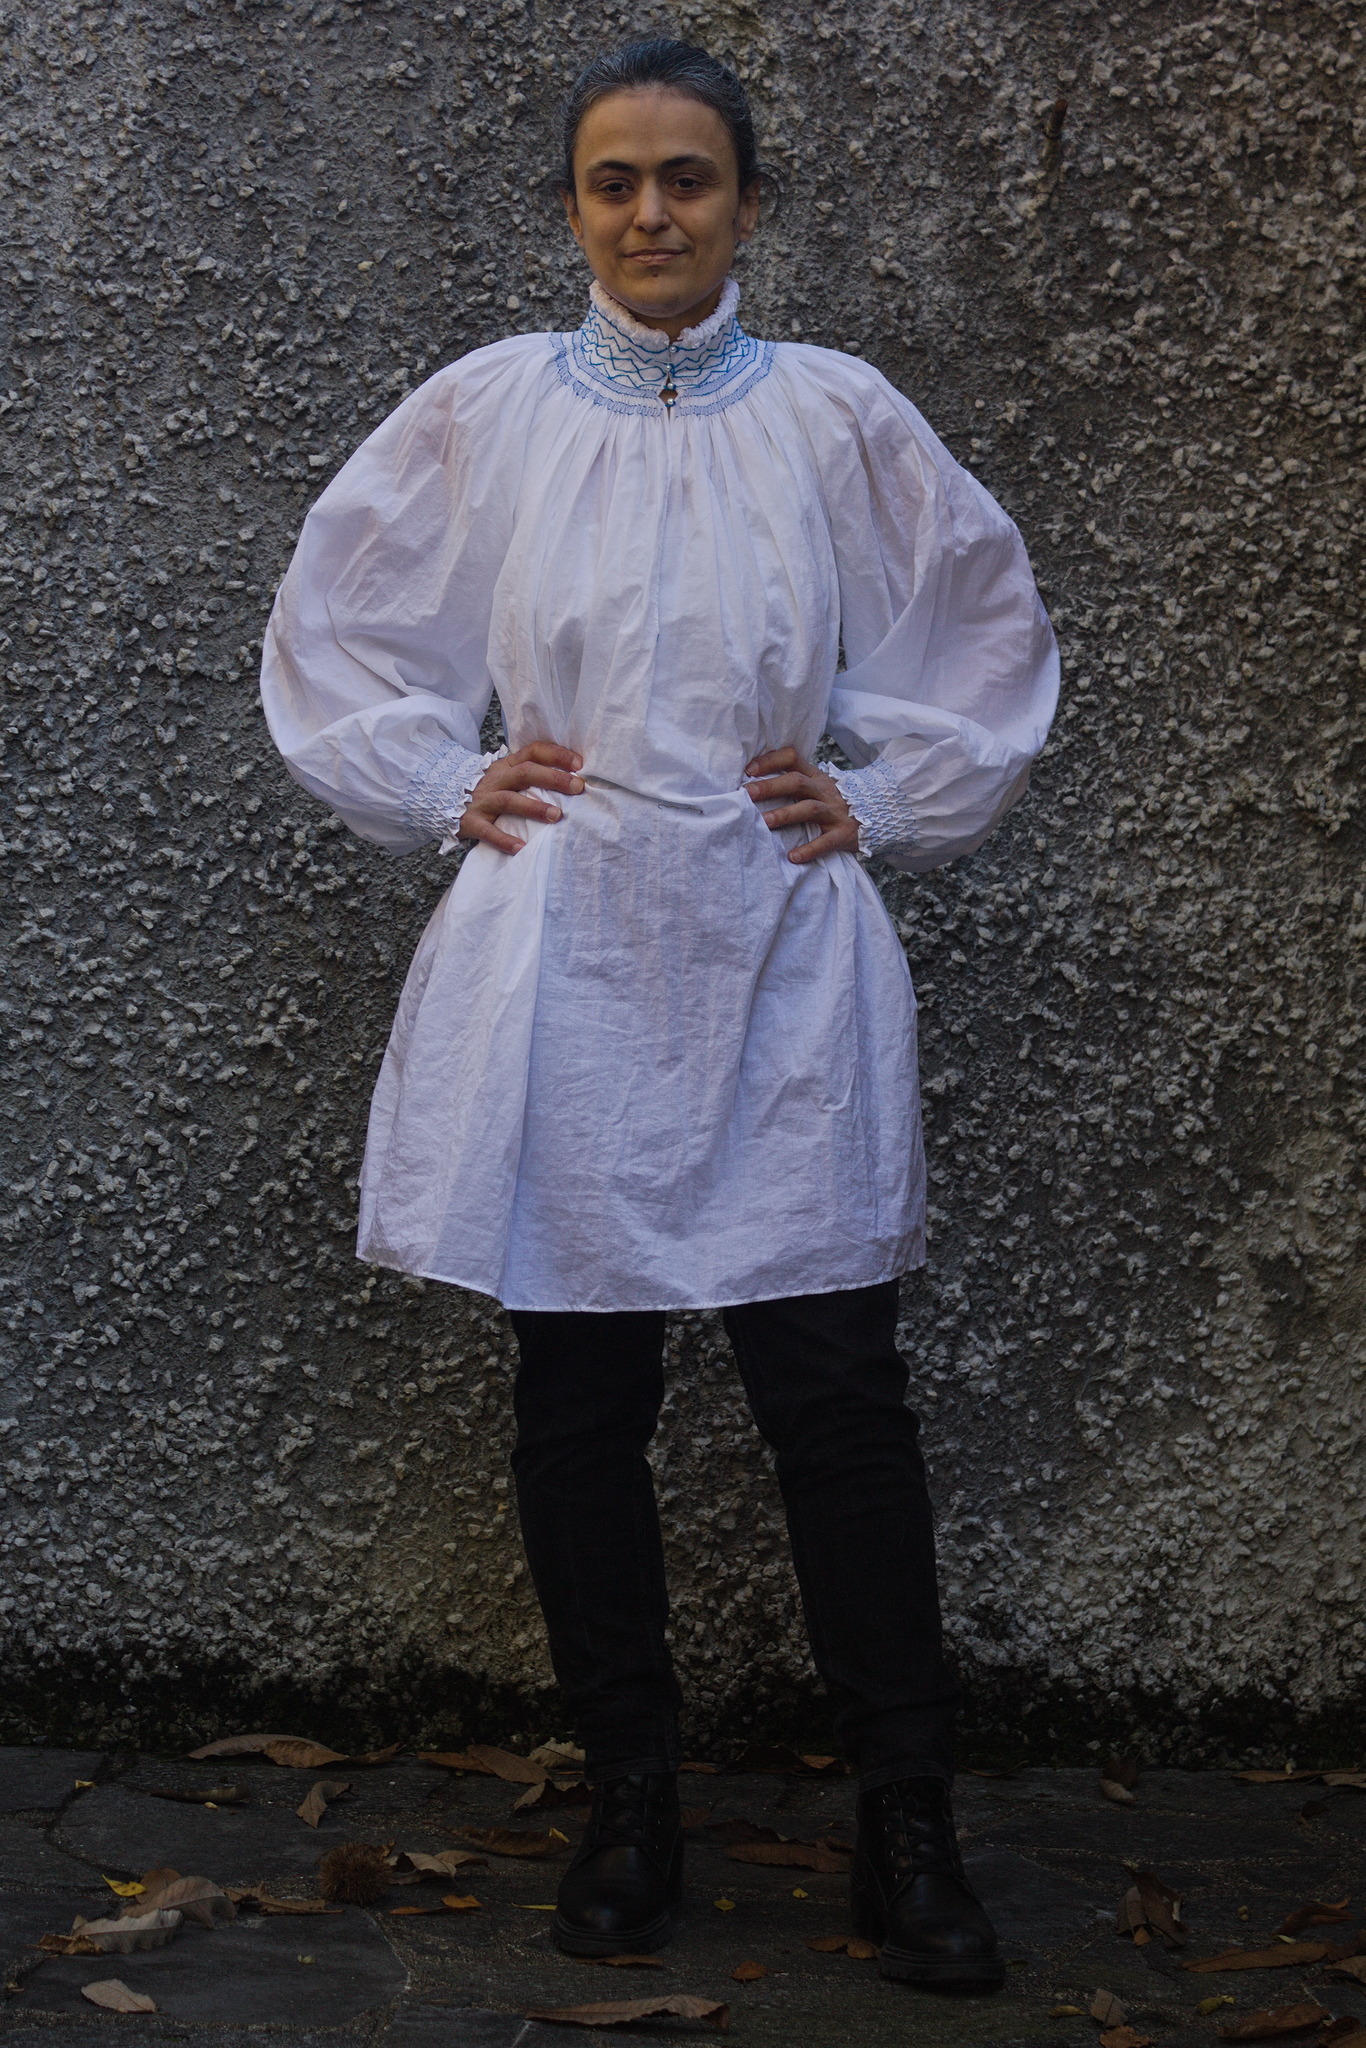
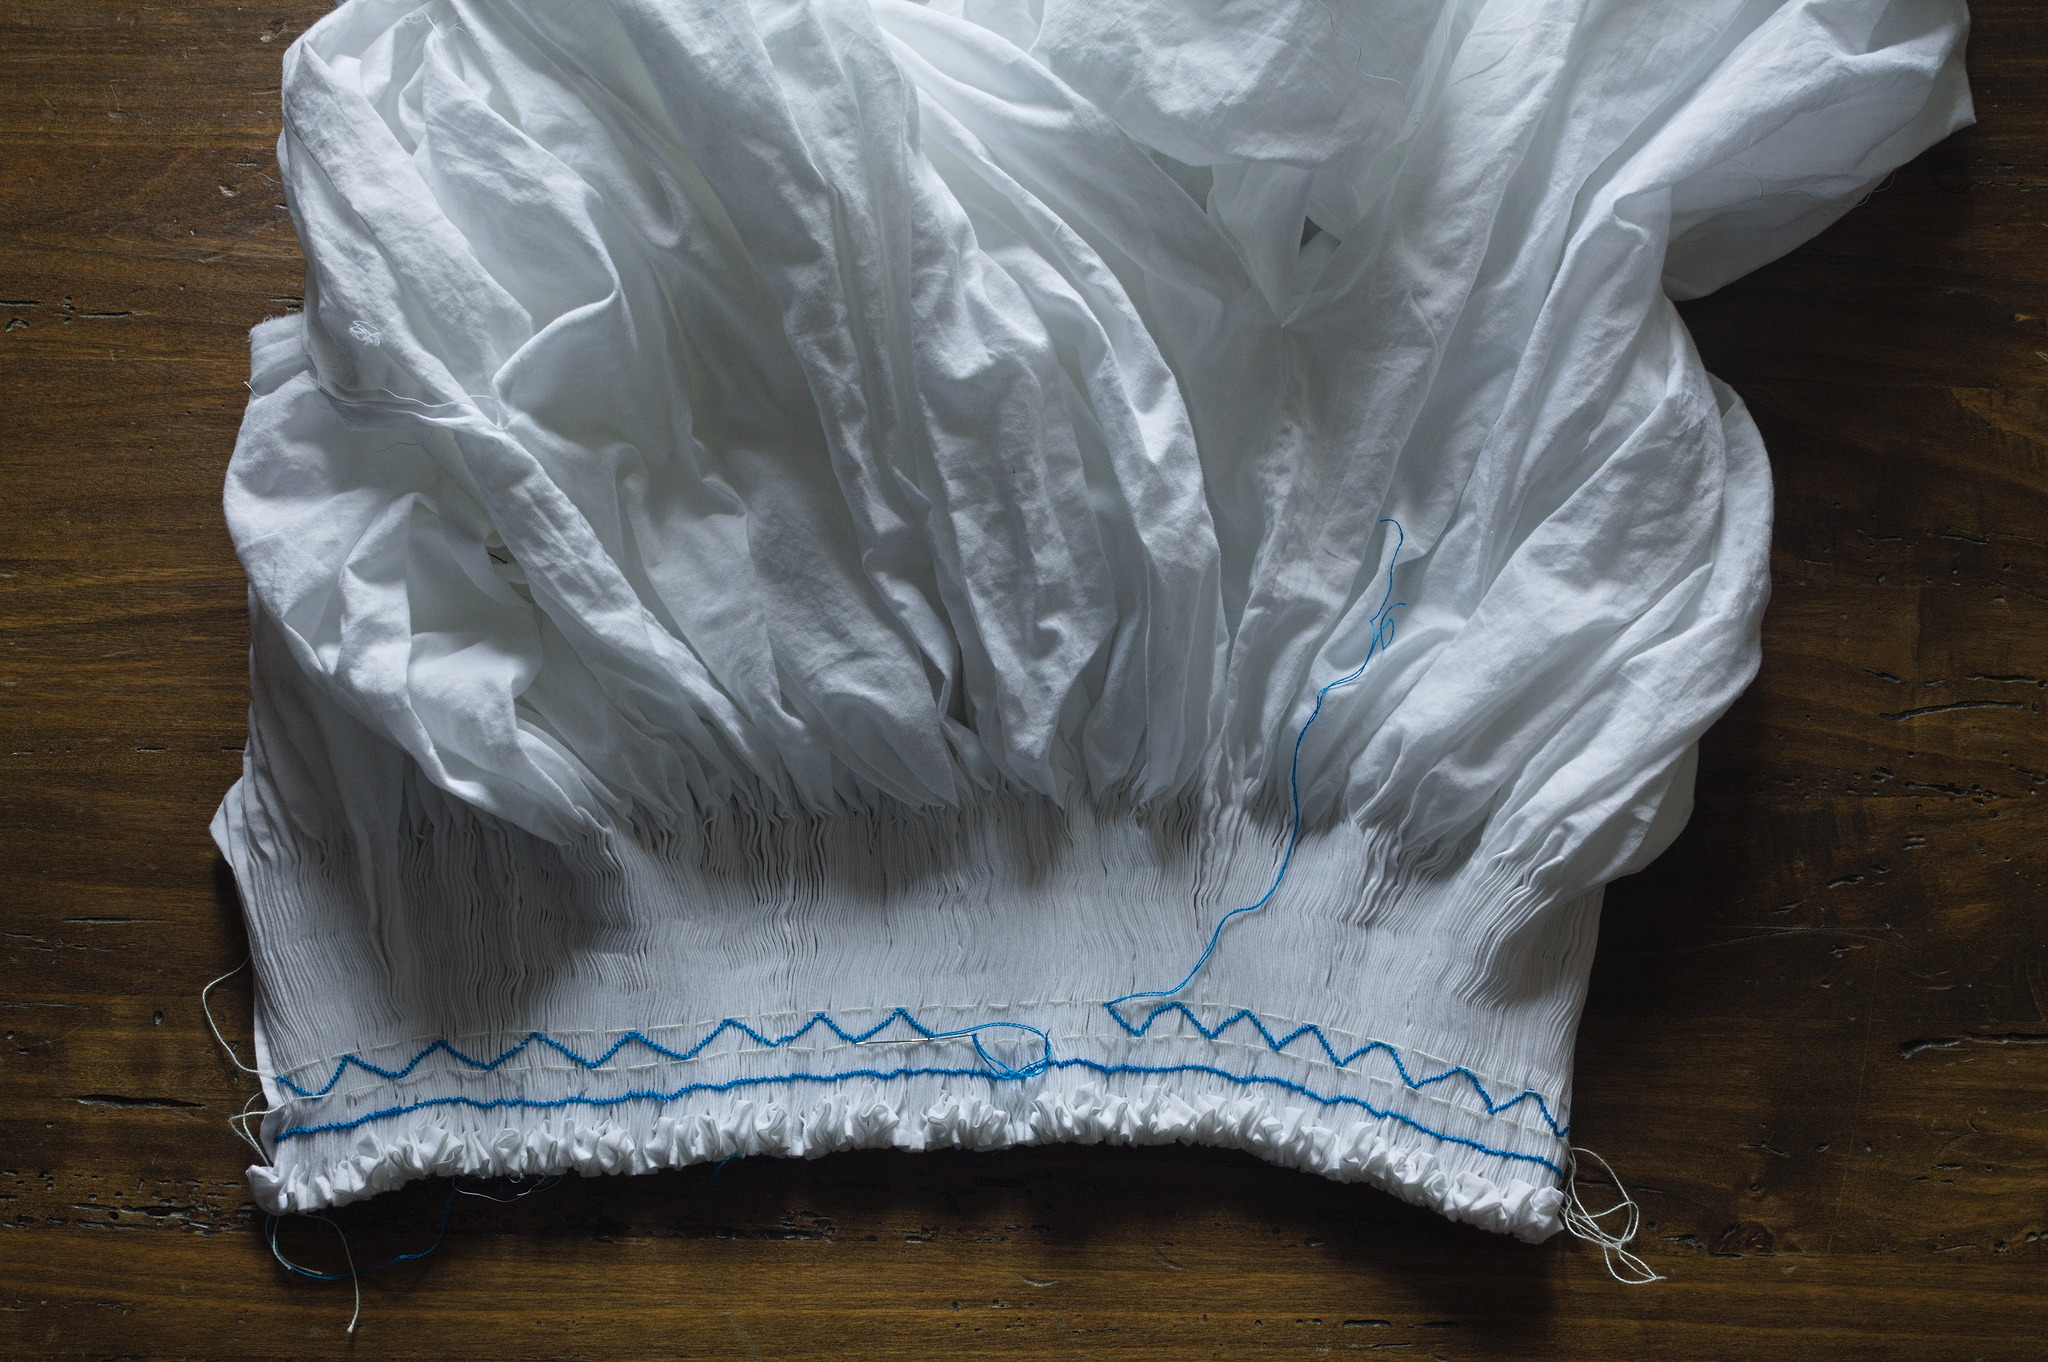
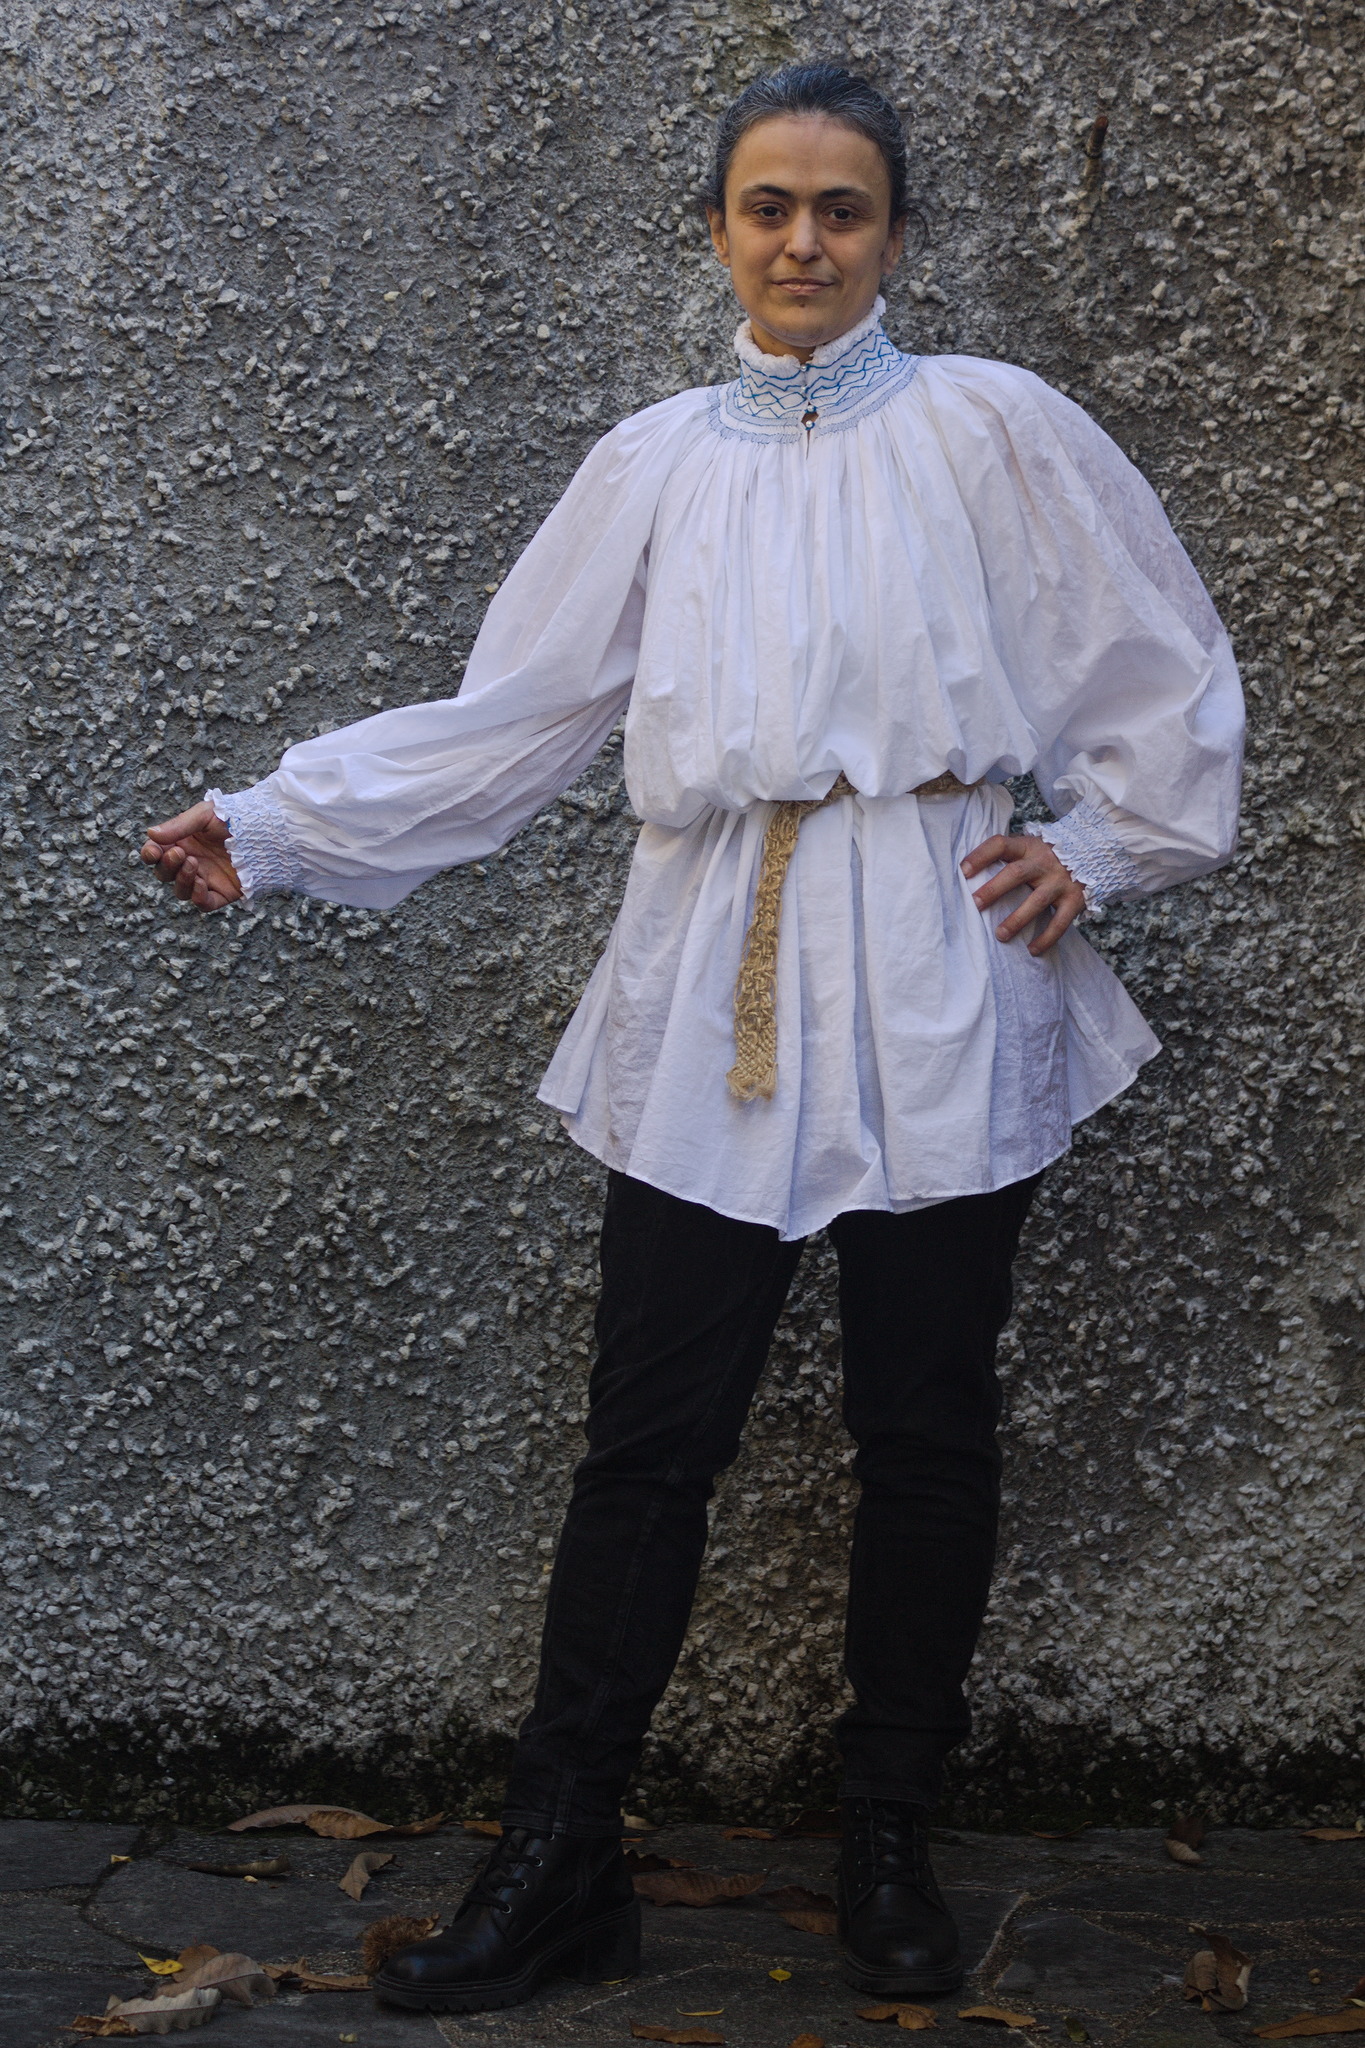
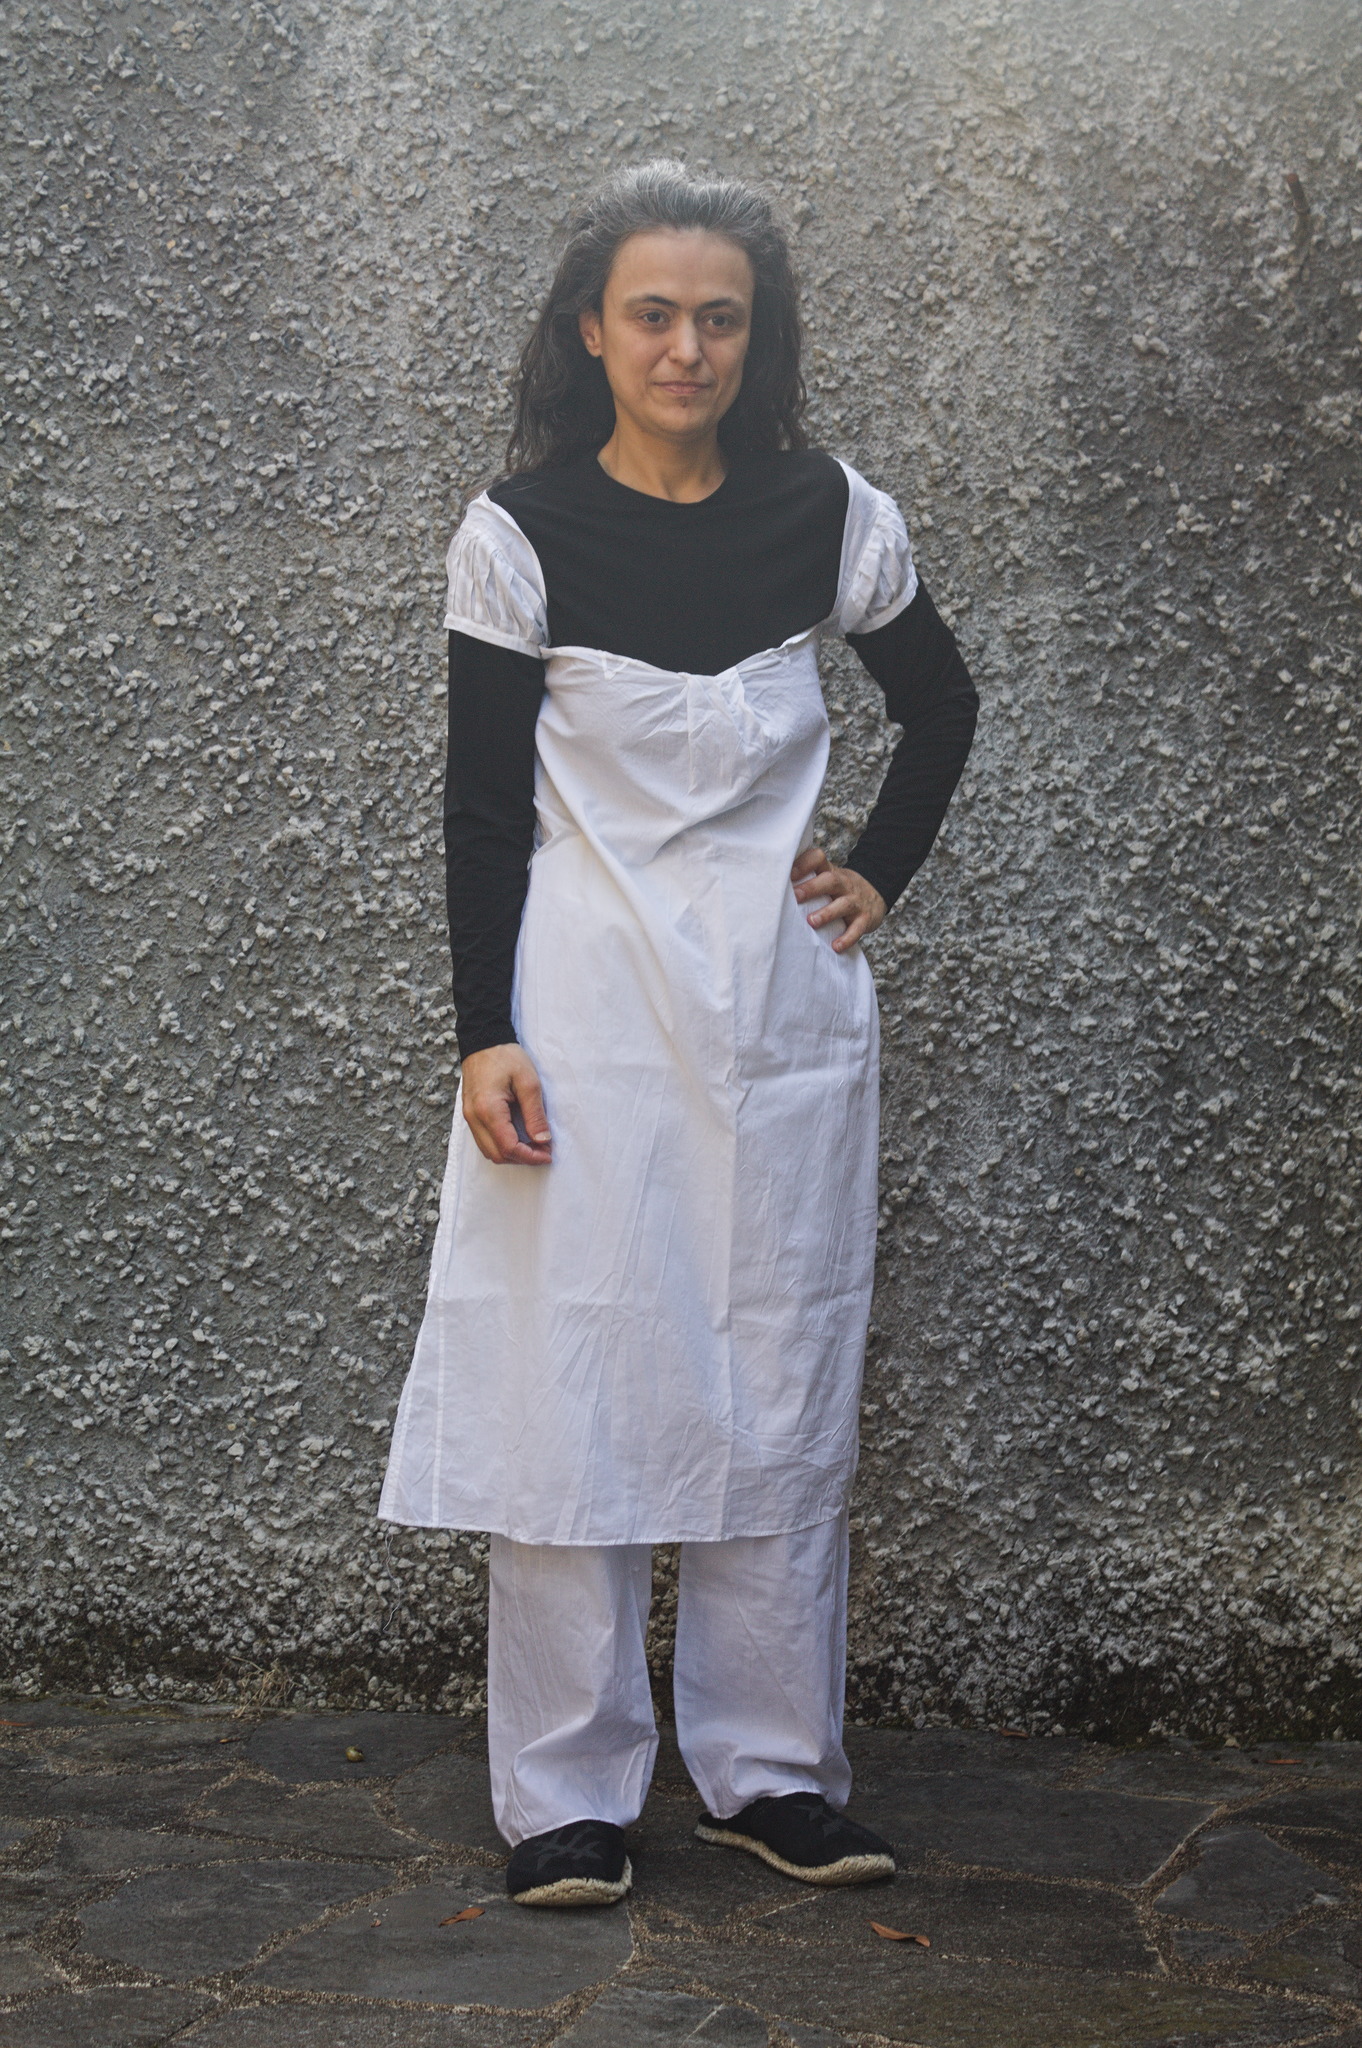
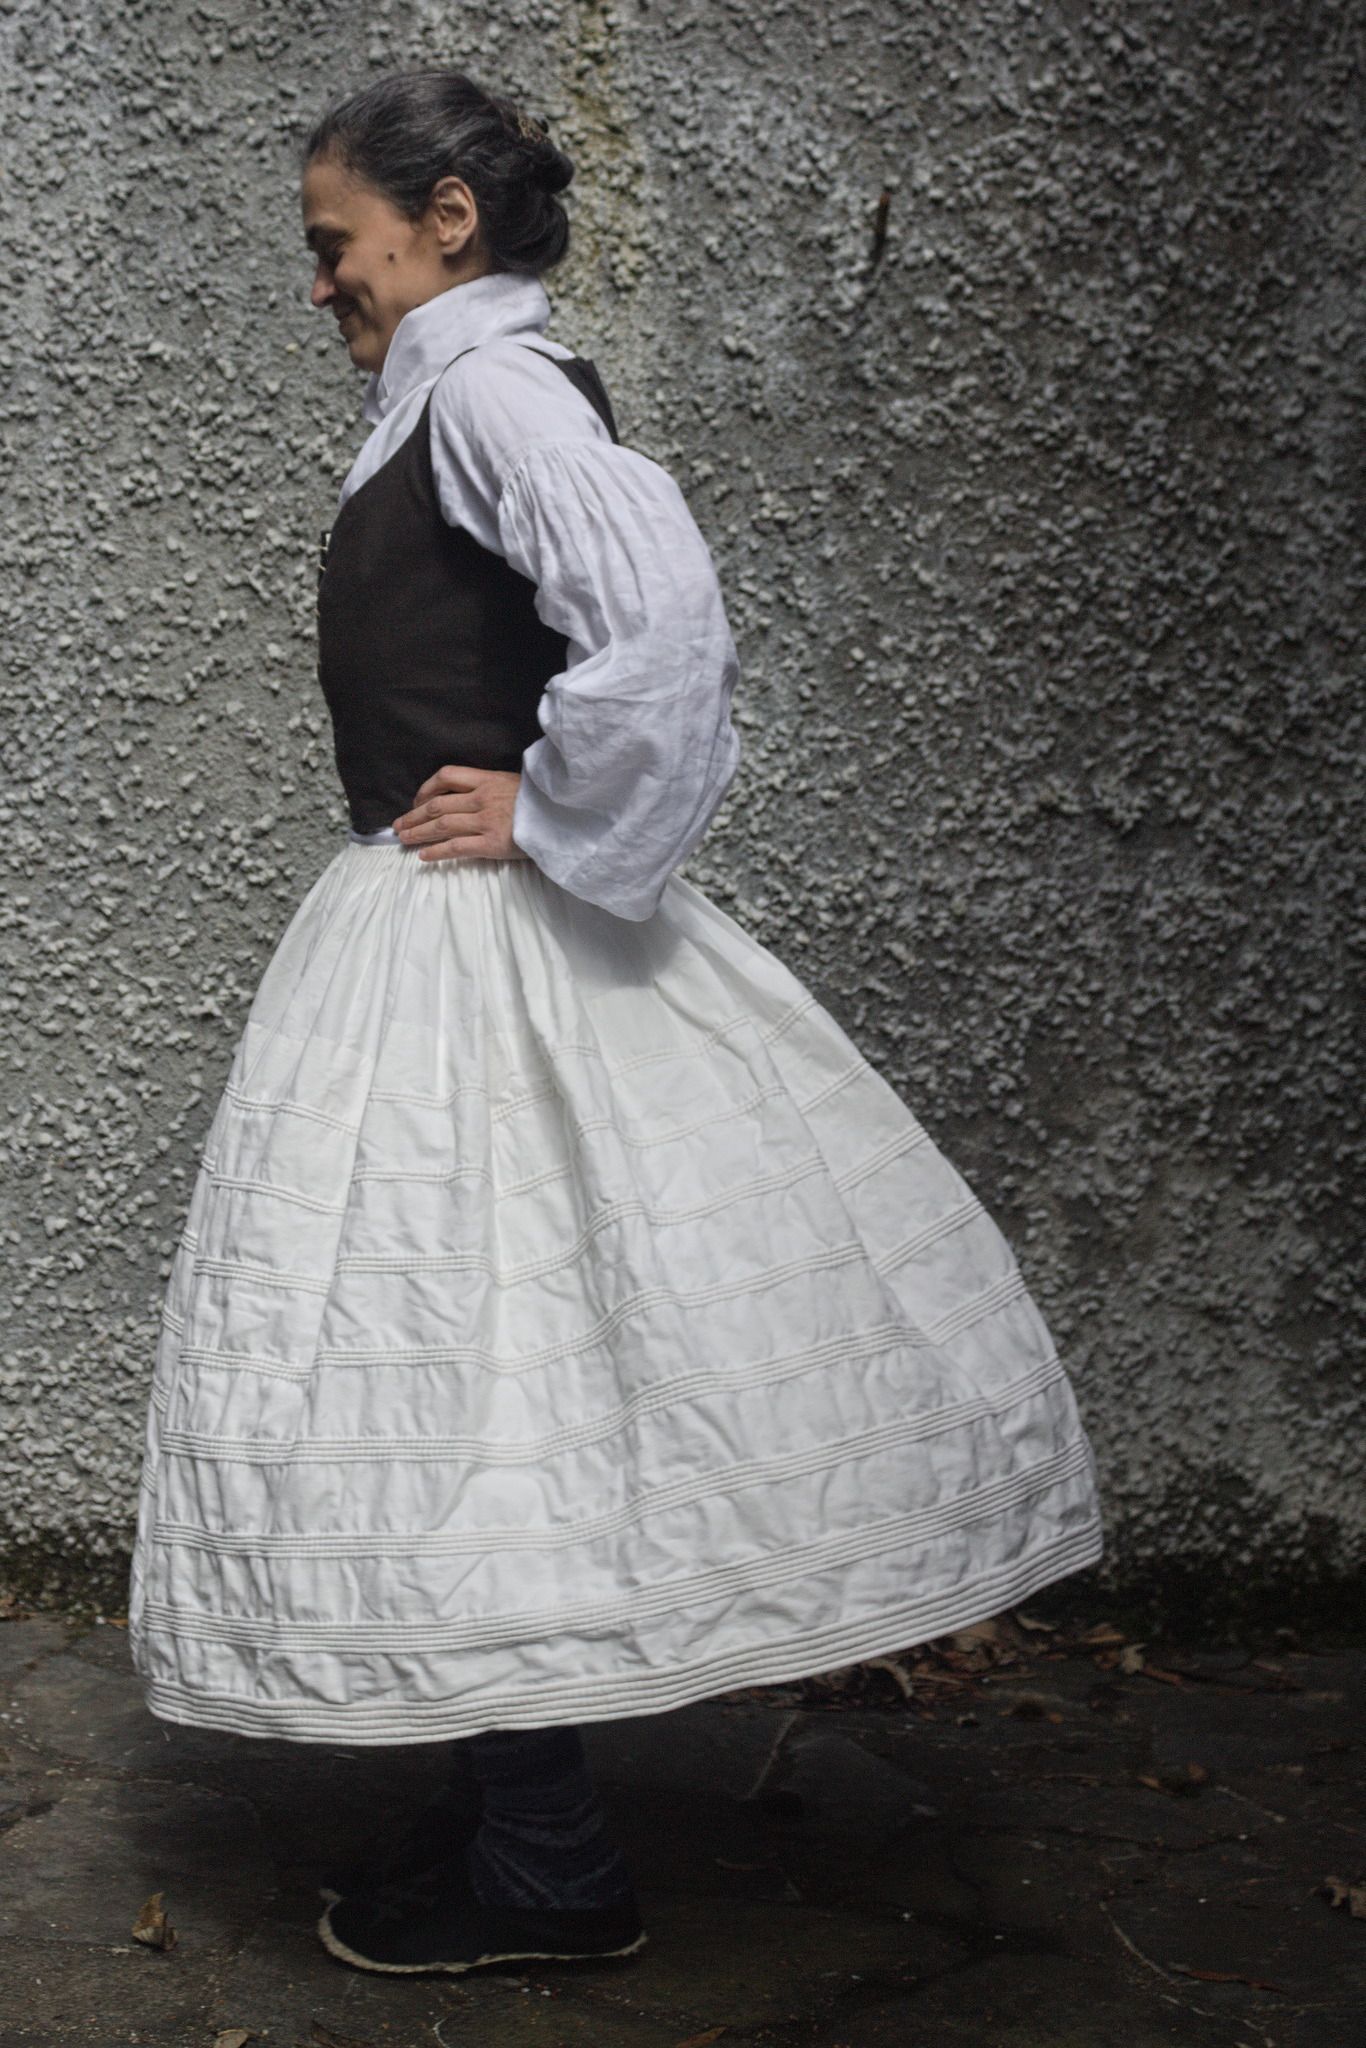
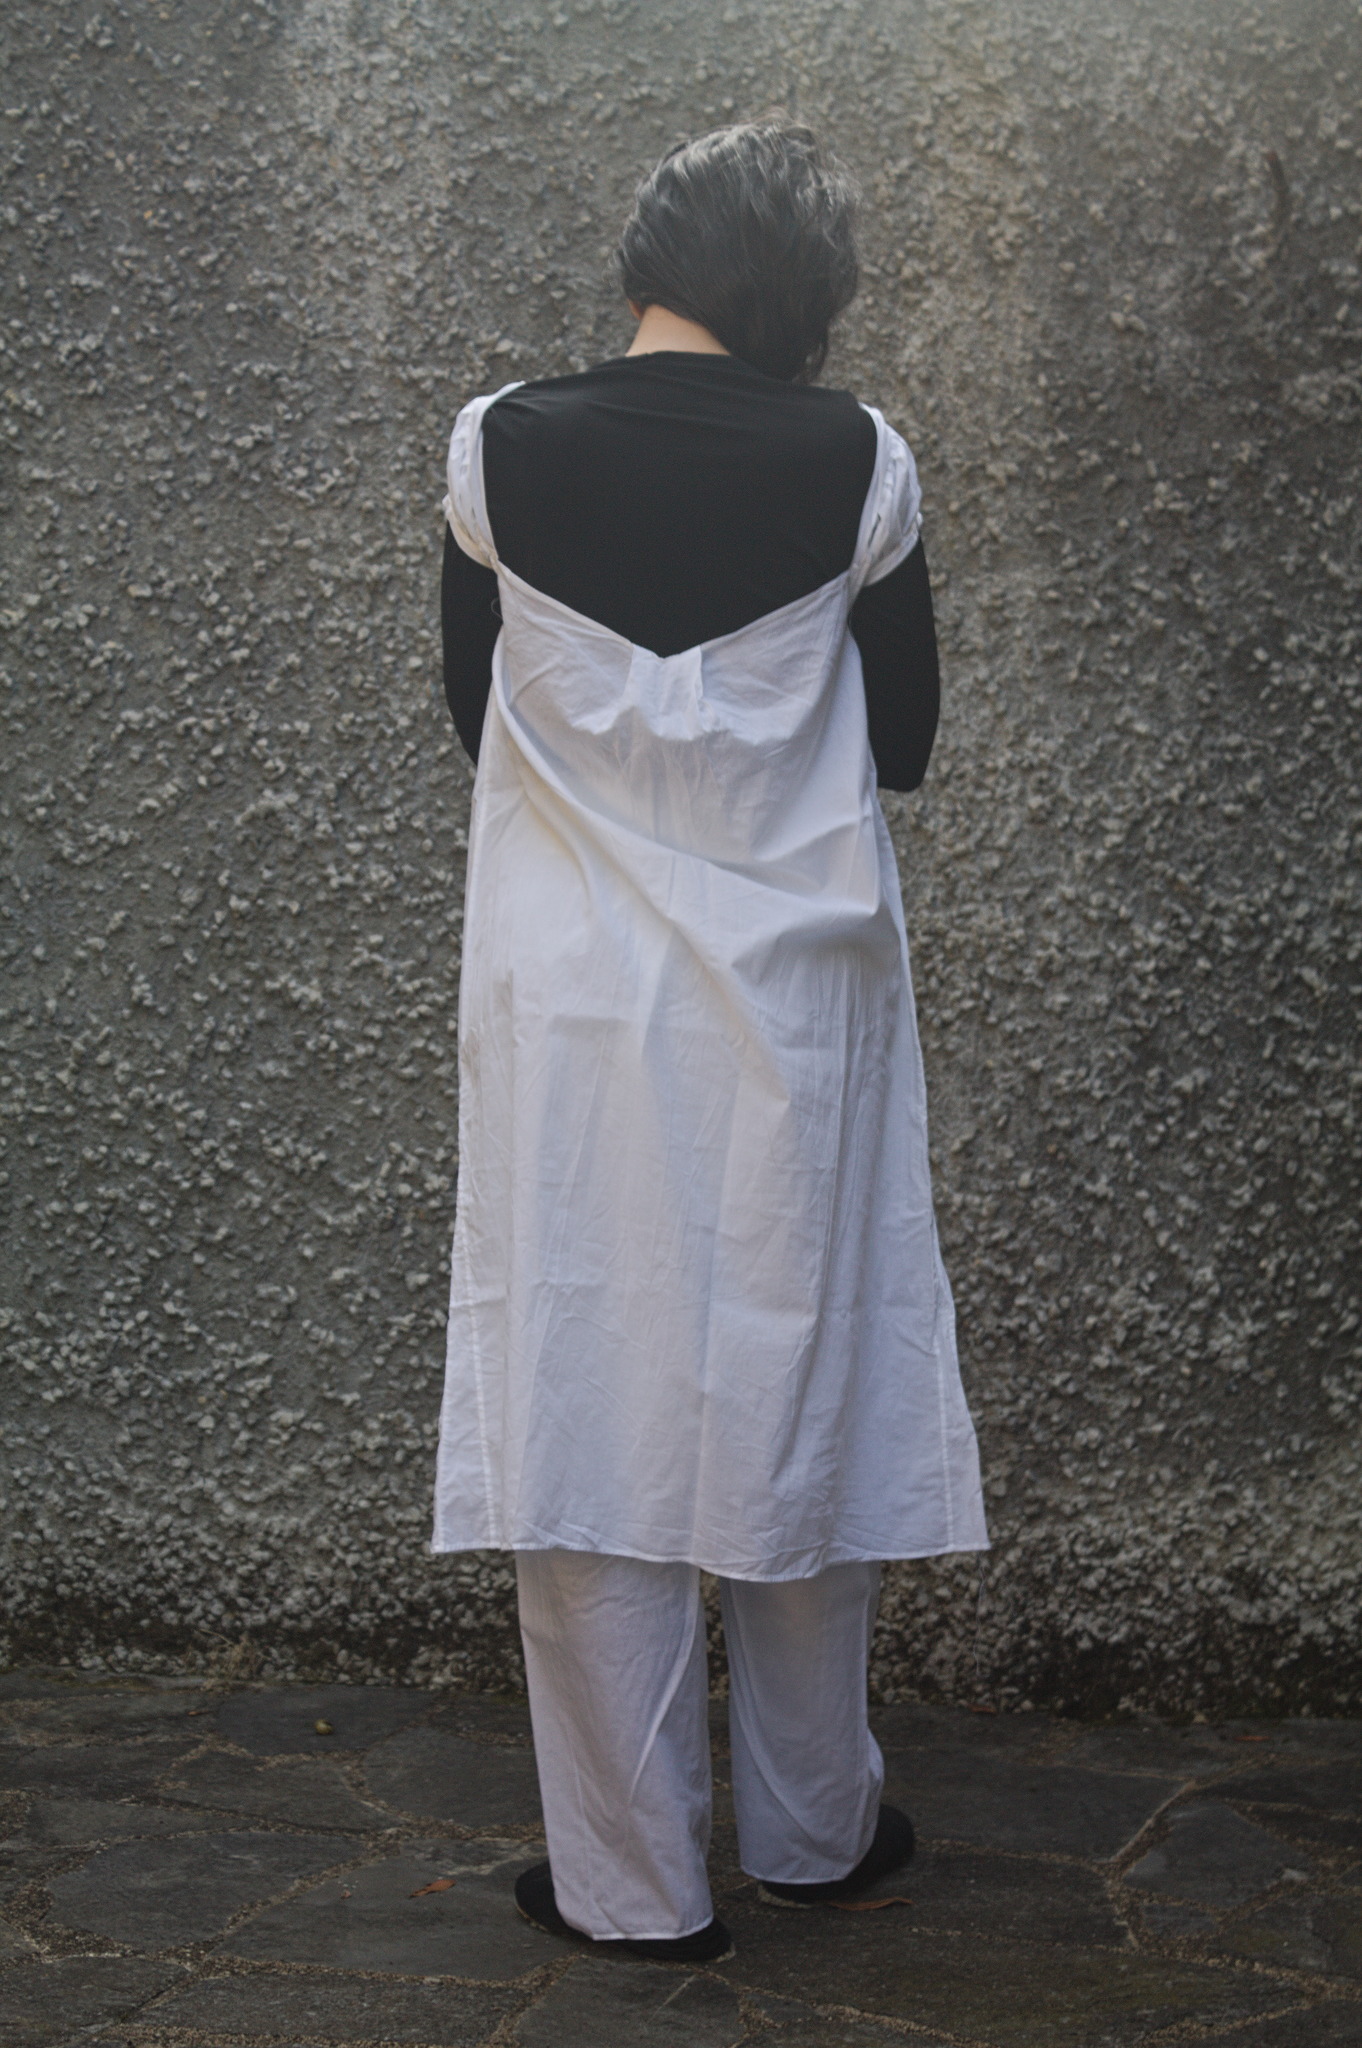
Then on the day of the walk we woke up a bit later than usual, and then my body decided it was a good day for my belly to not exactly hurt, but not not-hurt either, and there I took an executive decision to wear a corset, because if something feels like it wants to burst open, wrapping it in a steel reinforced cage will make it stop. (I’m not joking. It does. At least in those specific circumstances.)
This was followed by hurrying through the things I had to do before leaving the house, having a brief anxiety attack and feeling feverish (it wasn’t fever), and finally being able to leave the house just half an hour late.
And then, 10 minutes after we had left, realizing that I had written down the password for the train website, since it was no longer saved on the phone, but i had forgotten the bit of paper at home. We could have gone back to take it, but decided not to bother, as we could also hopefully buy paper-ish tickets at the train station (we could).
Later on, I also realized I had also forgotten my GPS tracker, so I have no record of where we went exactly (but it’s not hard to recognize it on a map) nor on what the temperature was. It’s a shame, but by that point it was way too late to go back.
Anyway, that probably was when Murphy felt we had paid our respects, and from then on everything went lovingly well!
Routing had been done on the OpenStreetMap website, with OSRM, and it looked pretty easy to follow, but we also had access to an Android phone, so we used OSMAnd to check that we were still on track. It tried to lead us to the Statale (i.e. most important and most trafficked road) a few times, but we ignored it, and after a few turns and a few changes of the precise destination point we managed to get it to cooperate.
At one point a helpful person asked us if we needed help, having seen us looking at the phone, and gave us indication for the next fork (that way to Cuasso al Piano, that way to Porto Ceresio), but it was pretty easy, since the way was clearly marked also for cars.
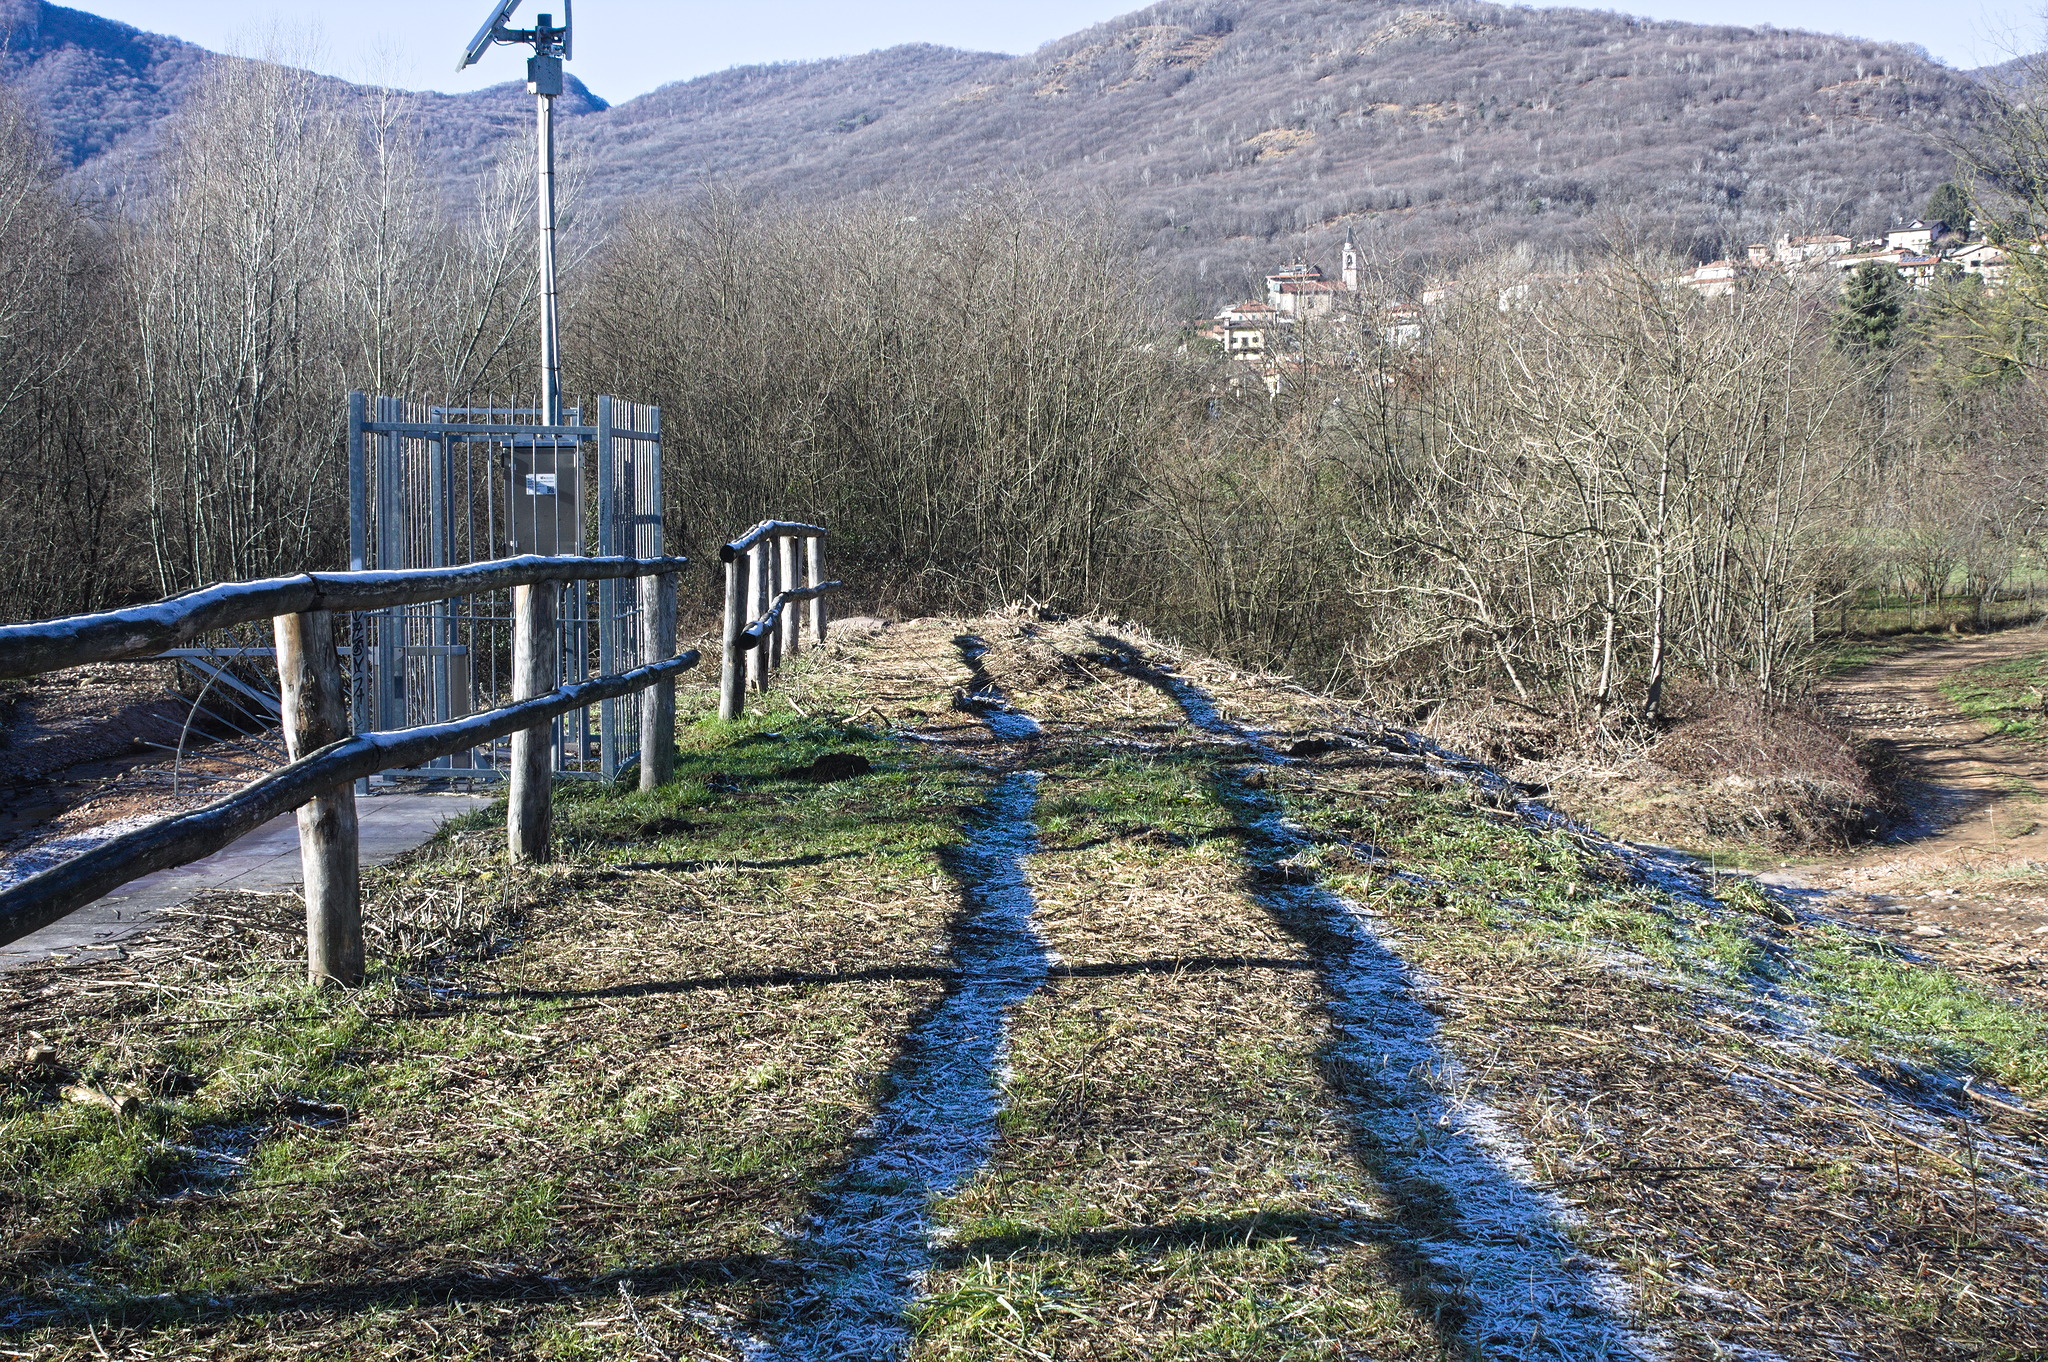
Then we started to notice red and white markings on poles and other places, and on the next fork there was a signpost for hiking routes with our destination and we decided to follow it instead of the sign for cars. I knew that from our starting point to or destination there was also a hiking route, uphill both ways :) , through the hills, about 5 or 6 hours instead of two, but the sign was pointing downhill and we were past the point where we would expect too long of a detour.
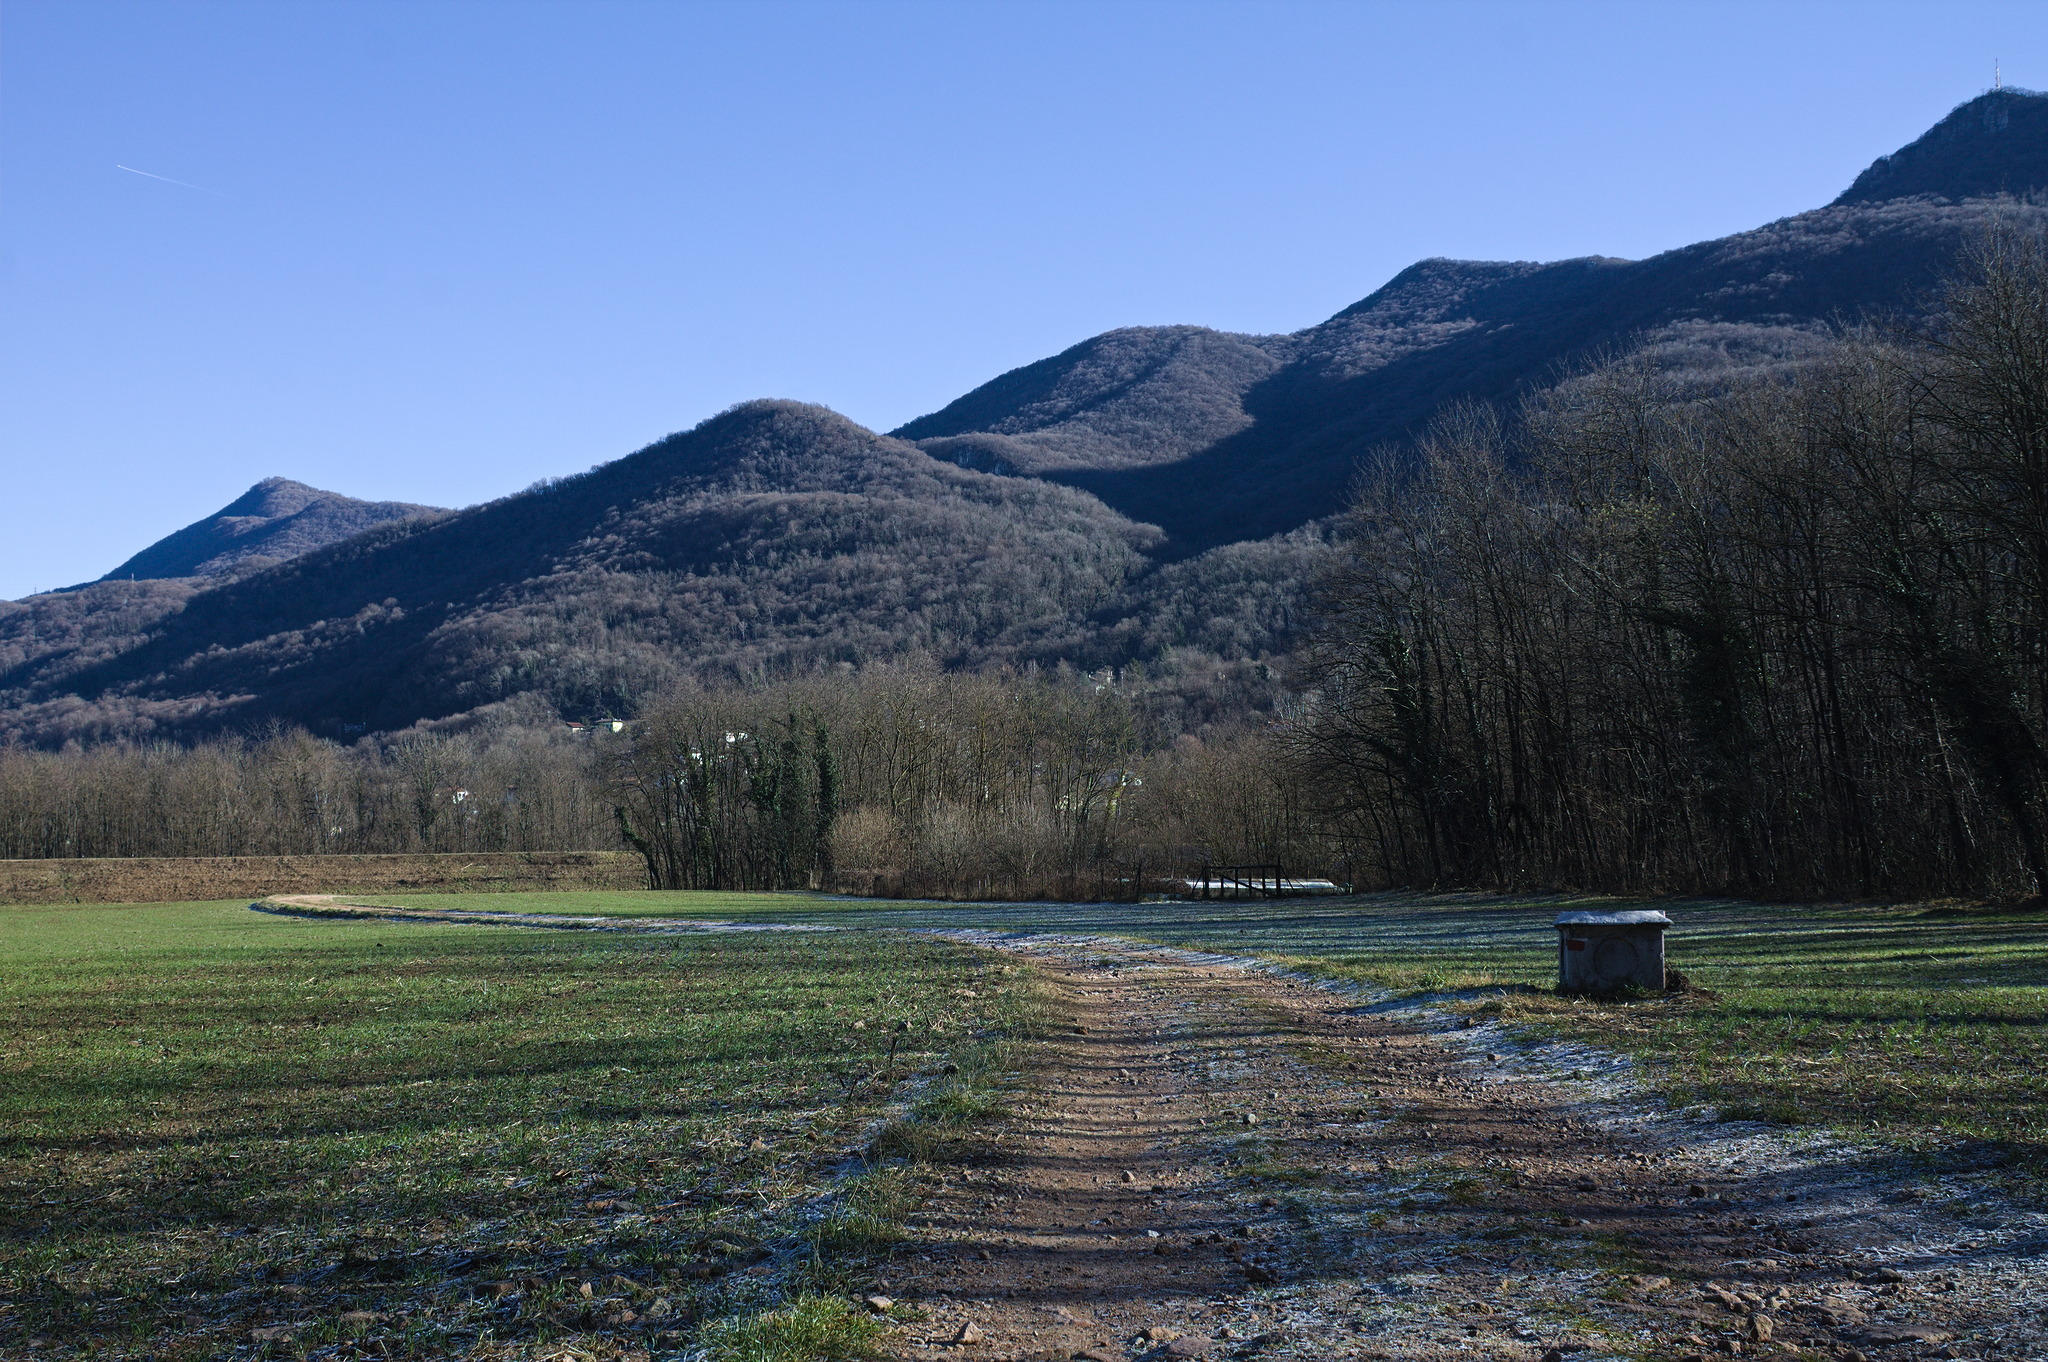
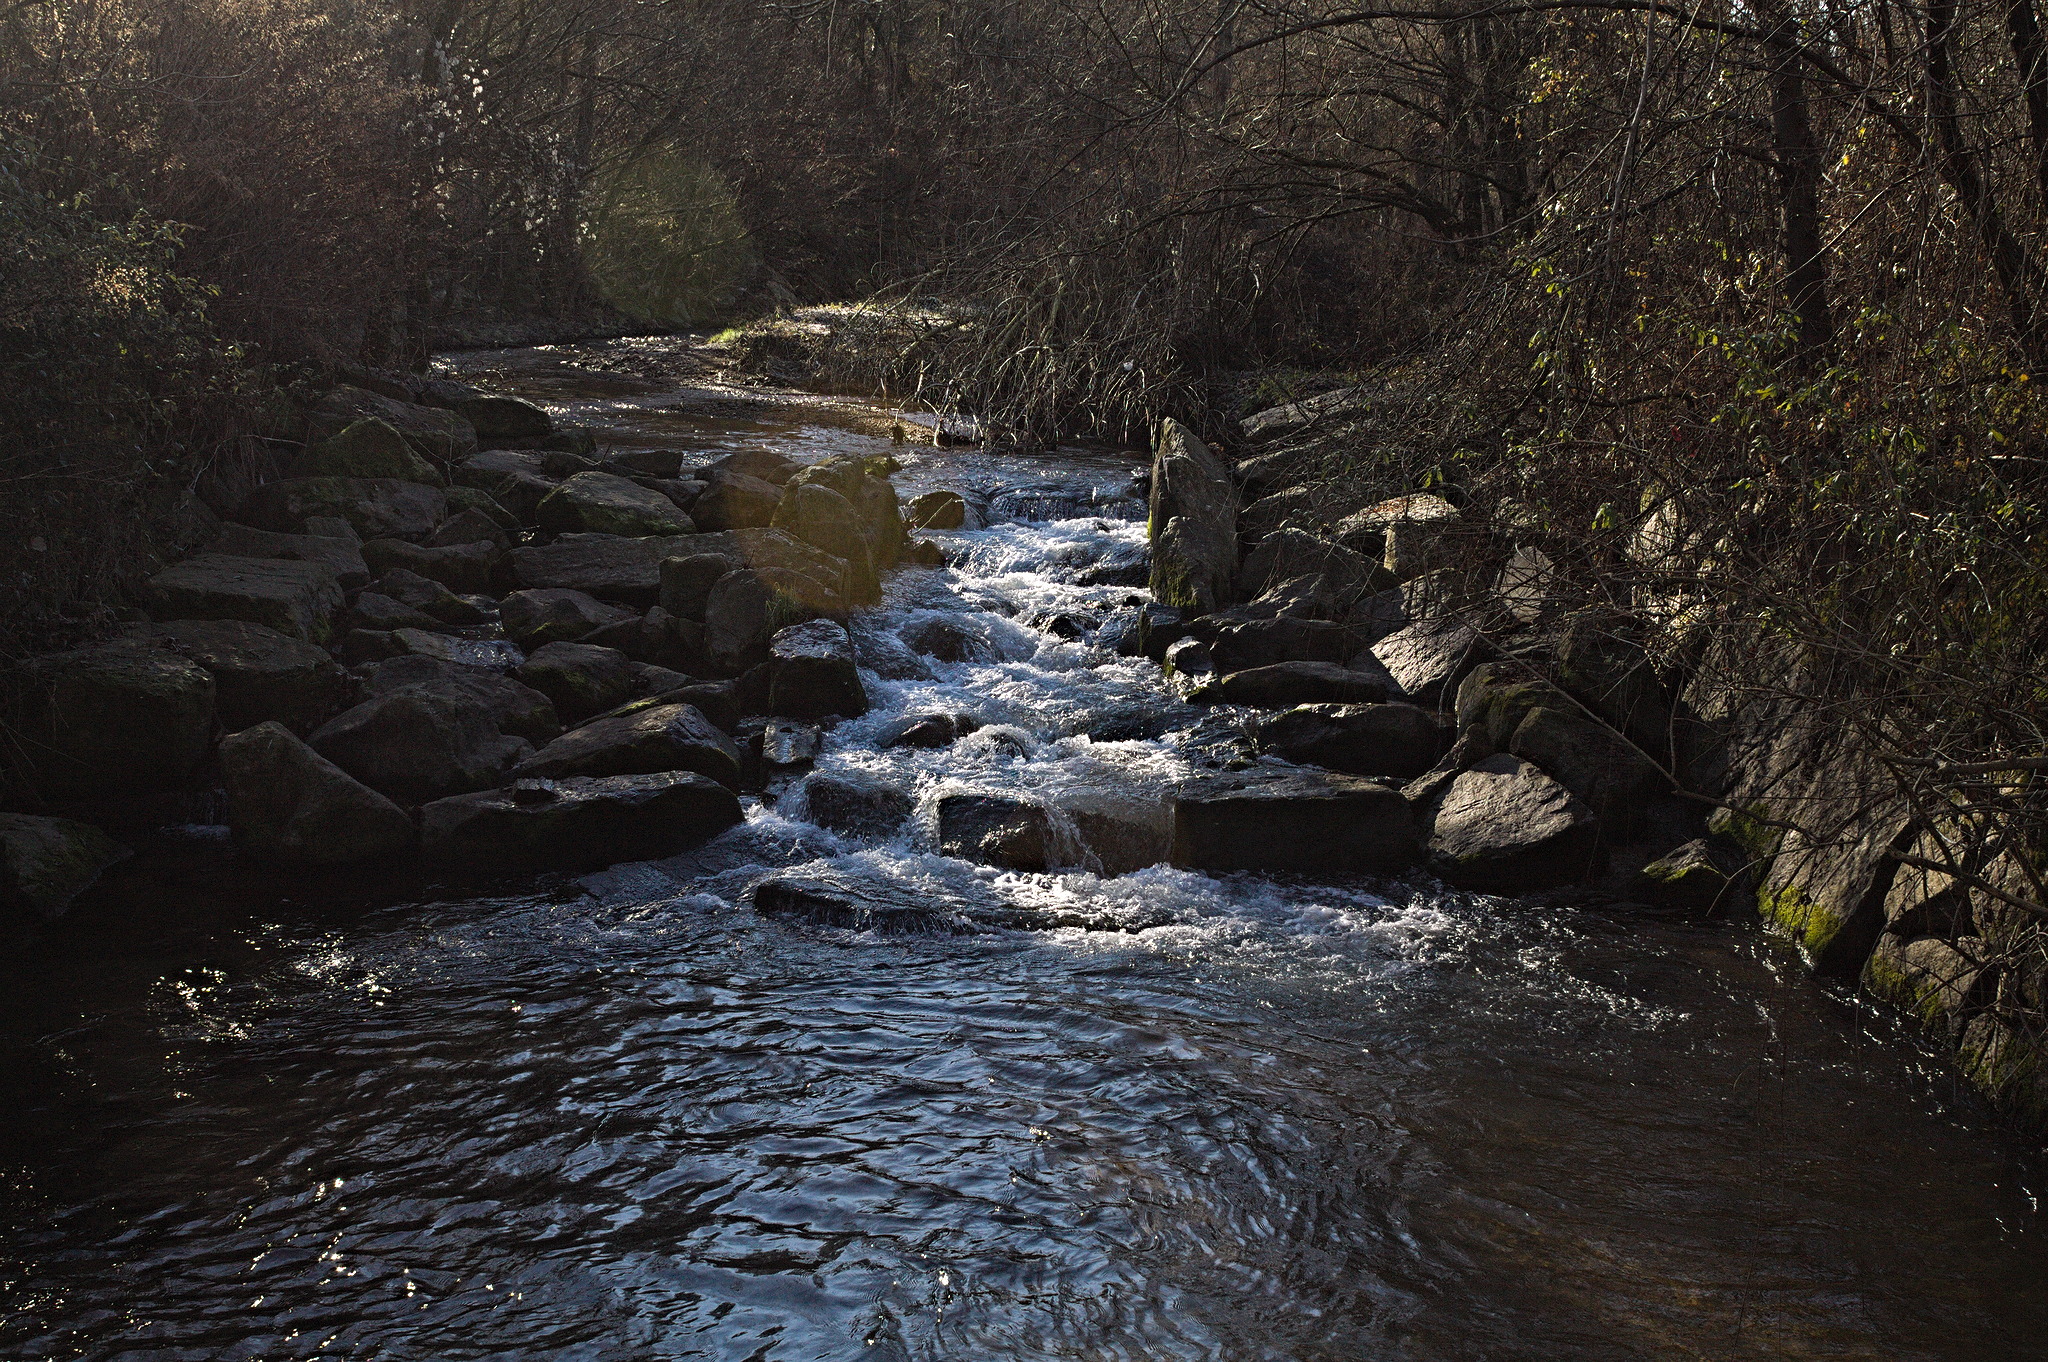
And indeed, after a short while the paved road ended, but the path continued on a wide and flat track, and was a welcome detour through what looked like water works to prevent flood damage from a stream. In a warmer season, with longer grass and ticks maybe the fact that I was wearing a long skirt may have been an issue, but in winter it was just fine.
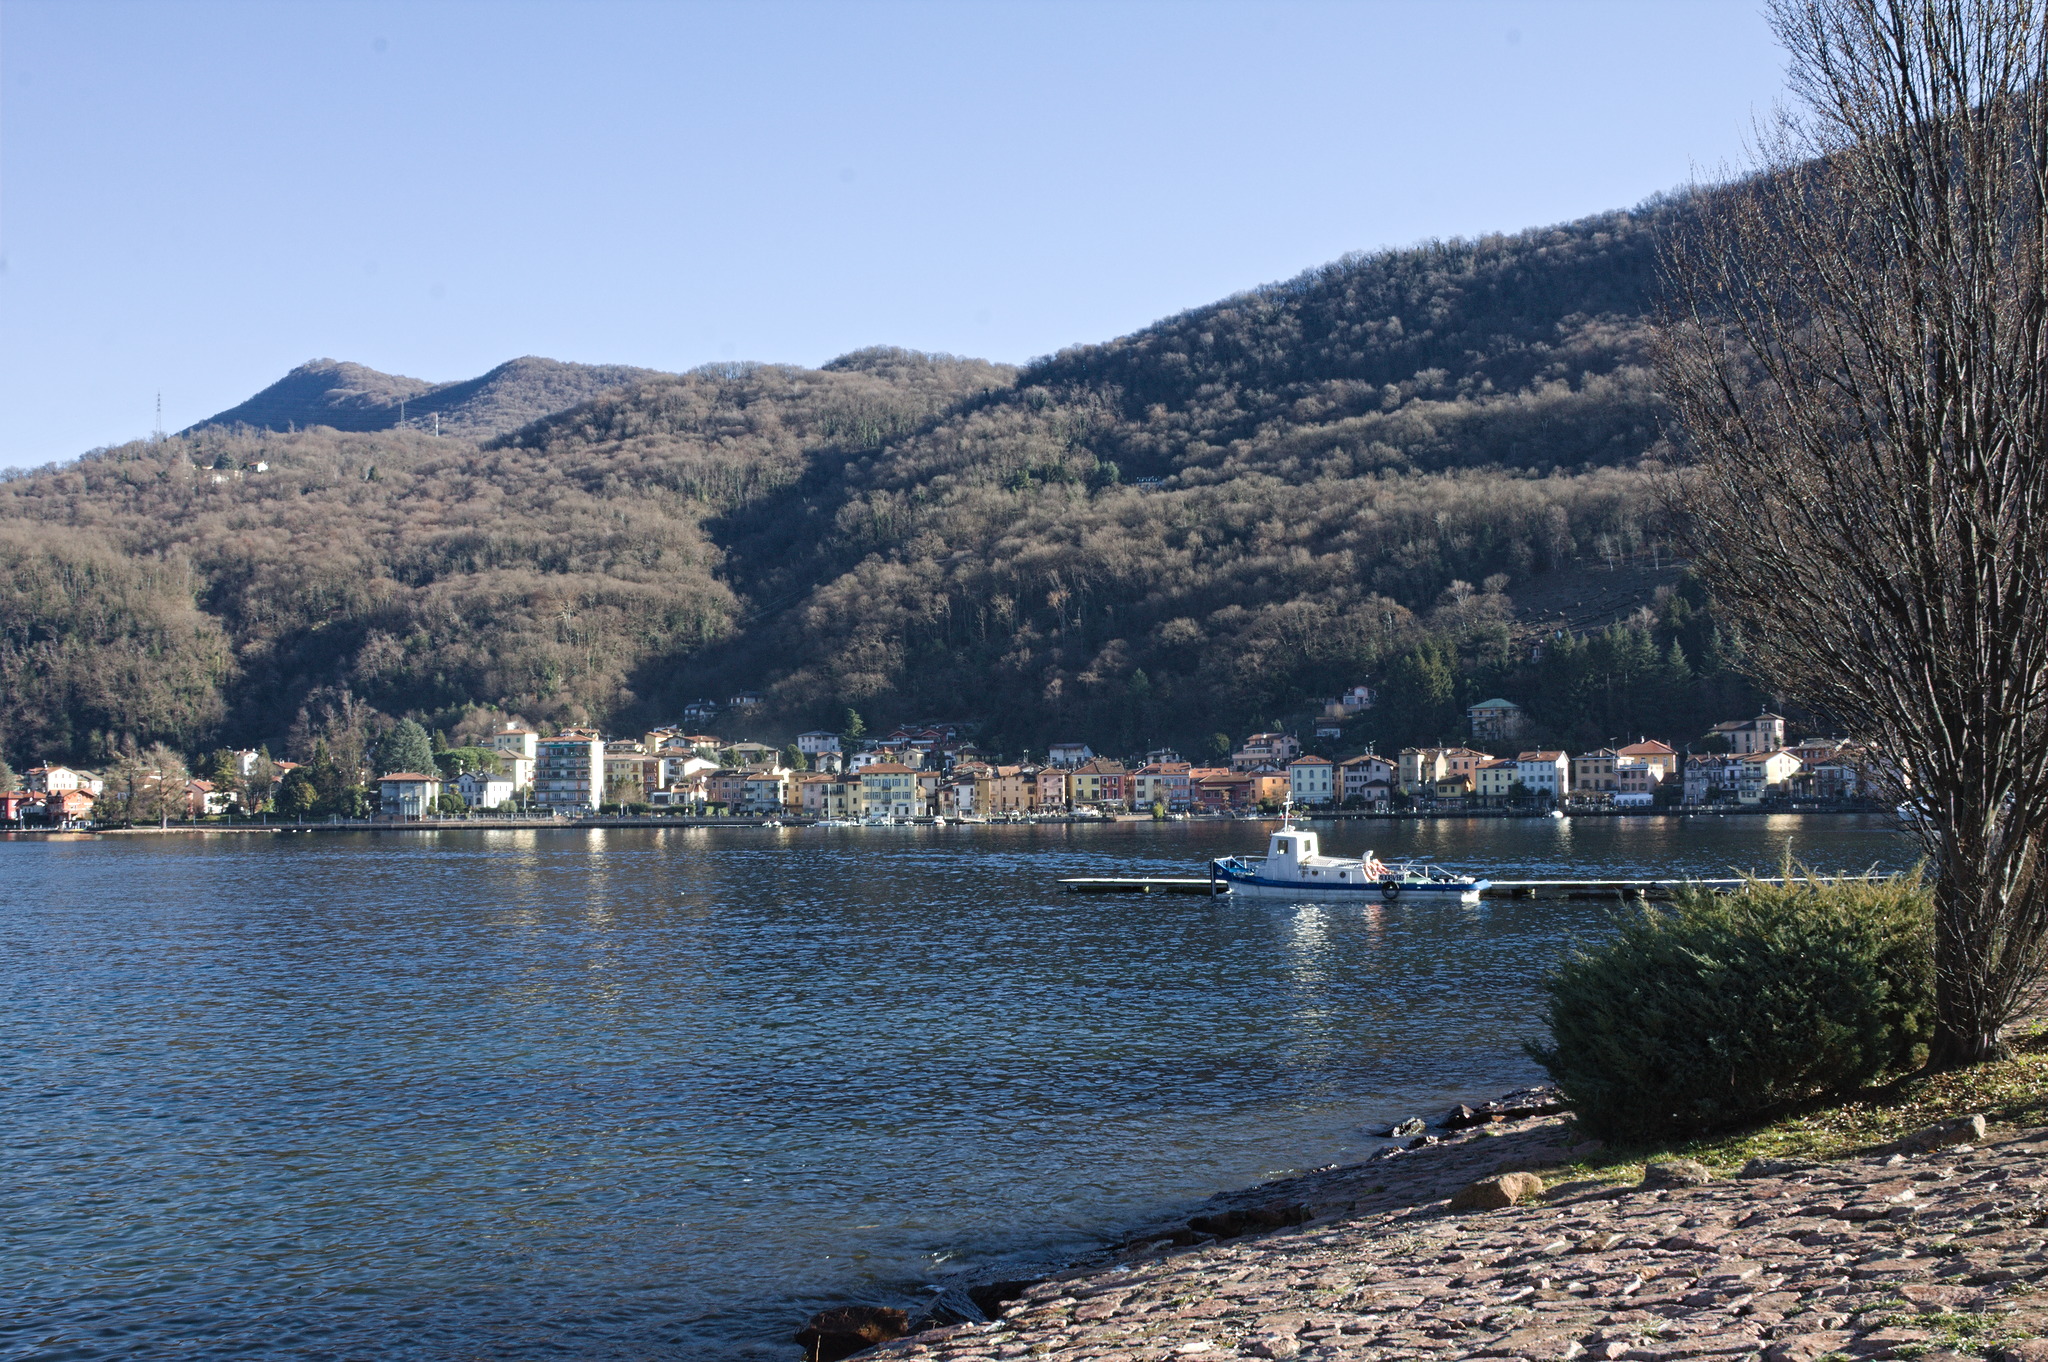
And soon afterwards, we were in Porto Ceresio. I think I have been there as a child, but I had no memory of it. On the other hand, it was about as I expected: a tiny town with a lakeside street full of houses built in the early 1900s when the area was an important tourism destination, with older buildings a bit higher up on the hills (because streams in this area will flood). And of course, getting there by foot rather than by train we also saw the parts where real people live (but not work: that’s cross-border commuters country).
Soon after arriving in Porto Ceresio we stopped to eat our lunch on a bench at the lakeside; up to then we had been pretty comfortable in the clothing we had decided to wear: there was plenty of frost on the ground, in the shade, but the sun was warm and the temperatures were cleanly above freezing. Removing the gloves to eat, however, resulted in quite cold hands, and we didn’t want to stay still for longer than strictly necessary.
So we spent another hour and a bit walking around Porto Ceresio like proper tourists and taking pictures. There was an exhibition of nativity scenes all around the streets, but to get a map one had to go to either facebook or instagram, or wait for the opening hours of an office that were later than the train we planned to get to go back home, so we only saw maybe half of them, as we walked around: some were quite nice, some were nativity scenes, and some showed that the school children must have had some fun making them.

Another Christmas decoration were groups of creatures made of evergreen branches that dotted the sidewalks around the lake: I took pictures of the first couple of groups, and then after seeing a few more something clicked in my brain, and I noticed that they were wrapped in green LED strings, like chains, and they had a red ball that was supposed to be the nose, but could just be around the mouth area, and suddenly I felt the need to play a certain chord to release them, but sadly I didn’t have a weaponized guitar on me :D
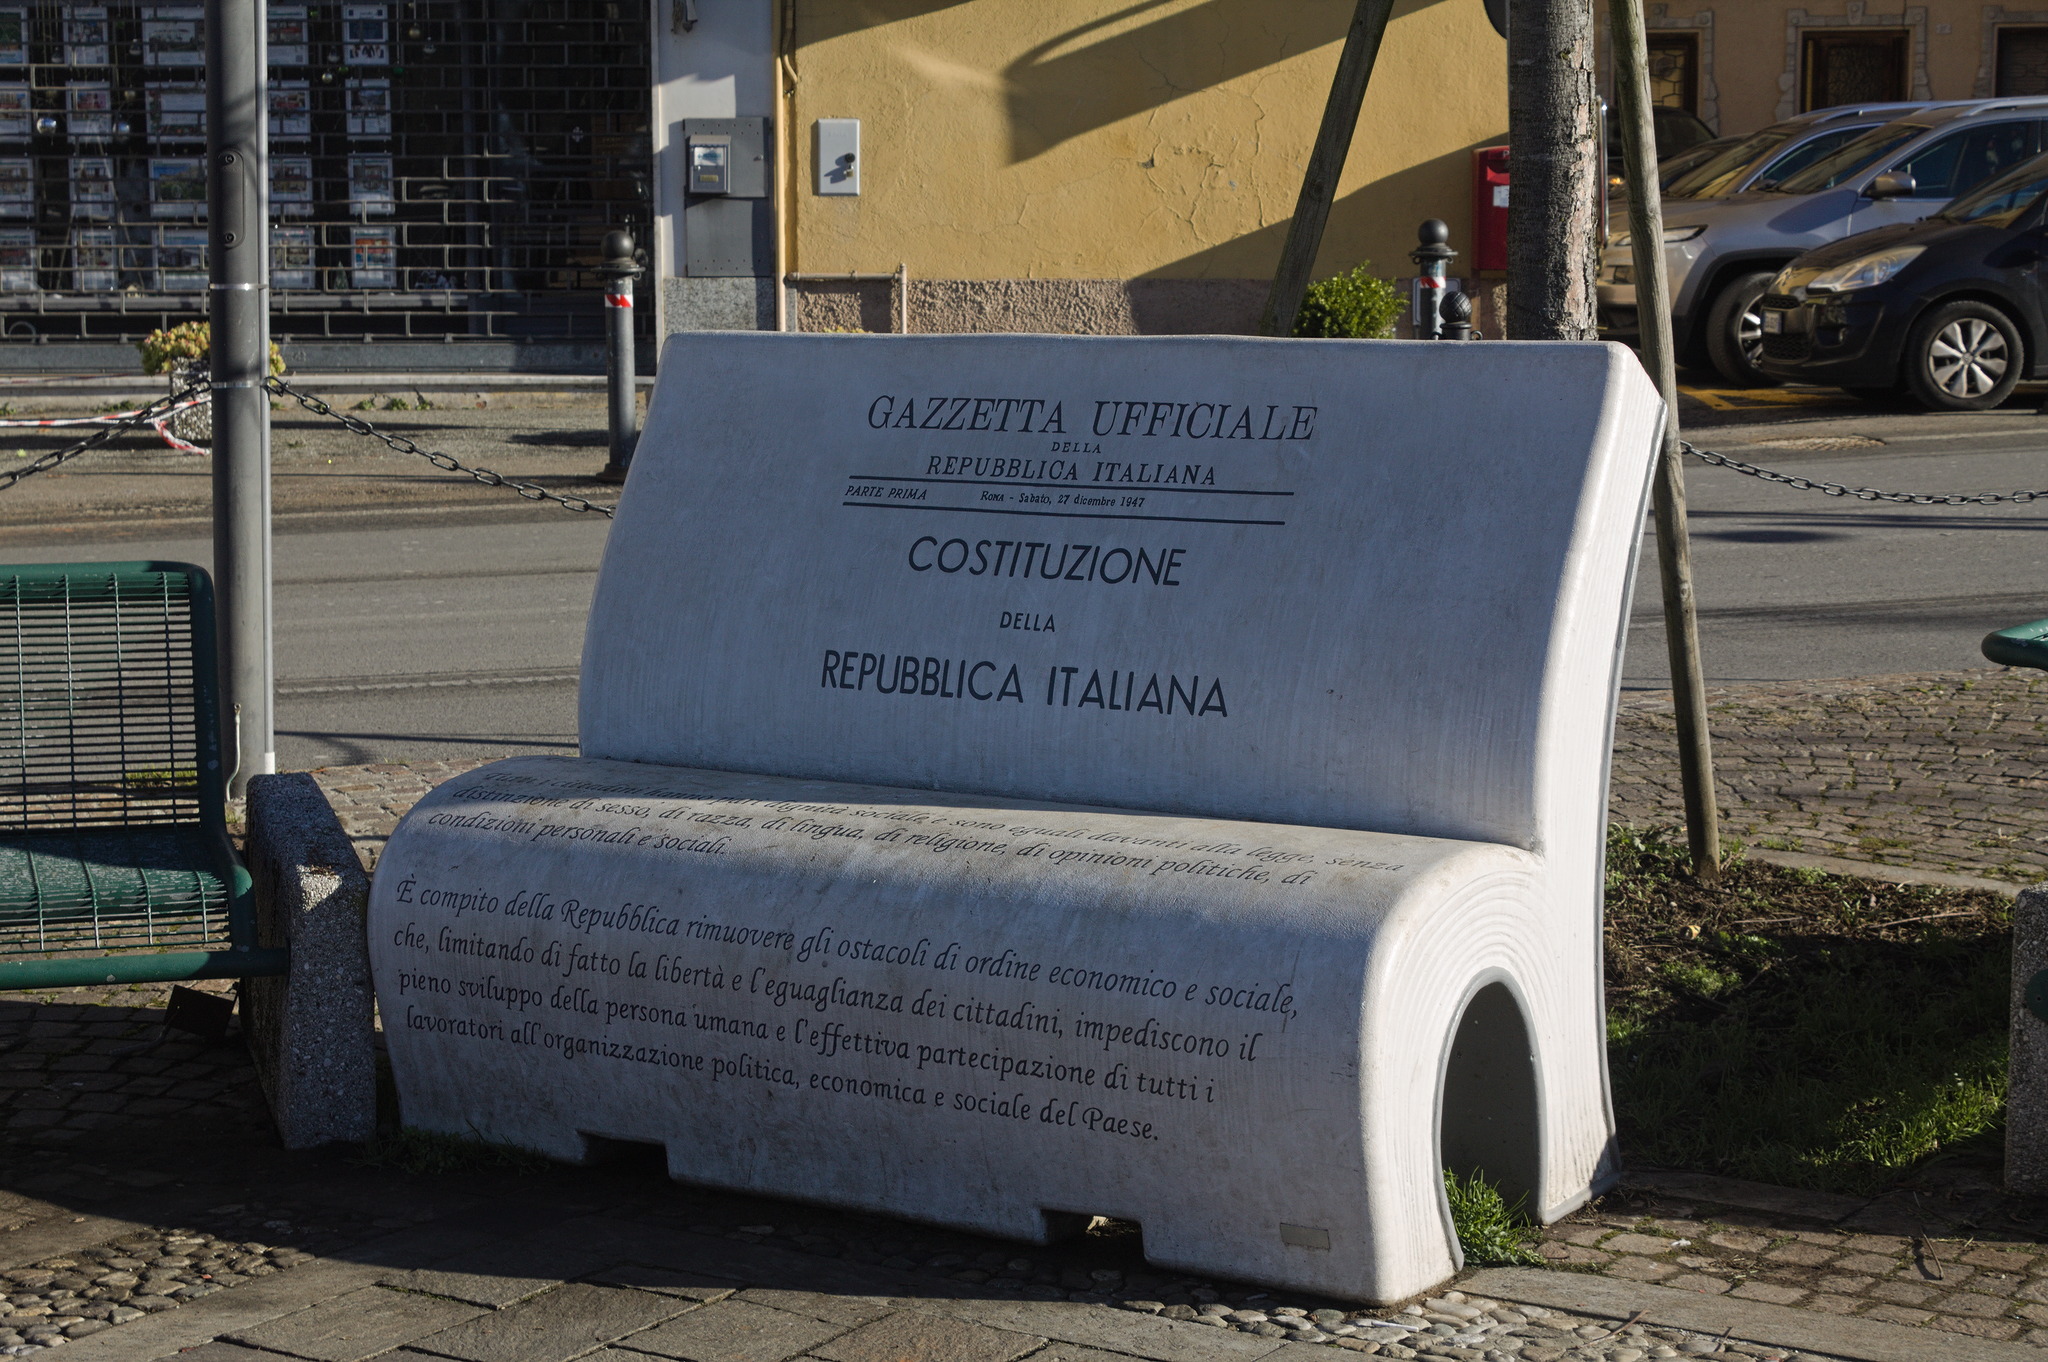
Another thing that we noticed were some benches in the shape of books, with book quotations on them; most were on reading-related topics, but the one with the Constitution felt worth taking a picture of, especially these days.
And then, our train was waiting at the station, and we had to go back home for the afternoon; it was a nice outing, if a bit brief, and we agreed to do it again, possibly with a bit of a detour to make the walk a bit longer. And then maybe one day we’ll train to do the whole 5-6 hour thing through the hills.